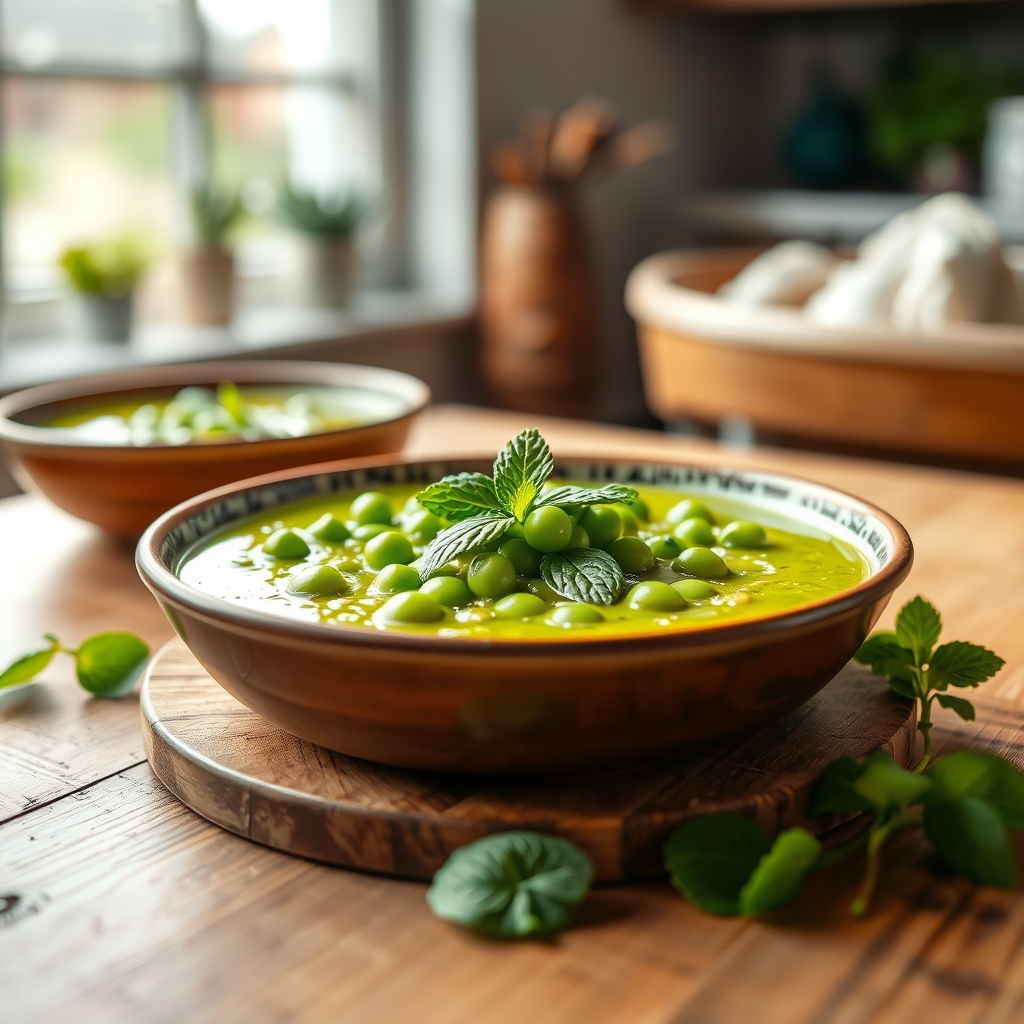
Spring Pea and Mint Soup
There’s something undeniably magical about spring produce—fresh, vibrant, and bursting with flavor. This Spring Pea and Mint Soup captures that essence perfectly, blending sweet peas, aromatic mint, and a touch of creaminess into a bowl of pure comfort. Whether you’re looking for a light lunch, an elegant starter, or a way to celebrate seasonal ingredients, this soup delivers. It’s simple enough for a weeknight but elegant enough for a dinner party. Let’s dive into why this recipe is a must-try.
Why You’ll Love This Recipe
First, this soup is a celebration of spring. The combination of sweet peas and fresh mint creates a bright, refreshing flavor that feels like sunshine in a bowl. It’s the kind of dish that makes you appreciate seasonal eating.
Second, it’s incredibly easy to make. With just a handful of ingredients and minimal prep time, you can have this soup ready in under 30 minutes. Perfect for busy days when you still want something wholesome and delicious.
Third, it’s versatile. Serve it hot for a cozy meal or chilled for a refreshing summer appetizer. The creamy texture and herbaceous notes make it a crowd-pleaser for any occasion.
Finally, it’s packed with nutrients. Peas are a great source of fiber, protein, and vitamins, while mint adds a digestive boost. It’s a dish that tastes indulgent but is actually quite wholesome.
Ingredients Breakdown
Let’s take a closer look at the key ingredients that make this Spring Pea and Mint Soup so special.
Fresh or Frozen Peas: The star of the show. Fresh peas are ideal if they’re in season, but frozen peas work just as well—they’re picked at peak ripeness and retain their sweetness.
Fresh Mint: This herb adds a bright, cooling contrast to the peas. It’s what gives the soup its signature springtime freshness.
Onion and Garlic: These aromatics form the flavor base, adding depth and savoriness to balance the sweetness of the peas.
Vegetable or Chicken Stock: The liquid foundation of the soup. A good-quality stock enhances the overall flavor, so opt for homemade or low-sodium store-bought versions.
Heavy Cream or Coconut Milk: For a touch of richness. You can adjust the amount based on how creamy you prefer your soup.
Lemon Juice: A splash of acidity brightens the flavors and ties everything together.
How to Make Spring Pea and Mint Soup
Follow these simple steps for a perfectly balanced Spring Pea and Mint Soup every time.
Step 1: Sauté the Aromatics
Heat a drizzle of olive oil in a large pot over medium heat. Add finely chopped onion and minced garlic, cooking until soft and fragrant—about 5 minutes. Be careful not to let the garlic burn.
Step 2: Add the Peas and Stock
Stir in the peas (fresh or frozen) and pour in the stock. Bring the mixture to a gentle simmer and let it cook for about 10 minutes, or until the peas are tender.
Step 3: Blend the Soup
Remove the pot from heat and add the fresh mint leaves. Using an immersion blender, puree the soup until smooth. If you prefer a chunkier texture, blend briefly or leave some peas whole.
Step 4: Finish with Cream and Lemon
Stir in the heavy cream or coconut milk, followed by a squeeze of lemon juice. Season with salt and pepper to taste. For an extra silky texture, strain the soup through a fine-mesh sieve.
Step 5: Serve and Enjoy
Ladle the soup into bowls and garnish with a drizzle of cream, a few mint leaves, or a sprinkle of cracked black pepper. Serve warm or chilled.
Pro Tips for the Best Results
For an even deeper flavor, try sautéing a chopped leek along with the onion. The subtle sweetness of leeks pairs beautifully with peas and mint.
If using frozen peas, there’s no need to thaw them beforehand—they’ll cook quickly in the hot stock.
For a dairy-free version, swap the heavy cream for full-fat coconut milk. It adds a lovely richness without overpowering the other flavors.
To enhance the minty freshness, reserve a few whole mint leaves for garnish. The visual pop of green makes the dish even more inviting.
Variations and Substitutions
This soup is wonderfully adaptable. Here are a few ways to make it your own.
Add Protein: Stir in cooked shredded chicken, crispy bacon bits, or even a poached egg for a heartier meal.
Make It Spicy: A pinch of red pepper flakes or a dash of hot sauce can add a subtle kick.
Herb Swaps: If mint isn’t your favorite, try basil or parsley for a different herbal note.
Extra Veggies: Spinach or asparagus can be blended in for added nutrients and flavor complexity.
What to Serve With It
This soup pairs beautifully with a variety of sides and accompaniments.
Bread: A crusty baguette, garlic bread, or warm focaccia is perfect for dipping.
Salad: A light arugula salad with lemon vinaigrette complements the soup’s freshness.
Protein: Grilled shrimp, seared scallops, or a simple chicken breast make it a complete meal.
Wine: A crisp Sauvignon Blanc or a dry Riesling enhances the herbal and citrus notes.
How to Store and Reheat
This soup stores well, making it great for meal prep.
Refrigeration: Let the soup cool completely before transferring it to an airtight container. It will keep in the fridge for up to 3 days.
Freezing: For longer storage, freeze the soup (without cream if possible) in individual portions for up to 2 months. Thaw overnight in the fridge before reheating.
Reheating: Warm the soup gently on the stovetop over low heat, stirring occasionally. If it thickens too much, add a splash of stock or water to loosen it.
Frequently Asked Questions (FAQs)
Can I use dried mint instead of fresh?
Fresh mint is best for this recipe, as dried mint lacks the same bright flavor. If you must substitute, use 1/3 the amount of dried mint and adjust to taste.
Can I make this soup ahead of time?
Yes, but for the freshest taste, add the mint and lemon juice just before serving. The soup base can be made a day in advance.
Is this soup vegan-friendly?
Absolutely. Simply use vegetable stock and coconut milk instead of cream.
Why is my soup too thick?
If the soup is thicker than you’d like, thin it with a bit of extra stock or water until you reach the desired consistency.
Final Thoughts
Spring Pea and Mint Soup is more than just a recipe—it’s a celebration of seasonal flavors. Whether you serve it at a gathering or enjoy it as a quiet weeknight meal, its vibrant taste and creamy texture are sure to delight. Don’t be afraid to experiment with garnishes or add-ins to make it your own. After all, the best dishes are the ones that bring joy to both the cook and those who gather around the table. Happy cooking!
Print
Spring Pea and Mint Soup
Description
A vibrant and refreshing soup that captures the essence of spring with sweet peas and fresh mint, finished with a touch of cream for richness.
Ingredients
For the Crust:
- For the soup:
- 2 tablespoons unsalted butter
- 1 medium onion, diced
- 2 cloves garlic, minced
- 4 cups fresh or frozen peas
- 4 cups vegetable broth
- 1/2 cup fresh mint leaves, packed
- For garnish:
- 1/4 cup heavy cream
- 2 tablespoons chopped fresh mint
- 1/2 cup crumbled feta cheese (optional)
Instructions
1. Prepare the Crust:
- 1. In a large pot, melt butter over medium heat. Add diced onion and sauté until translucent (about 5 minutes).
- 2. Add minced garlic and cook for 1 minute until fragrant.
- 3. Stir in peas and vegetable broth. Bring to a boil, then reduce heat and simmer for 10 minutes.
- 4. Remove from heat and add mint leaves. Let cool slightly.
- 5. Using an immersion blender or regular blender, puree soup until smooth. Season with salt and pepper to taste.
- 6. For serving: Ladle soup into bowls, drizzle with cream, and garnish with fresh mint and feta cheese if desired.
Notes
For a vegan version, substitute butter with olive oil and omit the cream garnish. Soup can be served hot or chilled.