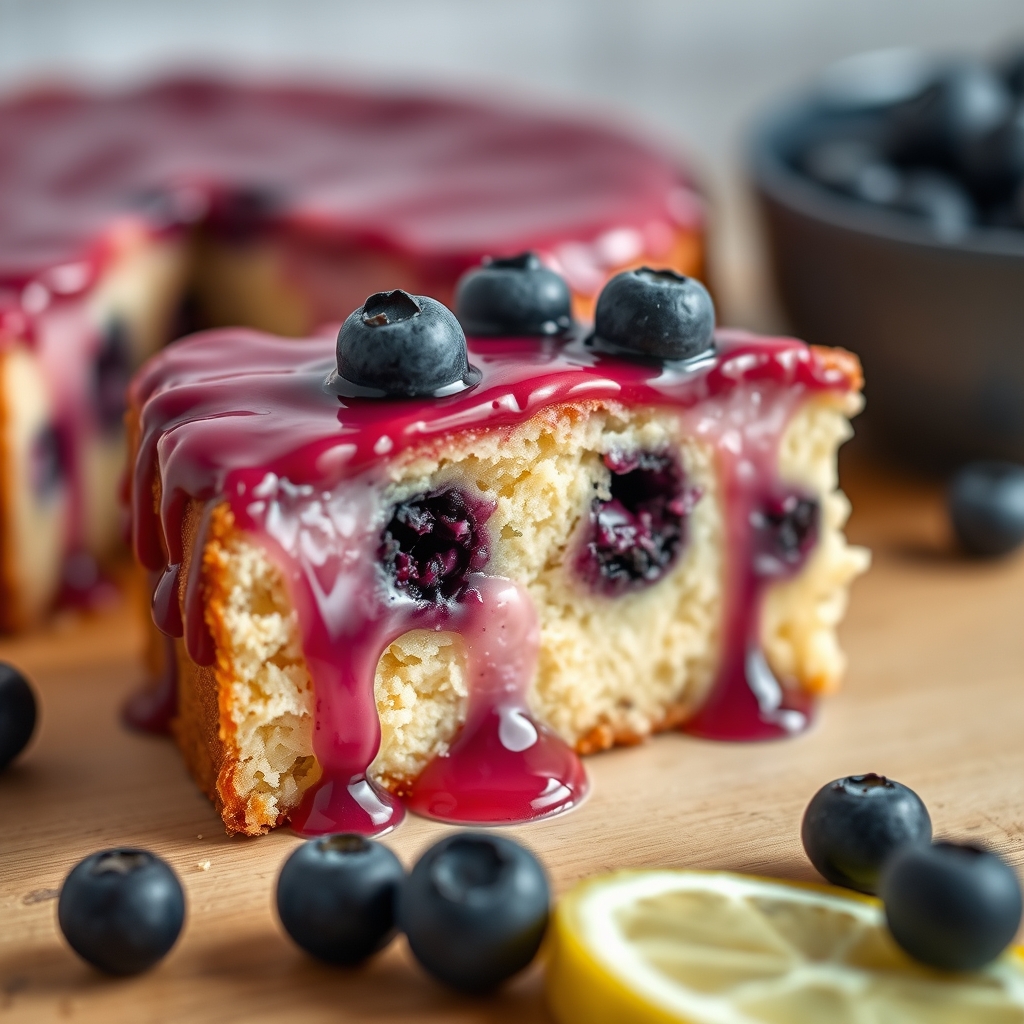
Blueberry Lemon Cake (Low Carb)
There’s something magical about the combination of tart lemon and sweet blueberries, especially when baked into a tender, moist cake that won’t derail your low-carb lifestyle. This Blueberry Lemon Cake is a dream come true for anyone craving a guilt-free dessert that doesn’t compromise on flavor. Whether you’re hosting a summer brunch or simply treating yourself to a cozy afternoon indulgence, this recipe delivers a burst of bright citrus and juicy berries in every bite. Let’s dive into why this cake deserves a spot in your baking repertoire.
Why You’ll Love This Recipe
First, this cake is incredibly moist thanks to almond flour and a touch of Greek yogurt, ensuring a rich texture without the heaviness of traditional flour-based cakes. Second, the balance of tangy lemon and sweet blueberries creates a refreshing flavor profile that’s perfect for any season. Third, it’s naturally low in carbs and sugar, making it ideal for keto, diabetic, or health-conscious eaters. Fourth, it’s simple to prepare with minimal fuss—no fancy equipment required. And finally, it’s versatile: serve it as a dessert, breakfast treat, or even an elegant tea-time snack.
Ingredients Breakdown
Understanding the role of each ingredient helps you appreciate why this cake works so well. Almond flour serves as the base, providing a nutty richness while keeping carbs low. Eggs bind everything together and add structure. Greek yogurt brings moisture and a slight tang, complementing the lemon. Fresh lemon zest and juice infuse the cake with bright citrus notes, while blueberries add juicy sweetness and a pop of color. A touch of granulated sweetener (like erythritol or monk fruit) keeps it low-carb without sacrificing taste. Finally, baking powder ensures a light, fluffy crumb.
How to Make Blueberry Lemon Cake (Low Carb)
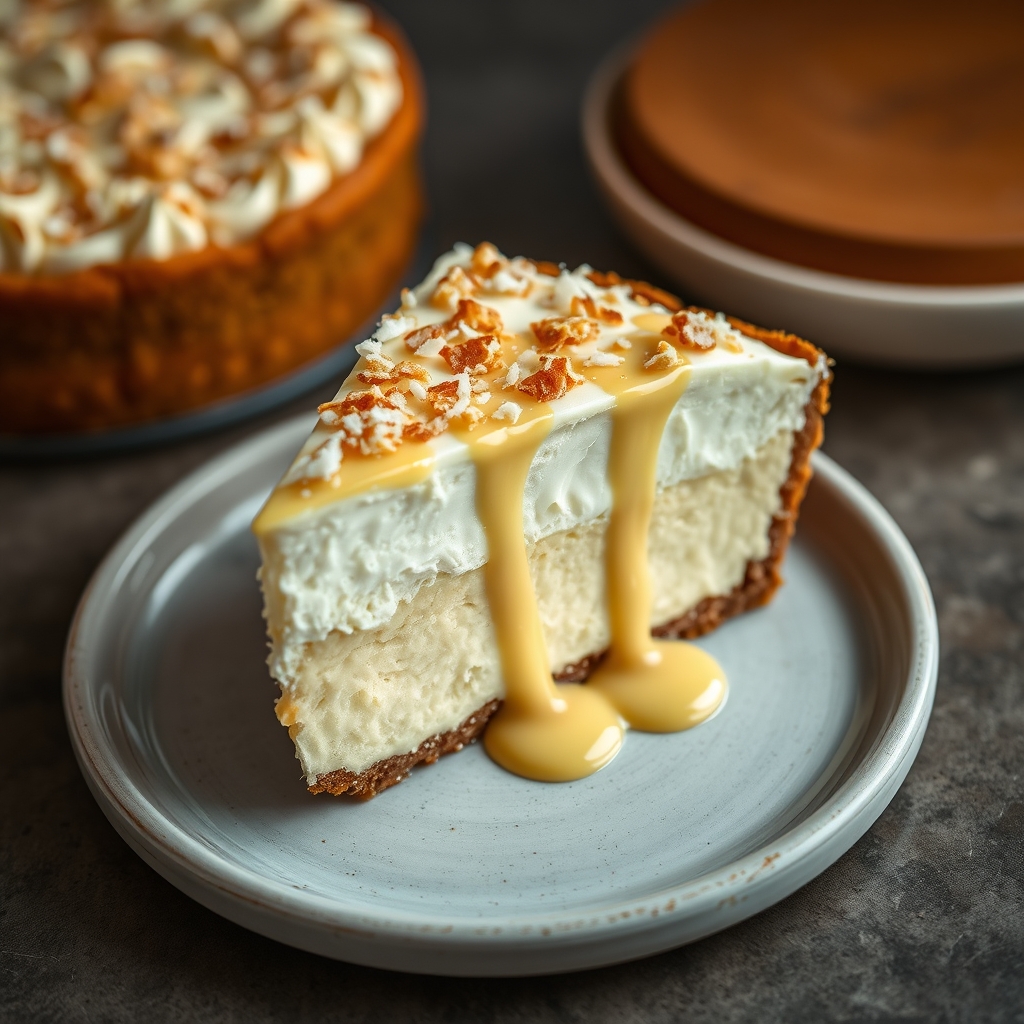
Preheat your oven to 350°F and grease an 8-inch round cake pan or line it with parchment paper for easy removal. In a large bowl, whisk together 2 cups of almond flour, 1/3 cup of granulated sweetener, 1 1/2 teaspoons of baking powder, and a pinch of salt. In another bowl, beat 3 eggs until frothy, then mix in 1/4 cup of melted butter (or coconut oil), 1/4 cup of Greek yogurt, the zest of 1 lemon, and 2 tablespoons of fresh lemon juice. Gradually fold the wet ingredients into the dry until just combined. Gently stir in 1/2 cup of fresh blueberries, reserving a few for the top. Pour the batter into the prepared pan, scatter the remaining blueberries on top, and bake for 30-35 minutes, or until a toothpick comes out clean. Let it cool before slicing.
Pro Tips for the Best Results
For an extra-moist cake, don’t overmix the batter—just stir until the ingredients are incorporated. To prevent the blueberries from sinking, toss them in a bit of almond flour before folding them in. If you prefer a more intense lemon flavor, add an extra teaspoon of zest or a splash of lemon extract. For a golden, slightly crisp top, brush the baked cake with a little melted butter as soon as it comes out of the oven. And if you’re using frozen blueberries, keep them frozen until the last moment to avoid excess moisture.
Variations and Substitutions
This recipe is wonderfully adaptable. For a dairy-free version, swap the Greek yogurt for coconut yogurt and use coconut oil instead of butter. If you’re out of almond flour, sunflower seed flour works as a nut-free alternative (though it may darken the cake slightly). For a different fruit twist, try raspberries or blackberries instead of blueberries. If you’re not strictly low-carb, a drizzle of honey or a dusting of powdered sugar adds a lovely finish. You can even turn this into muffins by dividing the batter into a lined muffin tin and reducing the baking time to 20-25 minutes.
What to Serve With It
This cake shines on its own, but a few accompaniments can elevate it further. A dollop of whipped coconut cream adds a luxurious touch, while a side of fresh berries enhances the fruity flavors. For a brunch spread, pair it with herbal tea or iced lemon water to keep things light. If you’re serving it as dessert, a scoop of low-carb vanilla ice cream makes it feel extra indulgent. For a savory contrast, enjoy it alongside a cheese platter with sharp cheddar or creamy brie.
How to Store and Reheat
Store leftover cake in an airtight container at room temperature for up to 2 days, or refrigerate for up to 5 days. To freeze, wrap individual slices in plastic wrap and place them in a freezer-safe bag for up to 3 months. Thaw overnight in the fridge before serving. For a fresh-from-the-oven feel, warm slices in the microwave for 10-15 seconds or in a 300°F oven for 5 minutes. If the cake feels dry after storage, a quick brush of lemon juice or a light drizzle of sugar-free syrup can revive it.
Frequently Asked Questions (FAQs)
Can I use frozen blueberries instead of fresh? Yes, but keep them frozen until the last minute to prevent excess moisture. Toss them in almond flour to help them distribute evenly.
What sweetener works best for this recipe? Erythritol or monk fruit blends are ideal because they measure like sugar and don’t leave an aftertaste. Avoid liquid sweeteners unless you adjust the wet ingredients.
Why did my cake turn out dense? Overmixing the batter or using expired baking powder can cause denseness. Measure your almond flour correctly—don’t pack it into the cup.
Can I make this cake nut-free? Yes, sunflower seed flour is a great substitute, though it may give the cake a slightly greenish hue over time (harmless but unexpected).
How do I know when the cake is done? A toothpick inserted into the center should come out clean or with a few moist crumbs. The edges will pull away slightly from the pan.
Final Thoughts
This Blueberry Lemon Cake is proof that low-carb baking doesn’t have to be bland or complicated. It’s a celebration of vibrant flavors and simple ingredients, perfect for sharing or savoring solo. Whether you’re new to low-carb living or a seasoned pro, this recipe is a keeper. Next time you’re craving something sweet, skip the store-bought treats and whip up this homemade delight. Your taste buds—and your health goals—will thank you.
Print
Blueberry Lemon Cake (Low Carb)
Description
A moist and fluffy low-carb cake bursting with fresh blueberries and zesty lemon flavor. Perfect for those watching their sugar intake but craving a delicious dessert.
Ingredients
For the Crust:
- For the cake:
- 1.5 cups almond flour
- 1/4 cup coconut flour
- 1/2 cup granulated erythritol
- 2 tsp baking powder
- 1/4 tsp salt
- 1/2 cup unsalted butter (melted)
- 3 large eggs
- 1/4 cup unsweetened almond milk
- 1 tbsp lemon zest
- 2 tbsp fresh lemon juice
- 1 tsp vanilla extract
- For the topping:
- 1 cup fresh blueberries
- 1 tbsp powdered erythritol (for dusting)
- For the glaze (optional):
- 1/4 cup powdered erythritol
- 1 tbsp lemon juice
- 1 tsp heavy cream
Instructions
1. Prepare the Crust:
- 1. Preheat oven to 350°F (175°C) and grease an 8-inch round cake pan.
- 2. In a large bowl, whisk together almond flour, coconut flour, erythritol, baking powder, and salt.
- 3. In another bowl, mix melted butter, eggs, almond milk, lemon zest, lemon juice, and vanilla extract.
- 4. Combine wet and dry ingredients, stirring until just incorporated (do not overmix).
- 5. Gently fold in 3/4 cup of blueberries, reserving the rest for topping.
- 6. Pour batter into prepared pan and smooth the top.
- 7. Scatter remaining blueberries evenly over the batter.
- 8. Bake for 30-35 minutes until golden and a toothpick comes out clean.
- 9. Cool in pan for 10 minutes, then transfer to a wire rack.
- 10. For glaze: Whisk ingredients until smooth and drizzle over cooled cake.
- 11. Dust with powdered erythritol before serving.
Notes
Store leftovers in an airtight container at room temperature for 2 days or refrigerate for up to 5 days. For best texture, bring to room temperature before serving. Frozen blueberries can be used (do not thaw).