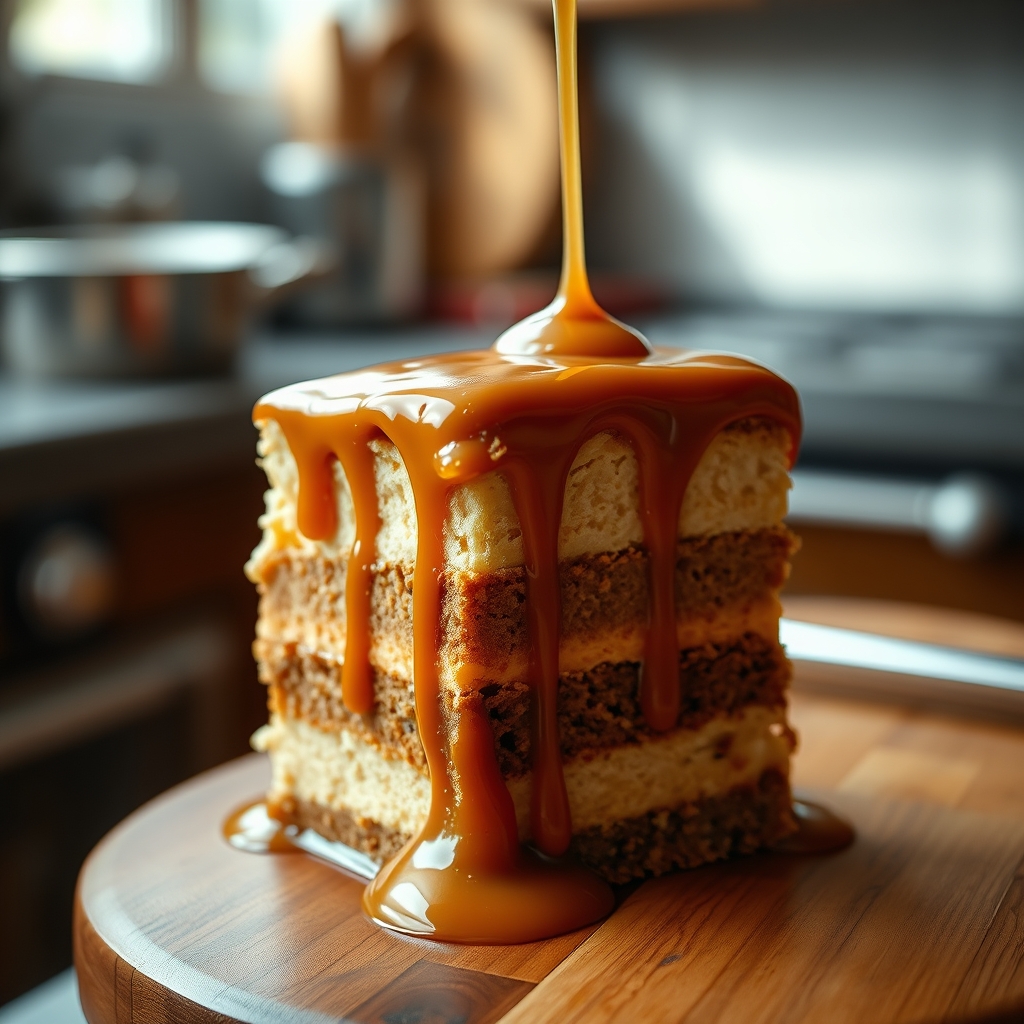
Pink Velvet Raspberry Cheesecake
There’s something undeniably magical about the combination of creamy cheesecake and vibrant raspberries. This Pink Velvet Raspberry Cheesecake is a showstopper dessert that blends the richness of classic cheesecake with the delicate tartness of fresh raspberries and a hint of pink velvet flair. Whether you’re celebrating a special occasion or simply indulging in a sweet craving, this dessert is guaranteed to impress. Follow along as we dive into the details of crafting this stunning treat.
Why You’ll Love This Recipe
This Pink Velvet Raspberry Cheesecake isn’t just another dessert—it’s an experience. Here’s why it’s destined to become a favorite in your recipe collection:
- Visually Stunning: The soft pink hue and fresh raspberry garnish make this cheesecake a feast for the eyes, perfect for birthdays, Valentine’s Day, or any festive gathering.
- Perfect Balance of Flavors: The tangy cream cheese pairs beautifully with the natural sweetness of raspberries, creating a harmonious taste that’s neither too rich nor too tart.
- Creamy Yet Light Texture: Unlike dense cheesecakes, this version has a velvety smoothness that melts in your mouth, thanks to the careful blending of ingredients.
- Customizable: Easily adaptable for different dietary needs, this recipe can be tweaked to suit gluten-free or lower-sugar preferences without sacrificing flavor.
- Crowd-Pleasing: Whether served at a dinner party or enjoyed as a solo treat, this cheesecake never fails to earn rave reviews.
Ingredients Breakdown
Every ingredient in this Pink Velvet Raspberry Cheesecake plays a crucial role in achieving its signature taste and texture. Here’s what you’ll need and why it matters:
- Graham Cracker Crumbs: The base of the cheesecake, providing a buttery, slightly sweet crunch that contrasts with the creamy filling.
- Cream Cheese: The star of the show, ensuring a rich and smooth consistency. Always use full-fat cream cheese for the best results.
- Fresh Raspberries: These add a natural tartness and vibrant color, both in the filling and as a garnish.
- Sugar: Balances the tanginess of the cream cheese and raspberries, creating a well-rounded sweetness.
- Eggs: Help bind the filling and give the cheesecake its signature structure.
- Sour Cream: Adds a subtle tang and contributes to the velvety texture.
- Vanilla Extract: Enhances the overall flavor profile with its warm, aromatic notes.
- Pink Food Coloring: Optional but recommended for that signature pink velvet look.
How to Make Pink Velvet Raspberry Cheesecake
Follow these step-by-step instructions to create a flawless Pink Velvet Raspberry Cheesecake:
- Prepare the Crust: Mix graham cracker crumbs with melted butter and a touch of sugar. Press firmly into the bottom of a springform pan and bake for 10 minutes at 350°F. Let it cool while you prepare the filling.
- Make the Filling: Beat cream cheese until smooth, then gradually add sugar, sour cream, and vanilla extract. Incorporate eggs one at a time, mixing just until combined. Gently fold in pureed raspberries and a few drops of pink food coloring if desired.
- Bake the Cheesecake: Pour the filling over the cooled crust. Place the pan in a water bath to prevent cracking and bake at 325°F for about 50-60 minutes, or until the edges are set but the center still jiggles slightly.
- Cool and Chill: Turn off the oven and let the cheesecake sit inside with the door slightly ajar for an hour. Then, refrigerate for at least 4 hours, preferably overnight, to set completely.
- Garnish and Serve: Top with fresh raspberries, a drizzle of raspberry sauce, or a dusting of powdered sugar before slicing.
Pro Tips for the Best Results
- Room Temperature Ingredients: Ensure cream cheese, eggs, and sour cream are at room temperature to avoid lumps in the batter.
- Don’t Overmix: Once eggs are added, mix just until incorporated to prevent air bubbles that can cause cracking.
- Water Bath Trick: Wrapping the springform pan in foil before placing it in the water bath prevents leaks and ensures even baking.
- Patience is Key: Resist the urge to cut into the cheesecake too soon—chilling overnight yields the best texture.
- Natural Coloring: For a more subtle pink hue, skip the food coloring and rely solely on the raspberry puree.
Variations and Substitutions
This recipe is wonderfully adaptable. Here are some ways to make it your own:
- Gluten-Free: Swap graham cracker crumbs for gluten-free cookies or almond flour.
- Dairy-Free: Use dairy-free cream cheese and coconut-based sour cream.
- Berry Swap: Substitute raspberries with strawberries or blackberries for a different flavor profile.
- No-Bake Version: Replace the baked filling with a gelatin-stabilized no-bake cheesecake mixture for a quicker dessert.
- Chocolate Twist: Add a layer of melted white or dark chocolate between the crust and filling for extra decadence.
What to Serve With It
While this Pink Velvet Raspberry Cheesecake is stunning on its own, pairing it with complementary flavors can elevate the experience:
- Fresh Berries: A mix of raspberries, strawberries, and blueberries adds color and freshness.
- Whipped Cream: A dollop of lightly sweetened whipped cream balances the tanginess.
- Raspberry Coulis: Drizzle a homemade raspberry sauce for an extra burst of flavor.
- Sparkling Wine: A glass of prosecco or champagne makes this dessert feel even more celebratory.
- Vanilla Ice Cream: Serve a scoop alongside for a delightful contrast in temperatures.
How to Store and Reheat
Proper storage ensures your cheesecake stays fresh and delicious:
- Refrigeration: Store covered in the fridge for up to 5 days. Place parchment paper over cut edges to prevent drying.
- Freezing: Wrap individual slices or the whole cheesecake tightly in plastic wrap and foil. Freeze for up to 2 months. Thaw overnight in the fridge before serving.
- Reheating: Cheesecake is best served cold, but if you prefer it slightly softened, let it sit at room temperature for 15-20 minutes before eating.
Frequently Asked Questions (FAQs)
Can I use frozen raspberries instead of fresh?
Yes, frozen raspberries work well, especially for pureeing. Thaw and drain excess liquid before using to prevent a watery filling.
Why did my cheesecake crack?
Cracking usually happens from overmixing, rapid temperature changes, or overbaking. Using a water bath and cooling gradually helps prevent this.
Can I make this without a springform pan?
A springform pan is ideal, but a deep pie dish lined with parchment paper can work in a pinch. Note that slicing may be trickier.
How do I know when the cheesecake is done baking?
The edges should be set, and the center should jiggle slightly when gently shaken. It will firm up as it cools.
Is there a way to reduce the sugar?
Yes, you can cut the sugar by up to a quarter or use a sugar substitute like erythritol, though the texture may vary slightly.
Final Thoughts
Creating this Pink Velvet Raspberry Cheesecake is a labor of love, but the result is worth every minute. Whether you’re baking it for a special someone or treating yourself, this dessert is sure to bring joy with every bite. The creamy texture, vibrant color, and perfect balance of flavors make it a standout recipe you’ll return to time and again. So preheat that oven, gather your ingredients, and get ready to impress—with a slice of pink perfection.
Print
Pink Velvet Raspberry Cheesecake
Description
A stunning pink velvet cheesecake with a raspberry swirl, combining creamy cheesecake with a vibrant raspberry flavor and a buttery graham cracker crust.
Ingredients
For the Crust:
- For the crust:
- 1 1/2 cups graham cracker crumbs
- 1/4 cup granulated sugar
- 6 tablespoons unsalted butter, melted
- For the cheesecake filling:
- 24 ounces cream cheese, softened
- 1 cup granulated sugar
- 1 teaspoon vanilla extract
- 3 large eggs
- 1/2 cup sour cream
- 1 tablespoon all-purpose flour
- 1 teaspoon pink food coloring (gel preferred)
- For the raspberry swirl:
- 1 cup fresh raspberries
- 2 tablespoons granulated sugar
- 1 teaspoon lemon juice
Instructions
1. Prepare the Crust:
- Preheat oven to 325°F (163°C). Grease a 9-inch springform pan and line the bottom with parchment paper.
- Make the crust: In a bowl, mix graham cracker crumbs, sugar, and melted butter until combined. Press firmly into the bottom of the prepared pan. Bake for 10 minutes, then set aside to cool.
- Prepare the raspberry swirl: In a small saucepan, combine raspberries, sugar, and lemon juice. Cook over medium heat until raspberries break down, about 5 minutes. Strain through a fine mesh sieve to remove seeds. Let cool.
- Make the filling: Beat cream cheese and sugar until smooth. Add vanilla, then eggs one at a time, mixing well after each. Stir in sour cream and flour. Add pink food coloring until desired shade is reached.
- Pour filling over the cooled crust. Drop spoonfuls of raspberry sauce on top and swirl with a knife.
- Bake for 50-60 minutes until edges are set but the center is slightly jiggly. Turn off the oven, crack the door, and let cool inside for 1 hour. Chill in the fridge for at least 4 hours before serving.
Notes
For a deeper pink color, add more food coloring. Fresh raspberries can be substituted with frozen. Store leftovers covered in the fridge for up to 5 days.