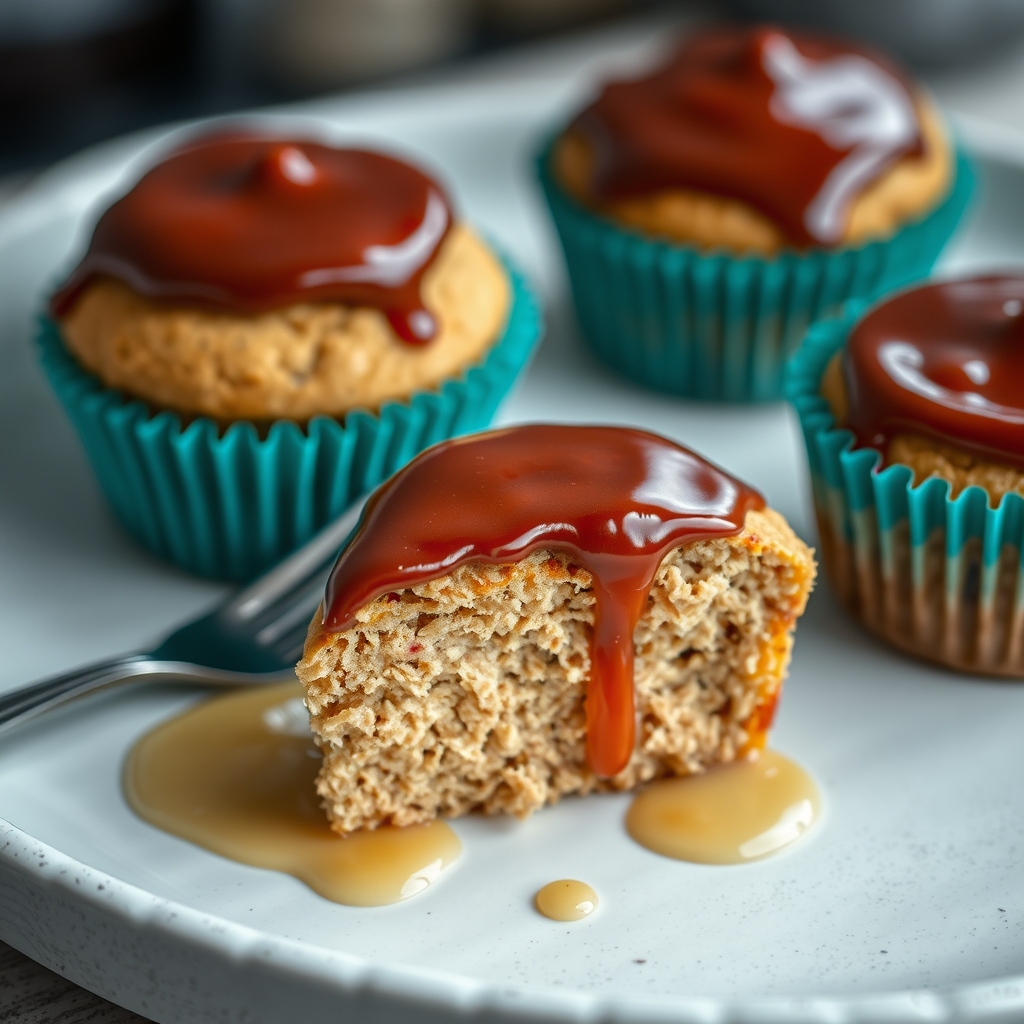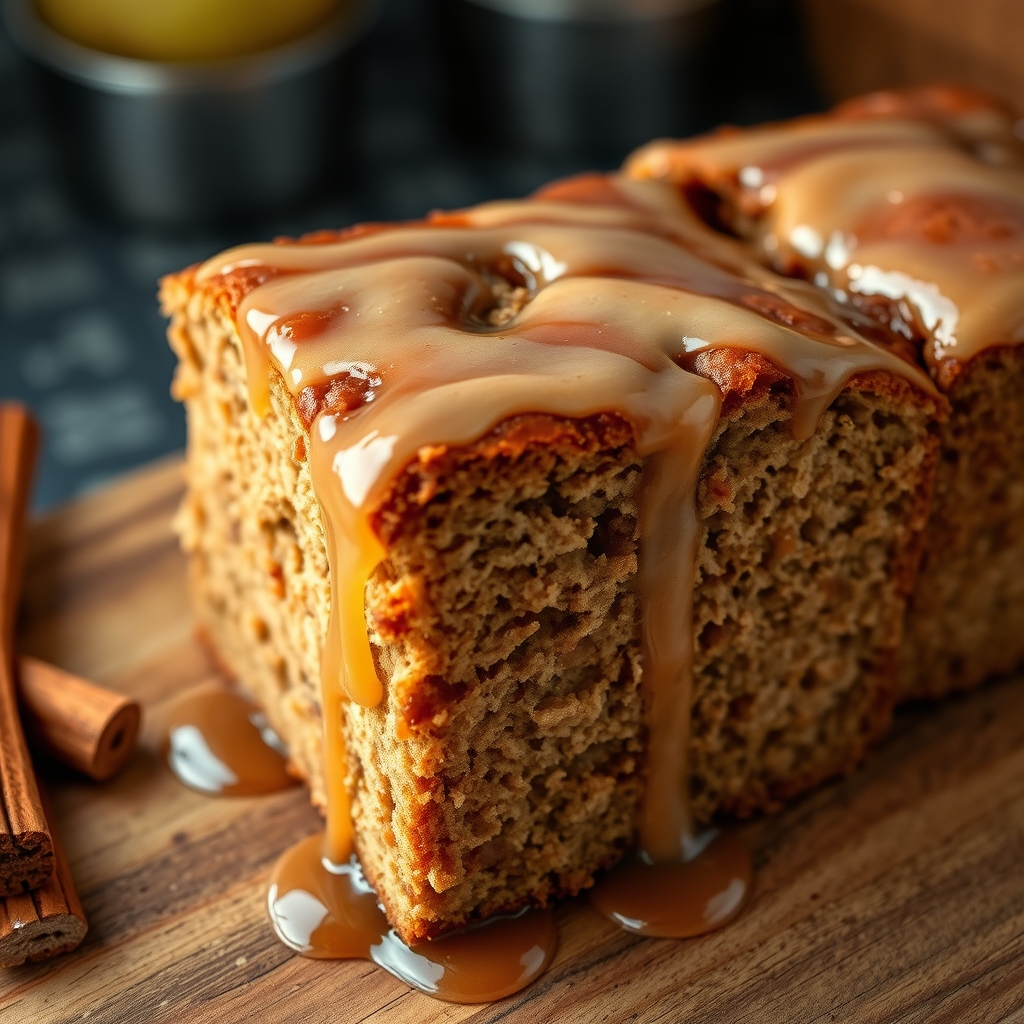
Glazed Apple Cinnamon Oatmeal Bread
There’s something undeniably comforting about the aroma of warm apples and cinnamon wafting through the kitchen. This Glazed Apple Cinnamon Oatmeal Bread is the perfect marriage of hearty oats, tender apples, and a sweet, spiced glaze—making it an irresistible treat for breakfast, brunch, or an afternoon snack. Whether you’re a seasoned baker or a beginner, this recipe is straightforward, rewarding, and guaranteed to fill your home with the cozy scents of fall (though it’s delicious any time of year). Let’s dive into why this bread deserves a spot in your baking rotation.
Why You’ll Love This Recipe
First, this bread is packed with wholesome ingredients like rolled oats and fresh apples, giving it a satisfying texture and natural sweetness. The combination of cinnamon and nutmeg adds warmth, while the glaze provides just the right amount of indulgence.
Second, it’s versatile. Serve it warm with a pat of butter for breakfast, enjoy it as a midday snack with tea, or even dress it up with a scoop of vanilla ice cream for dessert.
Third, it’s easy to make. No fancy equipment or complicated techniques are required—just a few simple steps and basic pantry staples.
Finally, this bread stores beautifully, so you can make it ahead and enjoy it throughout the week. It also freezes well, making it a great option for meal prep or gifting.
Ingredients Breakdown
Understanding the role of each ingredient helps ensure success when baking this Glazed Apple Cinnamon Oatmeal Bread.
Rolled oats provide structure and a chewy texture while adding fiber and nutrients. They also help keep the bread moist.
Fresh apples lend natural sweetness and moisture. Granny Smith or Honeycrisp work best because they hold their shape during baking and offer a pleasant tartness.
Brown sugar enhances the caramel-like flavor and contributes to the bread’s tender crumb.
Cinnamon and nutmeg bring warmth and depth, complementing the apples perfectly.
Greek yogurt keeps the bread moist while adding a slight tang that balances the sweetness.
The glaze, made with powdered sugar, milk, and a touch of vanilla, adds a delicate sweetness that ties everything together.
How to Make Glazed Apple Cinnamon Oatmeal Bread
Follow these steps for a foolproof loaf every time.
Step 1: Prep the Apples
Peel, core, and finely dice one medium apple. Toss the pieces with a teaspoon of cinnamon to coat them evenly.
Step 2: Mix Dry Ingredients
In a large bowl, whisk together flour, rolled oats, baking powder, baking soda, salt, cinnamon, and nutmeg.
Step 3: Combine Wet Ingredients
In another bowl, beat eggs, brown sugar, melted butter, Greek yogurt, and vanilla until smooth.
Step 4: Combine Wet and Dry Mixtures
Gently fold the wet ingredients into the dry ingredients, being careful not to overmix. Stir in the cinnamon-coated apples.
Step 5: Bake
Pour the batter into a greased loaf pan and bake at 350°F for 50-60 minutes, or until a toothpick inserted in the center comes out clean.
Step 6: Glaze
Once the bread has cooled slightly, drizzle with the vanilla glaze. Let it set for a few minutes before slicing.
Pro Tips for the Best Results
For the perfect texture, avoid overmixing the batter—this can make the bread dense. Stir just until the ingredients are combined.
If you prefer a stronger cinnamon flavor, add an extra half teaspoon to the batter.
To prevent the bread from sticking, line the loaf pan with parchment paper, leaving an overhang on the sides for easy removal.
For a crispier top, sprinkle a handful of oats over the batter before baking.
Variations and Substitutions
If you’re out of fresh apples, unsweetened applesauce works as a substitute—just reduce the yogurt slightly to balance the moisture.
For a dairy-free version, swap the butter for coconut oil and use almond milk yogurt.
Add chopped walnuts or pecans for extra crunch, or stir in raisins or dried cranberries for a fruity twist.
For a healthier option, replace half the flour with whole wheat flour and reduce the sugar by a quarter cup.
What to Serve With It
This bread is delightful on its own, but pairing it with a hot cup of coffee or spiced chai tea enhances the experience.
For a decadent breakfast, serve it with a dollop of whipped cream cheese or a drizzle of caramel sauce.
If serving as dessert, warm a slice and top it with vanilla ice cream or a spoonful of cinnamon-infused whipped cream.
How to Store and Reheat
Store the bread in an airtight container at room temperature for up to three days. For longer storage, wrap it tightly in plastic wrap and freeze for up to two months.
To reheat, warm individual slices in the microwave for 10-15 seconds or toast them lightly in a skillet with a bit of butter for a crispy edge.
Frequently Asked Questions (FAQs)
Can I use quick oats instead of rolled oats?
Yes, but the texture will be slightly softer. Rolled oats provide better structure.
Why did my bread sink in the middle?
This usually happens if the bread is underbaked or if the leavening agents (baking powder/soda) are expired.
Can I make this recipe into muffins?
Absolutely! Divide the batter into a greased muffin tin and bake for 20-25 minutes.
How do I know when the bread is done?
A toothpick inserted into the center should come out clean or with just a few crumbs.
Final Thoughts
This Glazed Apple Cinnamon Oatmeal Bread is more than just a recipe—it’s a little slice of comfort that brings people together. Whether you’re baking it for a lazy weekend breakfast or sharing it with friends, its warm, spiced flavors are sure to delight. Give it a try, and don’t be surprised if it becomes a staple in your kitchen. Happy baking!
Print
Glazed Apple Cinnamon Oatmeal Bread
Description
A moist and flavorful quick bread packed with apples, cinnamon, and oats, topped with a sweet glaze for the perfect breakfast or snack.
Ingredients
For the Crust:
- For the bread:
- 1 1/2 cups all-purpose flour
- 1 cup rolled oats
- 1 tsp baking soda
- 1/2 tsp baking powder
- 1/2 tsp salt
- 2 tsp ground cinnamon
- 1/2 cup unsalted butter, melted
- 1/2 cup brown sugar
- 1/4 cup granulated sugar
- 2 large eggs
- 1 tsp vanilla extract
- 1/2 cup milk
- 1 1/2 cups finely diced apples
- For the glaze:
- 1 cup powdered sugar
- 2 tbsp milk
- 1/2 tsp vanilla extract
Instructions
1. Prepare the Crust:
- Preheat oven to 350°F (175°C). Grease a 9×5 inch loaf pan.
- In a large bowl, whisk together flour, oats, baking soda, baking powder, salt, and cinnamon.
- In another bowl, mix melted butter, brown sugar, and granulated sugar until combined.
- Add eggs one at a time, then stir in vanilla extract and milk.
- Gradually add the dry ingredients to the wet ingredients, mixing until just combined.
- Fold in the diced apples.
- Pour batter into the prepared loaf pan and bake for 50-60 minutes, or until a toothpick inserted comes out clean.
- Let the bread cool in the pan for 10 minutes, then transfer to a wire rack to cool completely.
- For the glaze, whisk together powdered sugar, milk, and vanilla until smooth. Drizzle over cooled bread before serving.
Notes
For best results, use tart apples like Granny Smith. Bread can be stored at room temperature for up to 3 days or frozen for up to 1 month.