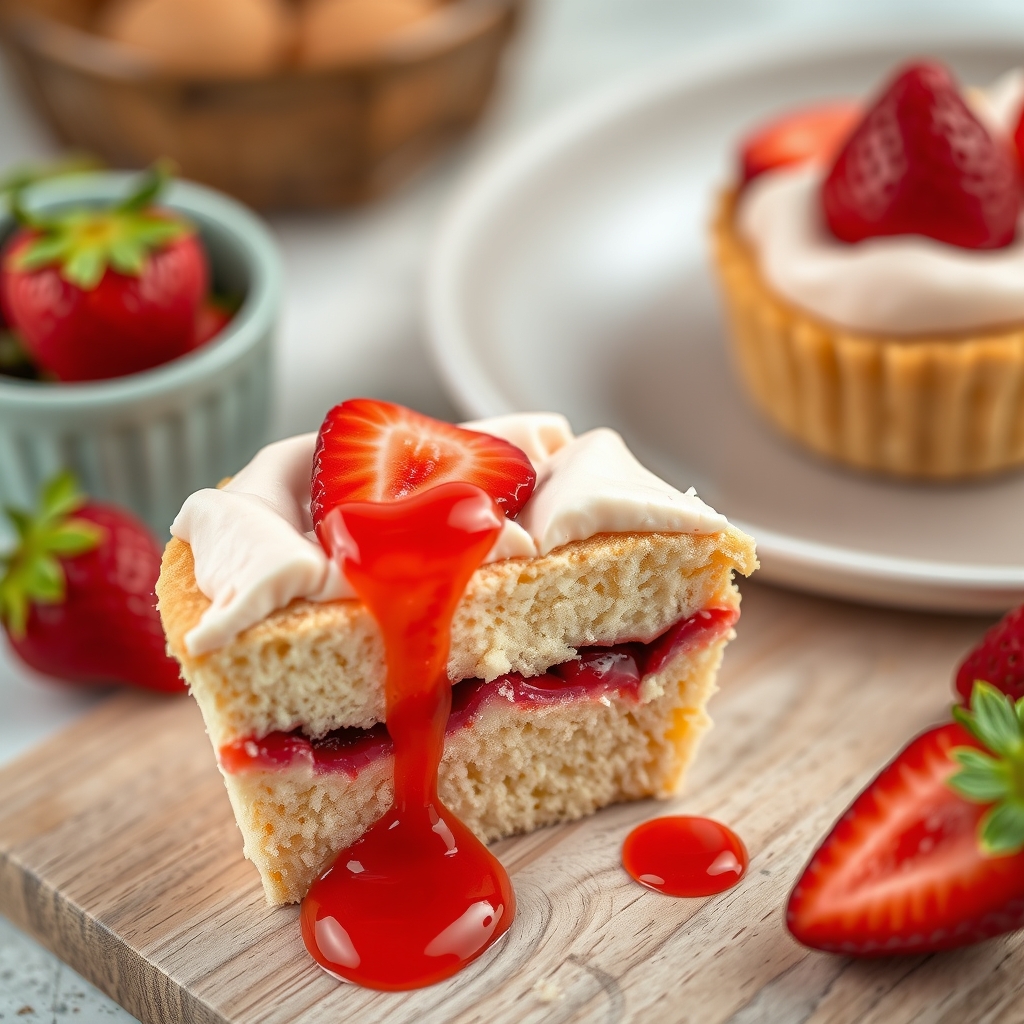
Low Carb Strawberry Angel Cake Cups
There’s something utterly magical about strawberries, isn’t there? Their vibrant red hue and sweet, juicy burst always seem to capture the heart of summer. I remember the sunny mornings spent in my grandmother’s garden, carefully picking strawberries and listening to her stories about how each little berry held the power to transform any dish into something extraordinary.
On one such morning, after a particularly bountiful harvest, we decided to experiment and stumbled upon a delightful creation: the Low Carb Strawberry Angel Cake Cups. These little wonders are perfect for those days when you crave something light yet satisfying, and they come together with such simplicity that you’ll find yourself reaching for this recipe time and again.
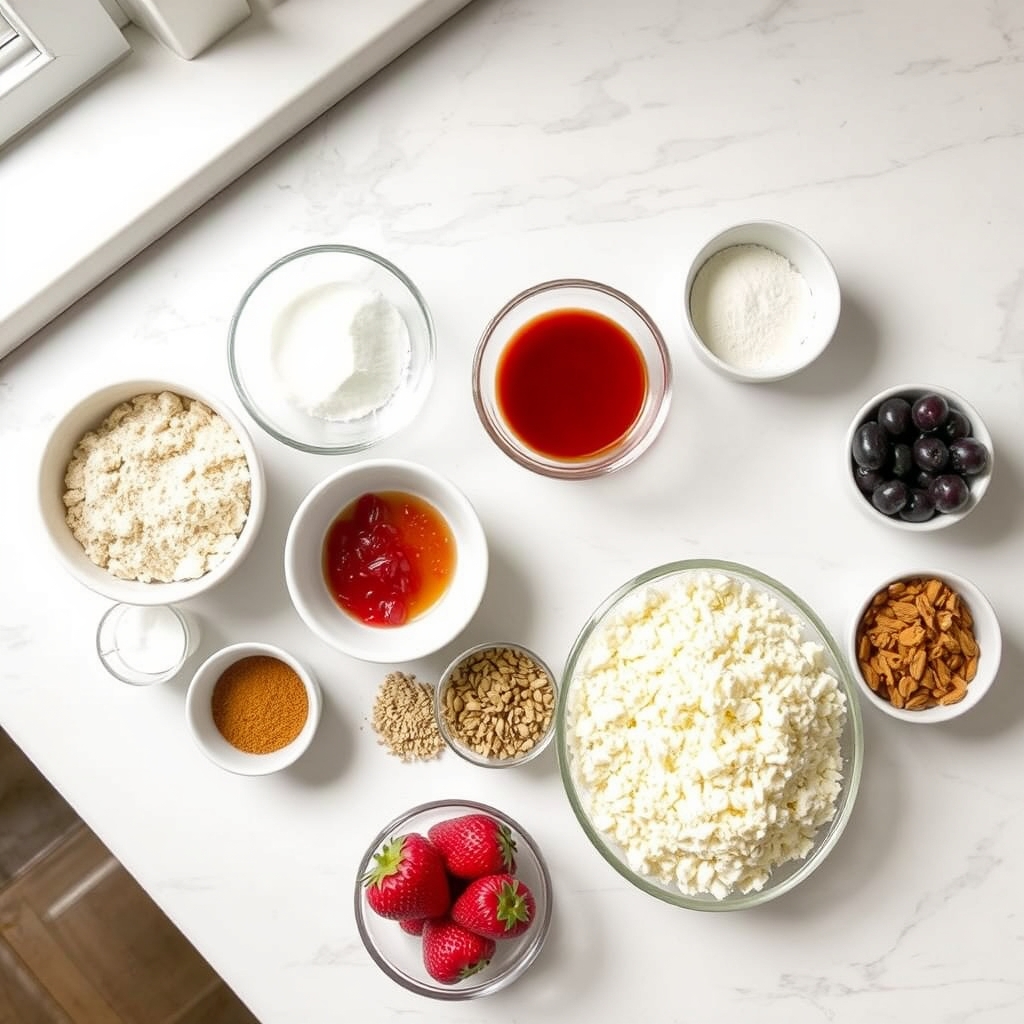
Ingredients You’ll Need
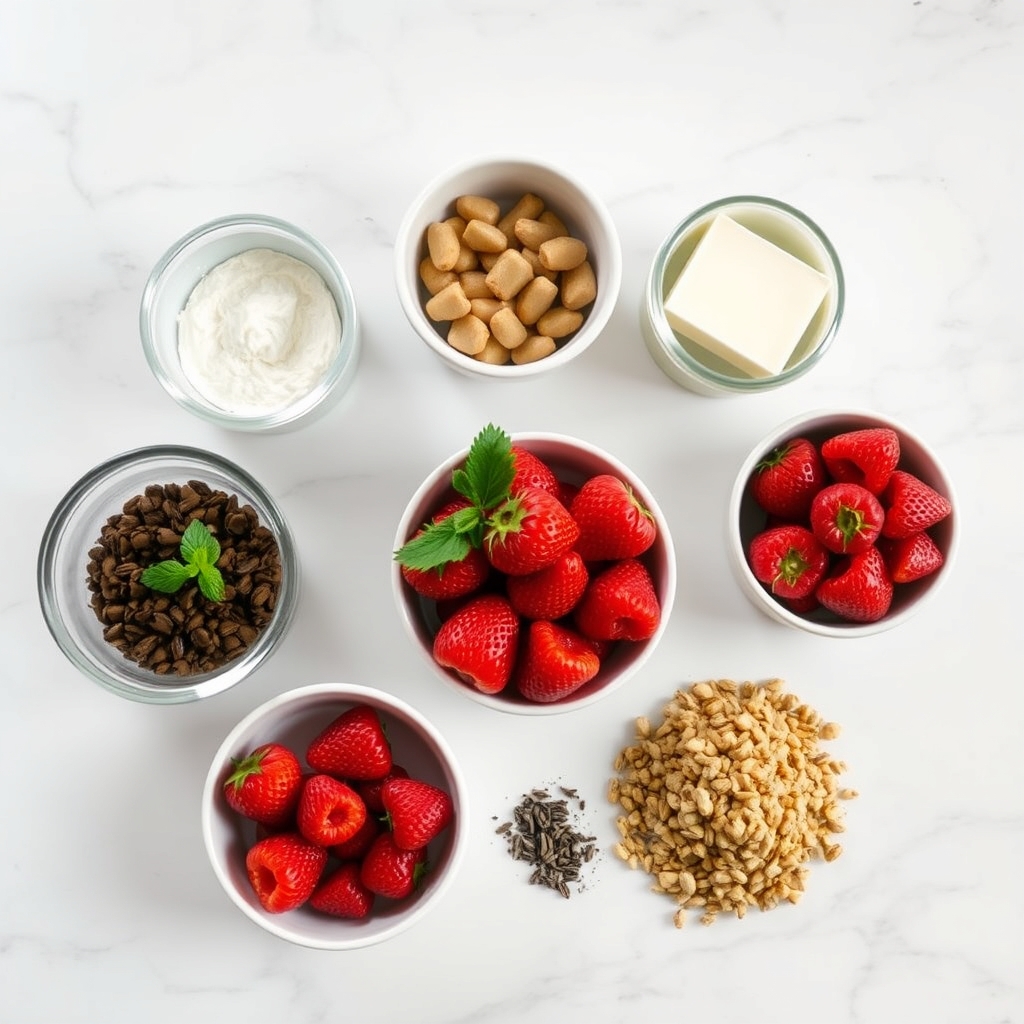
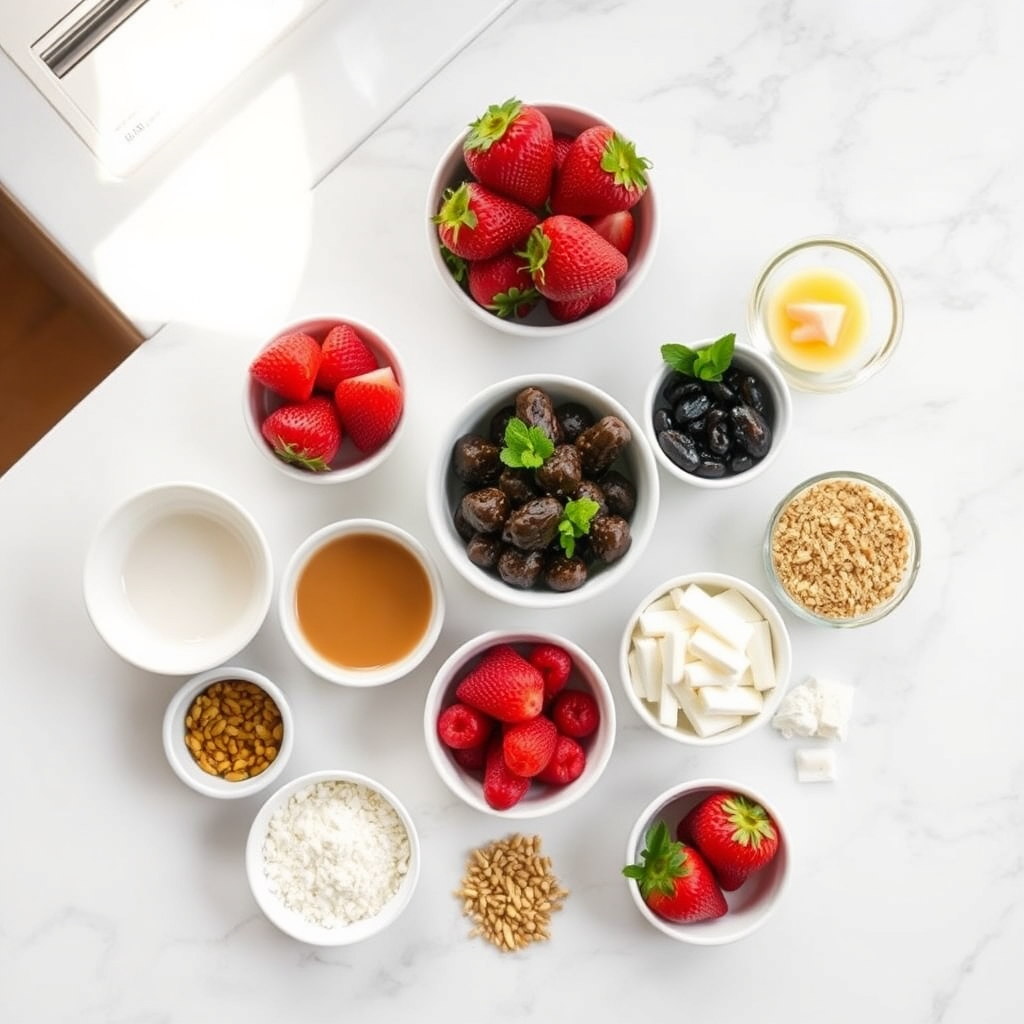
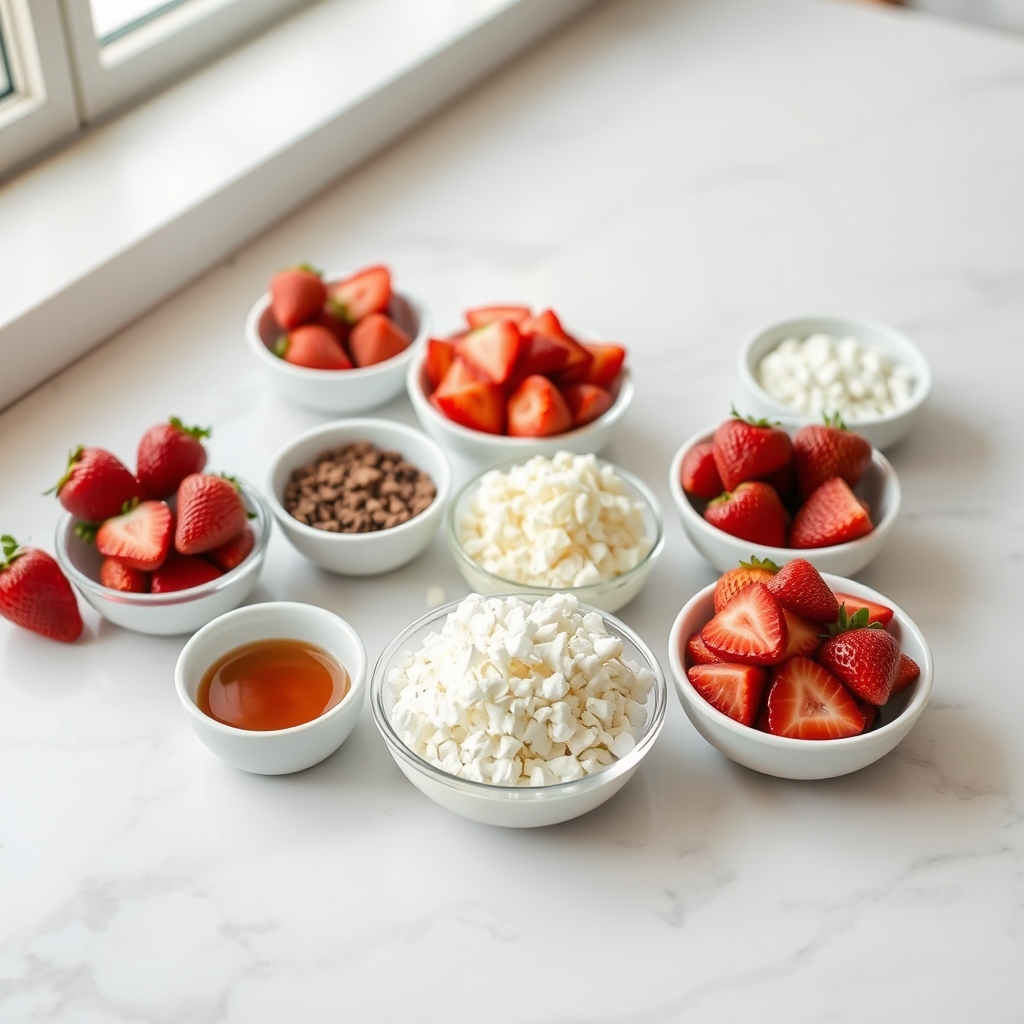
Here is a list of ingredients that will help you craft these delightful cake cups. Each one plays a role in creating the perfect harmony of flavors and textures:
- Almond Flour: Our low-carb hero! Almond flour gives these cake cups a nutty richness without the carbs of traditional flour. Make sure it’s finely ground for the best texture.
- Egg Whites: Essential for that light, airy texture we love in angel cake. They provide structure and volume, so be sure to beat them until stiff peaks form.
- Granulated Erythritol: A natural sugar substitute that doesn’t spike blood sugar levels, perfect for keeping this dessert low carb while still sweet.
- Vanilla Extract: Just a touch for that warm, inviting aroma. A good quality vanilla extract can elevate the entire dish.
- Fresh Strawberries: The stars of our show! Choose ripe, juicy strawberries for the best flavor. Dice them finely to ensure even distribution throughout the cups.
- Salt: Just a pinch to enhance all the other flavors. It might seem small, but it makes a big difference!
Step-by-Step Guide to Creating Your Cake Cups
Now that we have our ingredients ready, let’s walk through the process of creating these delightful treats. Each step is a miniature adventure in itself, and I promise you’ll have fun along the way.
- Preheat Your Oven: Begin by preheating your oven to 350°F (175°C). Ensuring your oven is at the right temperature is key to achieving that perfect rise.
- Prepare Your Egg Whites: In a clean, dry bowl, whisk the egg whites until they form stiff peaks. This might take a few minutes, so put on your favorite playlist and enjoy the rhythm of the process. Tip: A pinch of salt can help stabilize the egg whites, making them easier to work with.
- Mix the Dry Ingredients: In a separate bowl, combine the almond flour and granulated erythritol. Give it a good whisk to ensure there are no lumps. It’s always a good idea to sift the almond flour if you have the time, for that extra smooth texture.
- Combine the Mixtures: Gently fold the dry ingredients into the beaten egg whites. Use a soft spatula and take your time with this step; you don’t want to deflate the airy egg whites. This is where patience really pays off!
- Add the Vanilla and Strawberries: Stir in the vanilla extract and fold in the diced strawberries. The smell of the vanilla mixing with the fresh strawberries is like a warm hug from your kitchen.
- Fill and Bake: Spoon the mixture into a prepared muffin tin lined with cupcake liners. Fill each cup about three-quarters full. Slide them into the oven and let them bake for 15-18 minutes, or until they’re lightly golden on top and a toothpick comes out clean. This is a great time to tidy up the kitchen or enjoy a cup of tea while your cups bake to perfection.
Low Carb Strawberry Angel Cake Cups
Hello, dear friends! Welcome back to my cozy corner of the internet. Today, we’re diving into a recipe that brings a little slice of heaven to your table without all the guilt. These Low Carb Strawberry Angel Cake Cups are perfect for those afternoons when you crave something sweet yet light. They are a celebration of simplicity and taste, wrapped up in a delightful little package.
Pro Tips for the Perfect Angel Cake Cups
As you embark on this culinary journey, here are a few thoughtful tips to ensure your Strawberry Angel Cake Cups turn out perfectly:
- Use fresh strawberries: Fresh, ripe strawberries will enhance the flavor profile significantly. If out of season, opt for unsweetened frozen strawberries.
- Beat the egg whites to stiff peaks: This is crucial for the cake to have that light, airy texture. Be patient and make sure no yolks contaminate the whites.
- Gentle folding: When incorporating the dry ingredients into the egg whites, fold gently to maintain volume.
Variations and Substitutions
Flexibility is key in the kitchen! Here are some variations and substitutions you might enjoy:
- Sugar substitute: If you prefer, swap the stevia with your favorite low carb sweetener like erythritol or monk fruit sweetener.
- Berry mix: While strawberries are classic, feel free to experiment with raspberries, blueberries, or blackberries for a mixed berry delight.
- Dairy-free option: Use coconut cream in place of whipped cream for a dairy-free version that’s just as satisfying.
What to Serve It With
These angelic cake cups are a match made in heaven with a cup of freshly brewed tea or coffee. For an extra layer of indulgence, try them with a dollop of sugar-free whipped cream or a sprinkle of dark chocolate shavings. They also pair beautifully with a light and refreshing salad if you’re looking for a balanced meal.
Storage and Reheating Guidance
These cake cups are best enjoyed fresh, but they can be stored in an airtight container in the refrigerator for up to two days. If you need to refresh them, a quick 10-second zap in the microwave will do the trick, just enough to warm them slightly without compromising their airy texture.
FAQ
Can I make these in advance?
Yes, you can prepare the cake cups a day ahead and store them in the fridge. Add the strawberries and cream just before serving to ensure freshness.
Can I use almond flour instead of coconut flour?
Absolutely! Almond flour can be a great substitute, but you’ll need to adjust the quantity, as almond flour is less absorbent than coconut flour. Start with about 1.5 times the amount of coconut flour.
How can I make the cake cups more festive?
Consider adding a splash of vanilla extract or a pinch of cinnamon to the batter. For a festive presentation, dust with a little unsweetened cocoa powder or decorate with a sprig of mint.
A Warm, Encouraging Final Note
Thank you for joining me on this delightful culinary adventure. I hope these Low Carb Strawberry Angel Cake Cups bring as much joy to your home as they do to mine. Remember, the best recipes are those made with love and shared with those close to your heart. Until next time, keep experimenting, keep tasting, and most importantly, keep enjoying every moment in the kitchen.
With love and sweetness,
Naomi

Low Carb Strawberry Angel Cake Cups
Description
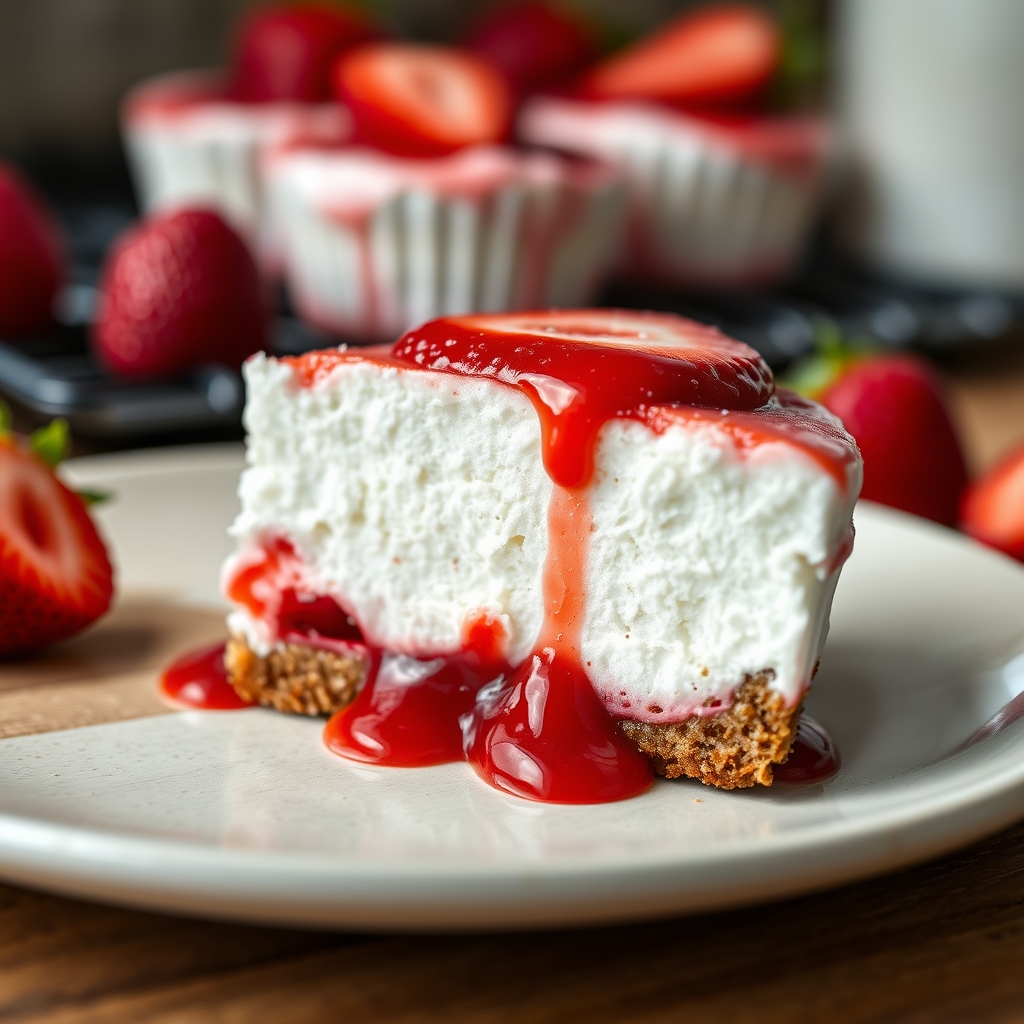
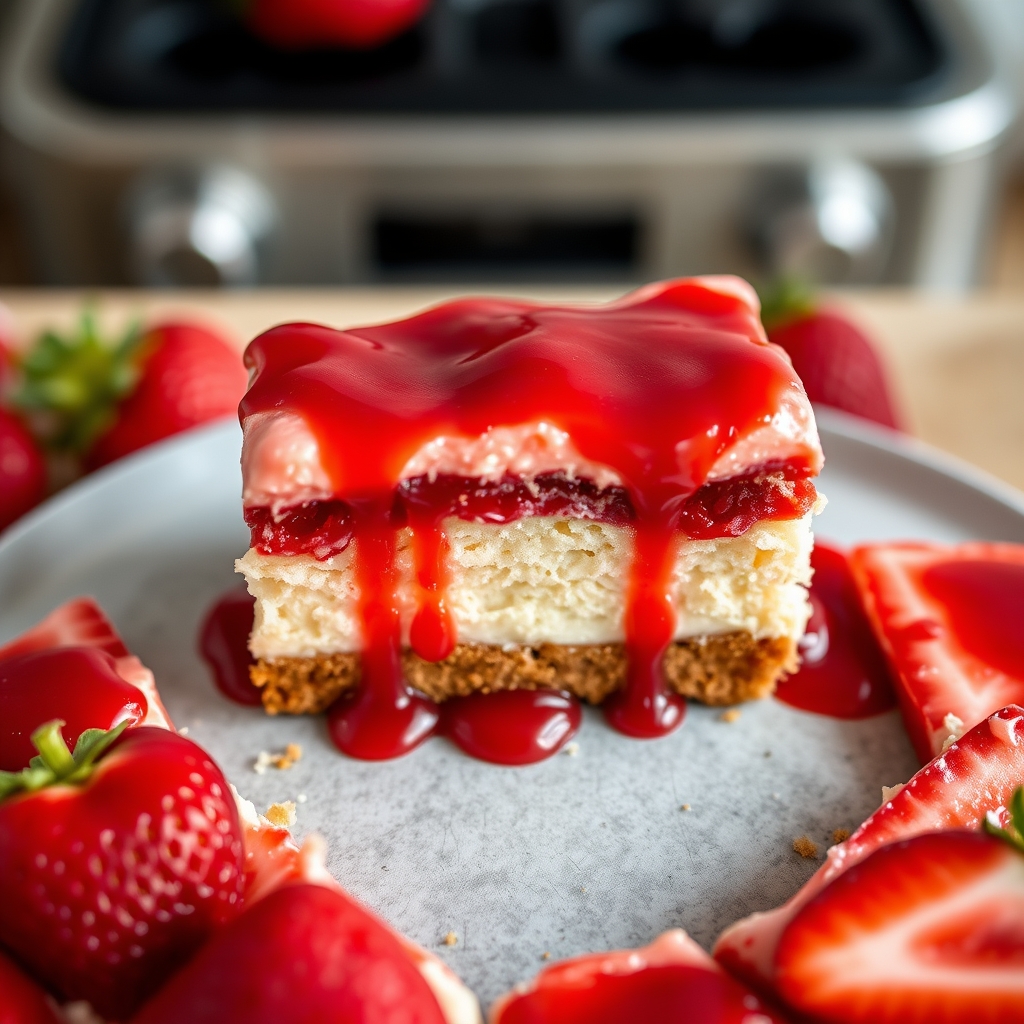
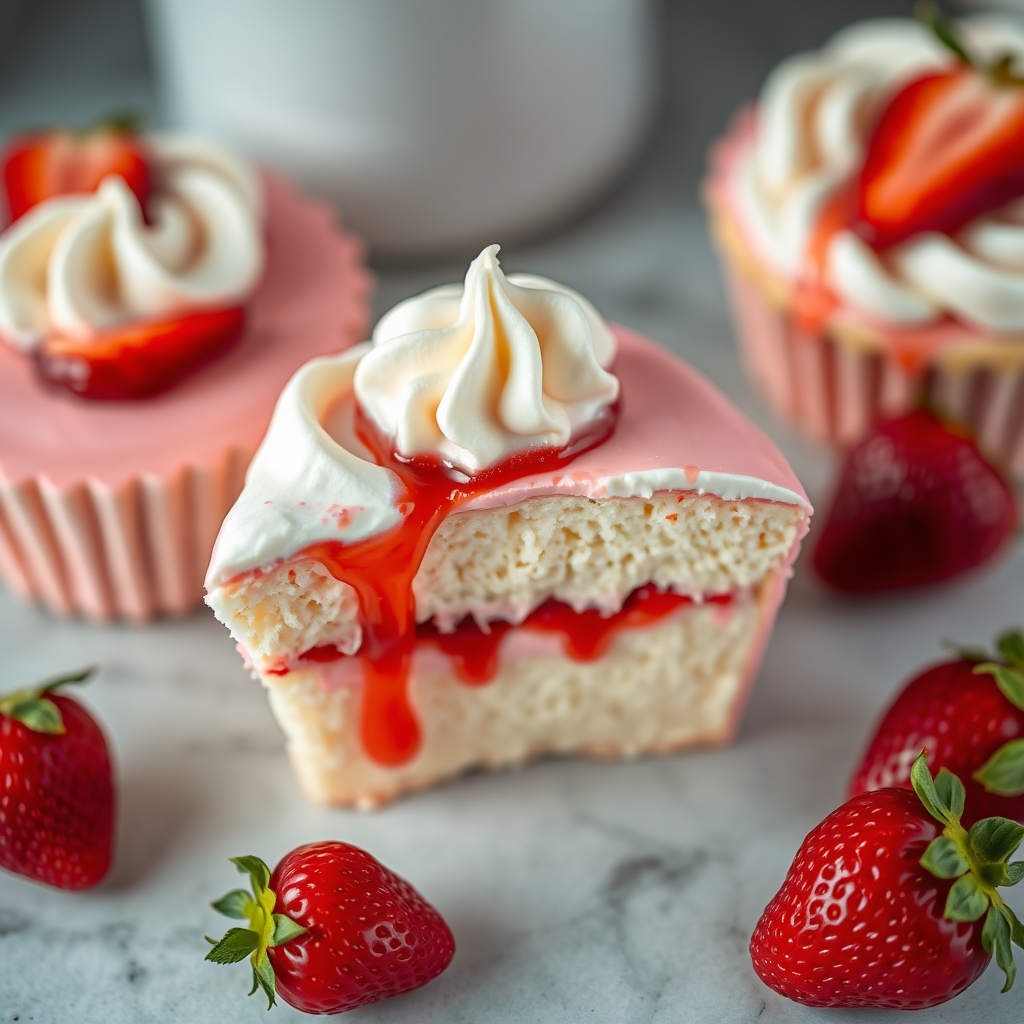
Delightfully light and fluffy, these Low Carb Strawberry Angel Cake Cups are a perfect guilt-free dessert. Packed with fresh strawberries and a touch of sweetness, they are ideal for any occasion.
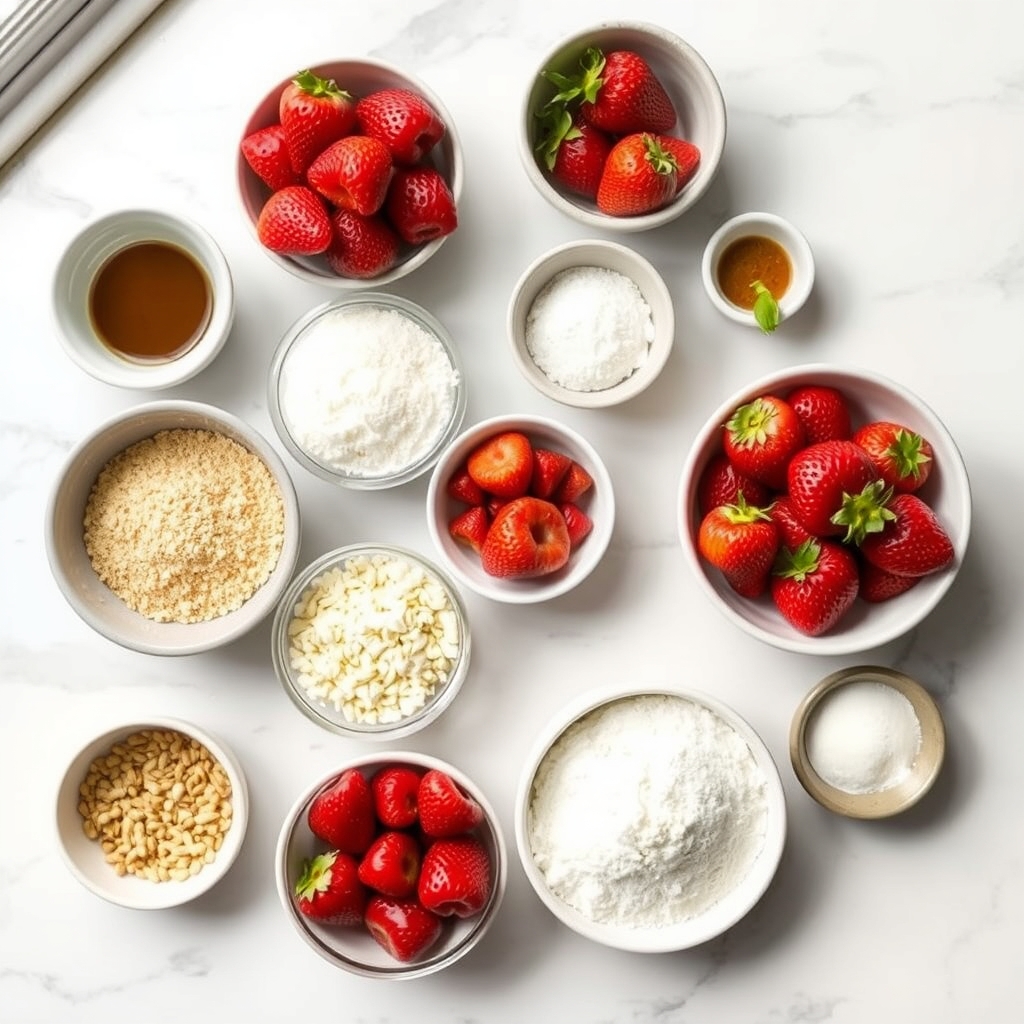
Ingredients
For the Crust:
- For the Cake:
- 1/2 cup almond flour
- 1/4 cup coconut flour
- 1/2 cup erythritol
- 1 tsp baking powder
- 1/4 tsp salt
- 6 large egg whites, room temperature
- 1/2 tsp cream of tartar
- 1 tsp vanilla extract
- For the Strawberry Topping:
- 1 cup fresh strawberries, hulled and sliced
- 1 tbsp lemon juice
- 1 tbsp erythritol
- Whipped cream for serving (optional)
Instructions
1. Prepare the Crust:
- Preheat the oven to 350°F (175°C). Prepare a muffin tin with paper liners.
- In a medium bowl, whisk together almond flour, coconut flour, erythritol, baking powder, and salt. Set aside.
- In a large mixing bowl, beat the egg whites and cream of tartar on medium speed until soft peaks form.
- Gradually add the vanilla extract and continue to beat until stiff peaks form. Be careful not to overbeat.
- Gently fold the dry ingredients into the egg whites, a little at a time, using a spatula. Be gentle to not deflate the mixture.
- Spoon the batter evenly into the prepared muffin cups, filling each about three-quarters full.
- Bake for 15-20 minutes, or until the tops are golden and a toothpick inserted into the center comes out clean.
- While the cakes are baking, prepare the strawberry topping. In a small bowl, combine sliced strawberries, lemon juice, and erythritol. Stir to coat and let sit for at least 10 minutes.
- Once the cakes are baked, allow them to cool completely on a wire rack.
- Top each angel cake cup with a generous spoonful of the strawberry mixture and a dollop of whipped cream, if desired.
Notes
These angel cake cups are best enjoyed on the day they are made but can be stored in an airtight container in the refrigerator for up to 2 days. The strawberry topping can be made in advance and stored separately.