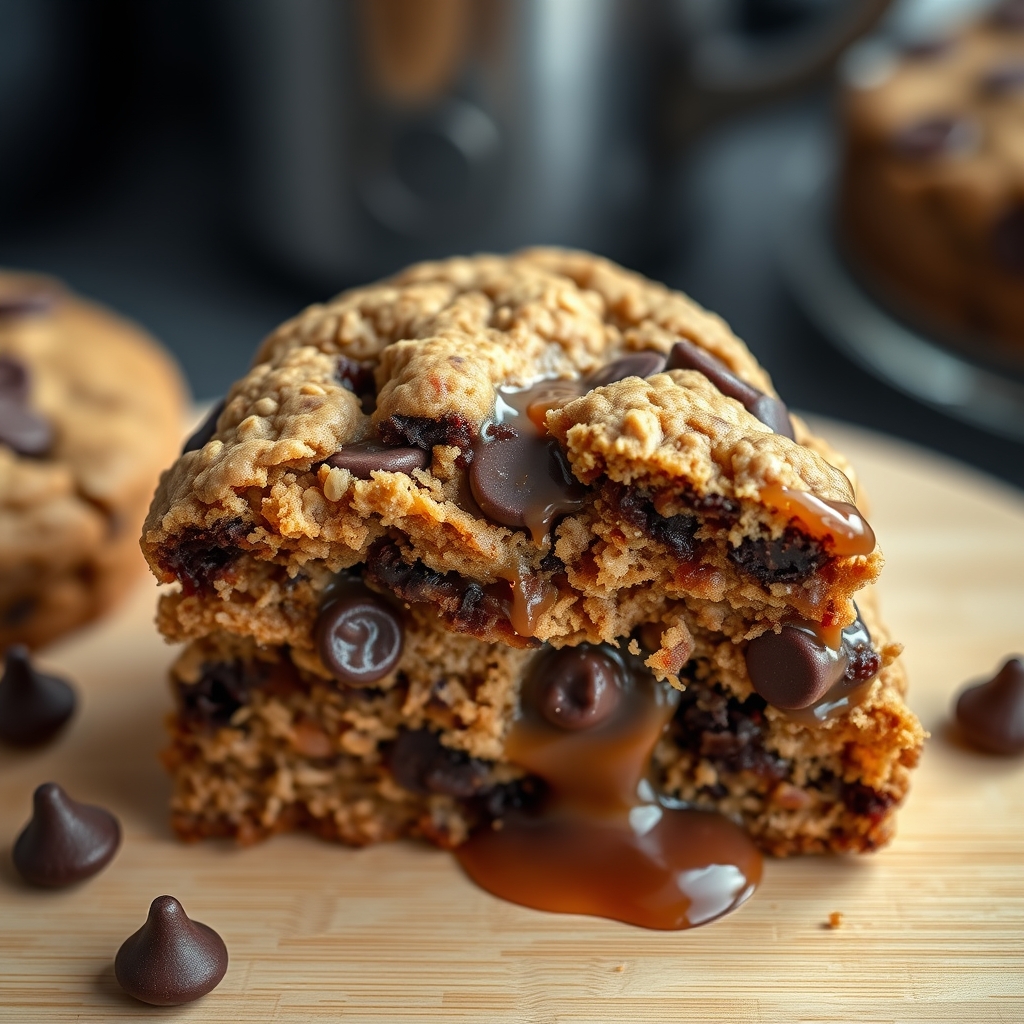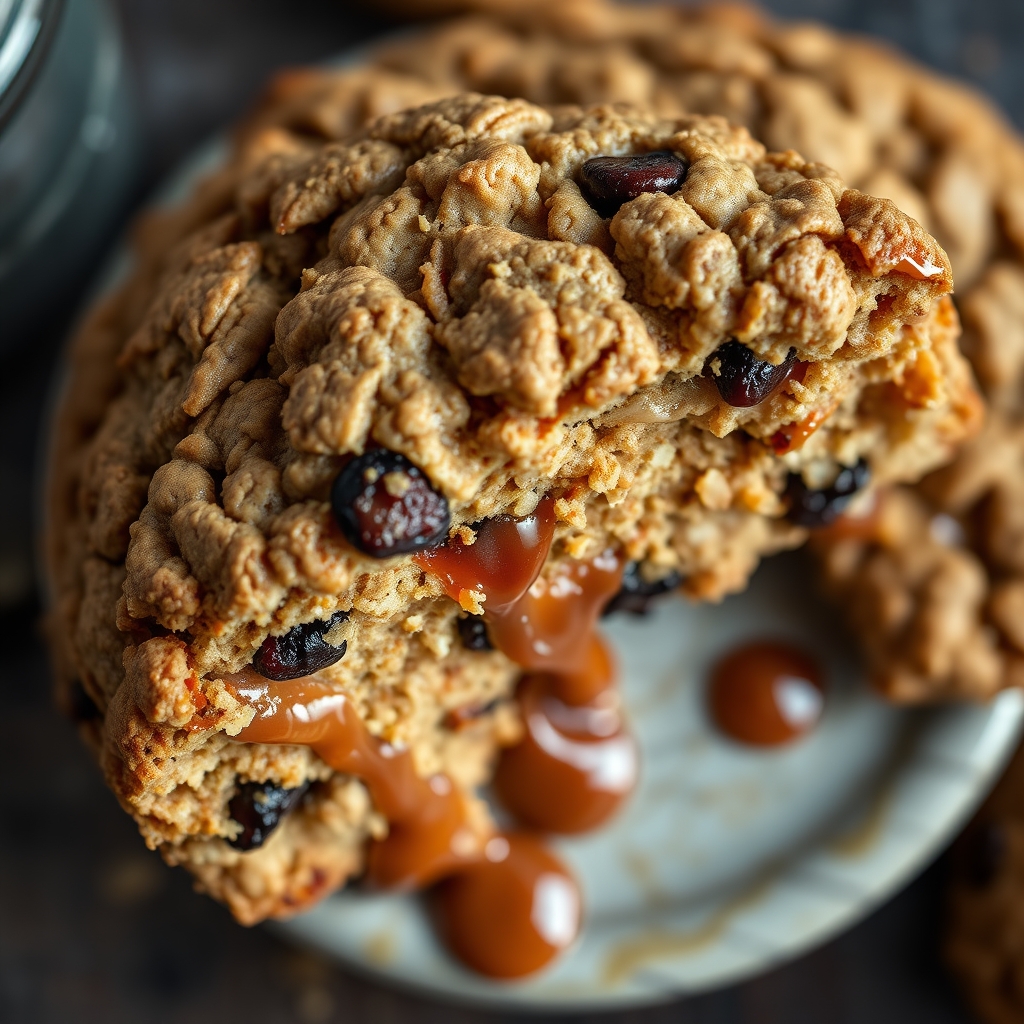
Soft & Chewy Oatmeal Raisin Cookies
There’s something undeniably comforting about a warm oatmeal raisin cookie fresh from the oven. The way the edges are just slightly crisp while the centers stay irresistibly soft and chewy makes this classic treat a timeless favorite. Whether you’re baking for a cozy afternoon snack, a lunchbox surprise, or a holiday cookie exchange, this recipe delivers perfection every time. Let’s dive into the secrets behind making the best soft and chewy oatmeal raisin cookies you’ve ever tasted.
Why You’ll Love This Recipe
If you’re looking for a foolproof oatmeal raisin cookie recipe that guarantees soft, chewy, and flavorful results, this is it. Here’s why this recipe stands out:
- Perfect Texture: A careful balance of butter, brown sugar, and oats ensures a cookie that’s tender on the inside with just the right amount of chew.
- Warm Spices: Cinnamon and a touch of nutmeg elevate the flavor, making each bite rich and aromatic.
- Plump, Juicy Raisins: Soaking the raisins beforehand keeps them soft and prevents them from drying out during baking.
- Easy to Customize: This recipe is versatile—swap in nuts, chocolate chips, or even dried cranberries for a fun twist.
- Crowd-Pleasing: Loved by kids and adults alike, these cookies are a guaranteed hit at gatherings or as a simple homemade treat.
Ingredients Breakdown
Every ingredient in these soft and chewy oatmeal raisin cookies plays a crucial role in achieving the perfect texture and flavor. Here’s what you’ll need and why:
- Butter: Unsalted butter, softened to room temperature, provides richness and helps create a tender crumb.
- Brown Sugar: The molasses in brown sugar adds moisture and depth, contributing to the cookies’ chewiness.
- Eggs: One large egg binds the dough while adding structure and moisture.
- Vanilla Extract: A splash of pure vanilla enhances the warm, comforting flavors.
- All-Purpose Flour: The base of the dough, giving structure without making the cookies too dense.
- Old-Fashioned Rolled Oats: These provide the signature hearty texture and nutty flavor.
- Cinnamon & Nutmeg: These spices add warmth and complexity, making the cookies taste like a hug in every bite.
- Baking Soda: Helps the cookies rise slightly for the perfect thickness.
- Salt: Balances the sweetness and enhances all the other flavors.
- Raisins: Plump, sweet, and slightly tangy, they add bursts of flavor and texture.
How to Make Soft & Chewy Oatmeal Raisin Cookies
Follow these steps for foolproof, bakery-worthy oatmeal raisin cookies every time:
- Soak the Raisins: Place raisins in a bowl of warm water for 10 minutes to plump them up. Drain and pat dry before using.
- Cream Butter & Sugars: In a large bowl, beat softened butter, brown sugar, and granulated sugar until light and fluffy, about 2–3 minutes.
- Add Wet Ingredients: Mix in the egg and vanilla extract until fully incorporated.
- Combine Dry Ingredients: In a separate bowl, whisk together flour, oats, cinnamon, nutmeg, baking soda, and salt.
- Mix Dough: Gradually add the dry ingredients to the wet mixture, mixing just until combined. Fold in the drained raisins.
- Chill the Dough: Cover and refrigerate for at least 30 minutes (or up to 24 hours) to prevent spreading and enhance flavor.
- Preheat & Prep: Preheat oven to 350°F and line baking sheets with parchment paper.
- Scoop & Bake: Drop dough by rounded tablespoons onto sheets, spacing them 2 inches apart. Bake for 10–12 minutes until edges are golden but centers are still soft.
- Cool: Let cookies rest on the baking sheet for 5 minutes before transferring to a wire rack to cool completely.
Pro Tips for the Best Results
Want to take your oatmeal raisin cookies to the next level? Try these expert tips:
- Use Room Temperature Butter: Softened butter creams more evenly with sugar, creating a lighter texture.
- Don’t Overmix: Stir just until ingredients combine to avoid tough cookies.
- Chill the Dough: This prevents excess spreading and allows flavors to meld.
- Underbake Slightly: Pull cookies out when centers look slightly underdone—they’ll firm up as they cool.
- Press Extra Raisins on Top: For a prettier presentation, gently press a few extra raisins onto each cookie before baking.
Variations and Substitutions
This recipe is wonderfully adaptable. Here are some delicious variations to try:
- Nutty Version: Add ½ cup chopped walnuts or pecans for extra crunch.
- Chocolate Twist: Swap raisins for chocolate chips or use a mix of both.
- Gluten-Free: Substitute gluten-free flour and certified GF oats.
- Vegan Option: Use plant-based butter, flax eggs, and dairy-free chocolate chips if desired.
- Spiced Up: Add a pinch of cloves or allspice for deeper warmth.
What to Serve With It
Oatmeal raisin cookies pair beautifully with so many things. Here are a few serving ideas:
- Milk: A classic pairing—dunk cookies in cold milk for nostalgia.
- Tea or Coffee: Enjoy with a hot cup of chai or black coffee.
- Ice Cream: Sandwich a scoop of vanilla ice cream between two cookies.
- Fruit: Serve alongside fresh apple slices or a fruit salad.
How to Store and Reheat
Keep your cookies fresh and delicious with these storage tips:
- Room Temperature: Store in an airtight container for up to 5 days.
- Freezing Dough: Scoop unbaked dough onto a tray, freeze solid, then transfer to a bag. Bake straight from frozen, adding 1–2 extra minutes.
- Freezing Baked Cookies: Layer cooled cookies between parchment in a freezer-safe container for up to 3 months.
- Reheating: Warm cookies in a 300°F oven for 3–5 minutes or microwave for 10 seconds to restore softness.
Frequently Asked Questions (FAQs)
Here are answers to common questions about making oatmeal raisin cookies:
Can I use quick oats instead of rolled oats?
Yes, but the texture will be slightly less chewy. Quick oats absorb more moisture, so the cookies may be denser.
Why did my cookies spread too much?
This usually happens if the butter was too soft or the dough wasn’t chilled. Always chill the dough before baking.
Can I reduce the sugar?
You can cut sugar by ¼ cup, but the cookies will be less soft and chewy. Brown sugar is key for moisture.
How do I prevent raisins from sinking?
Toss raisins in a bit of flour before folding them into the dough to help them distribute evenly.
Can I make these cookies ahead?
Absolutely! The dough keeps well in the fridge for up to 2 days or in the freezer for 3 months.
Final Thoughts
There’s nothing quite like the aroma of freshly baked oatmeal raisin cookies filling your kitchen. This recipe is a tried-and-true favorite, delivering soft, chewy cookies packed with warm spices and sweet raisins. Whether you’re baking for a special occasion or just because, these cookies are sure to bring smiles. Don’t be surprised if they disappear quickly—they’re that good. Happy baking!
Print
Soft & Chewy Oatmeal Raisin Cookies
Description
These oatmeal raisin cookies are perfectly soft, chewy, and packed with warm cinnamon flavor. The raisins add a natural sweetness, making them a comforting treat for any occasion.
Ingredients
For the Crust:
- For the dough:
- 1 cup (2 sticks) unsalted butter, softened
- 1 cup packed light brown sugar
- 1/2 cup granulated sugar
- 2 large eggs
- 2 teaspoons vanilla extract
- 1 1/2 cups all-purpose flour
- 1 teaspoon baking soda
- 1 teaspoon ground cinnamon
- 1/2 teaspoon salt
- 3 cups old-fashioned rolled oats
- For the mix-ins:
- 1 cup raisins
- 1/2 cup chopped walnuts (optional)
Instructions
1. Prepare the Crust:
- 1. Preheat oven to 350°F (175°C). Line baking sheets with parchment paper.
- 2. In a large bowl, cream together the butter, brown sugar, and granulated sugar until light and fluffy.
- 3. Beat in the eggs one at a time, then stir in the vanilla extract.
- 4. In a separate bowl, whisk together the flour, baking soda, cinnamon, and salt.
- 5. Gradually add the dry ingredients to the wet mixture, mixing until just combined.
- 6. Stir in the oats, raisins, and walnuts (if using) until evenly distributed.
- 7. Drop rounded tablespoons of dough onto the prepared baking sheets, spacing them about 2 inches apart.
- 8. Bake for 10-12 minutes, or until the edges are golden but the centers are still soft.
- 9. Let the cookies cool on the baking sheets for 5 minutes before transferring to a wire rack to cool completely.
Notes
For extra chewy cookies, slightly underbake them. Store in an airtight container at room temperature for up to 5 days. You can also substitute raisins with dried cranberries for a different flavor.