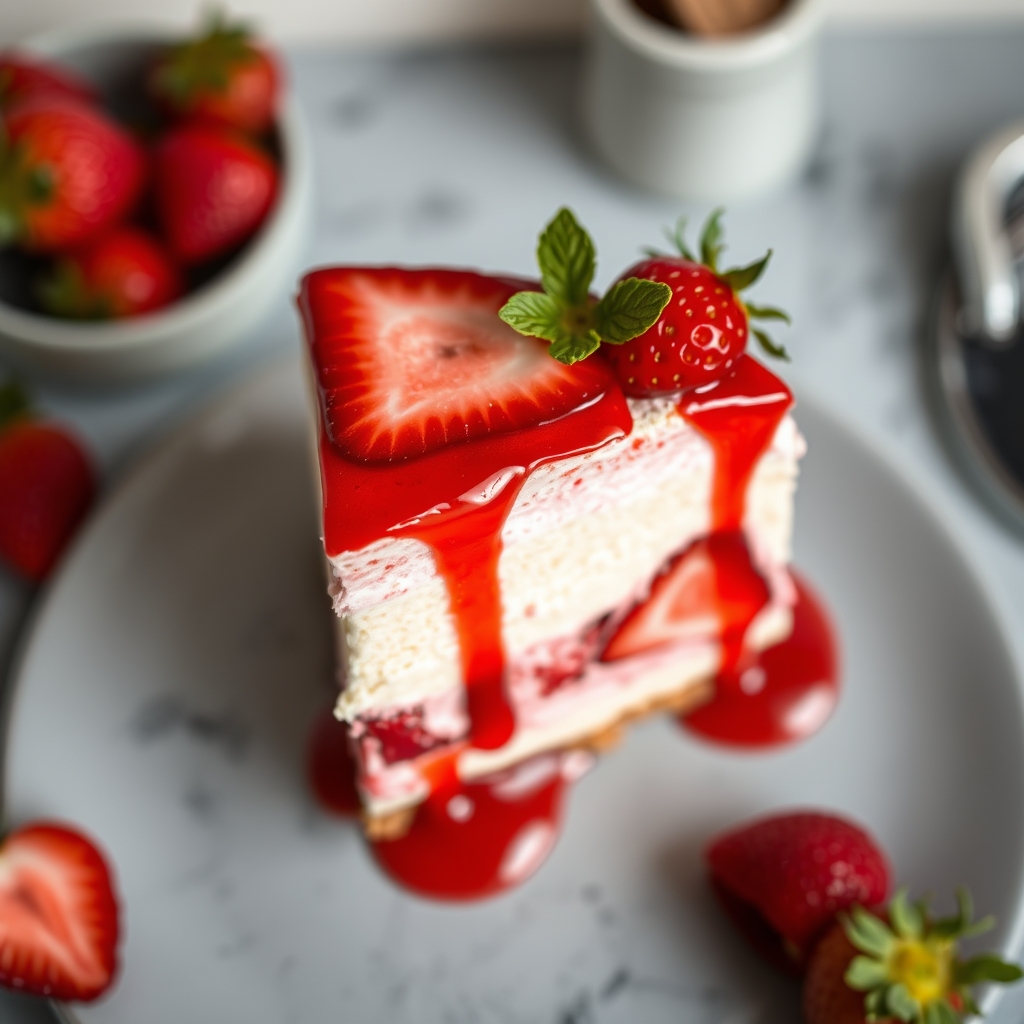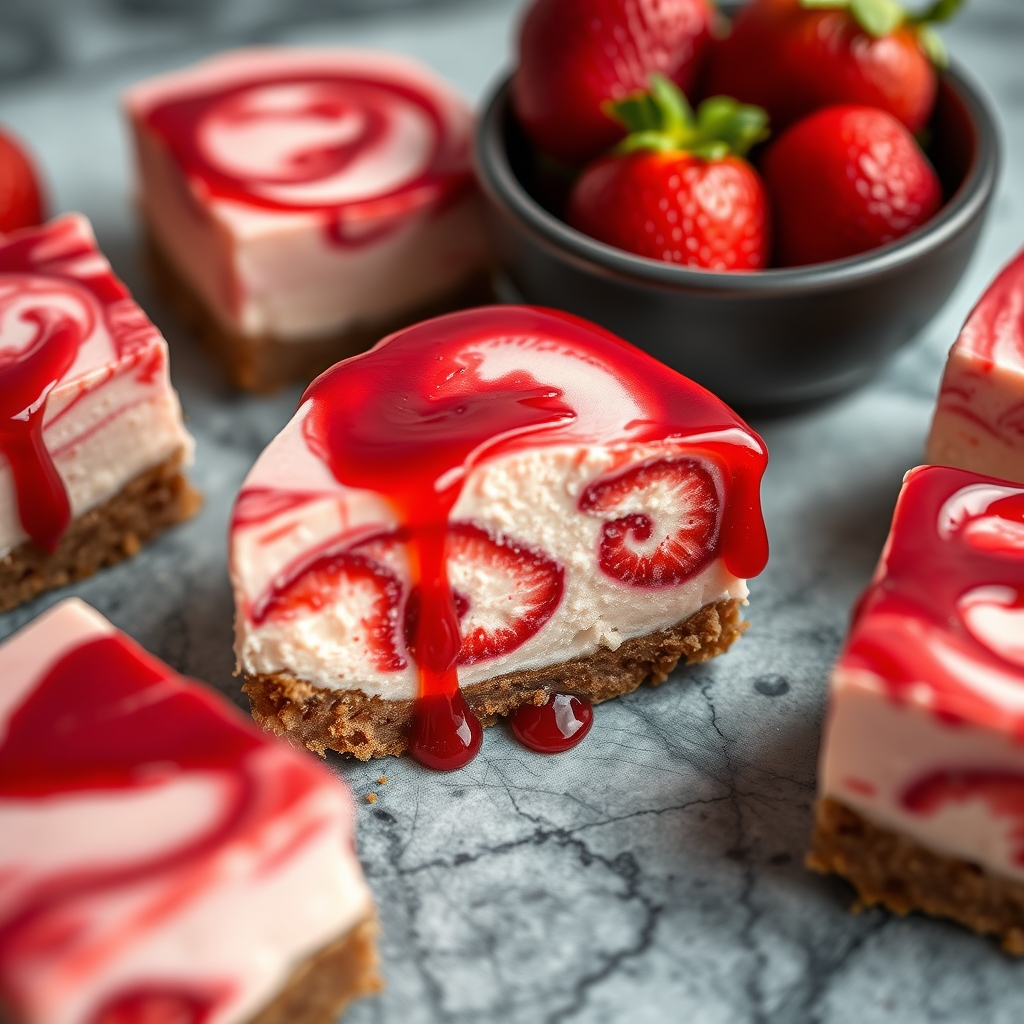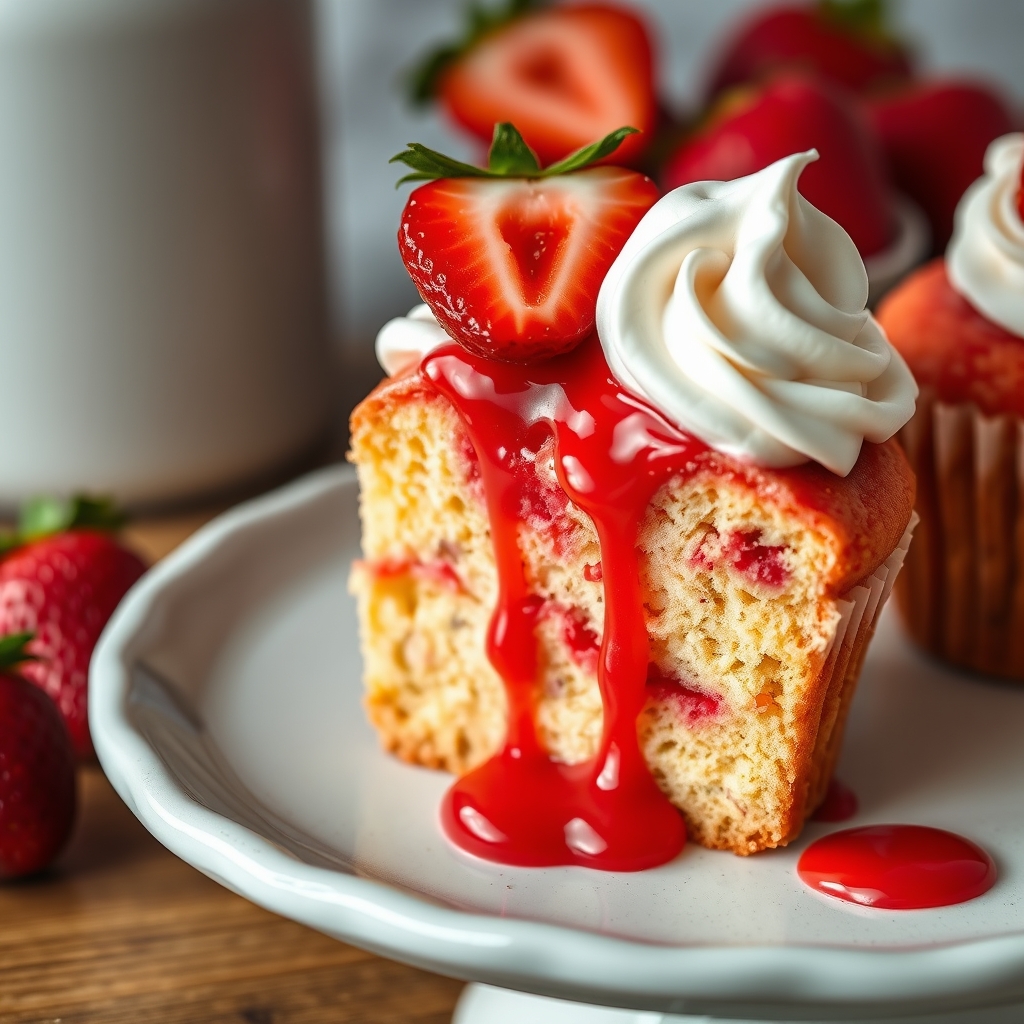
Low Carb Strawberry Cupcakes with Whipped Cream
Welcome, dear readers! Today, I’m sharing a recipe that holds a special place in my heart: Low Carb Strawberry Cupcakes with Whipped Cream. These delightful treats have become a cherished staple in my family, especially during those sunny spring afternoons when the garden is in full bloom and the world seems just a little bit brighter.
It all started when I was looking for a way to enjoy the luscious flavors of strawberries without all the sugar and carbs. My sister and I have a tradition of baking together on weekends, and one day, she challenged me to come up with a guilt-free dessert. I remember us laughing in the kitchen, flour dusting our noses, as we experimented with various ingredients. Finally, we crafted these scrumptious cupcakes that not only satisfy the sweet tooth but also fit perfectly into a low-carb lifestyle.
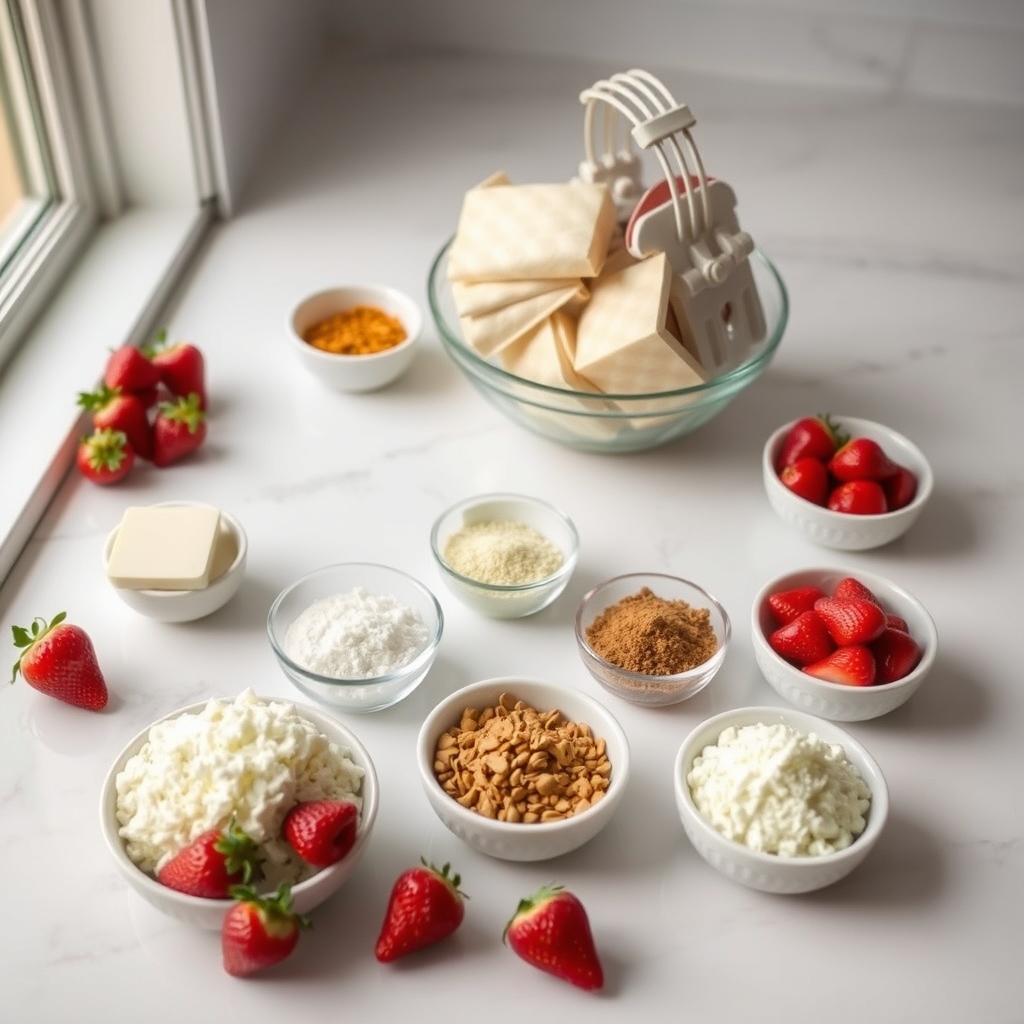
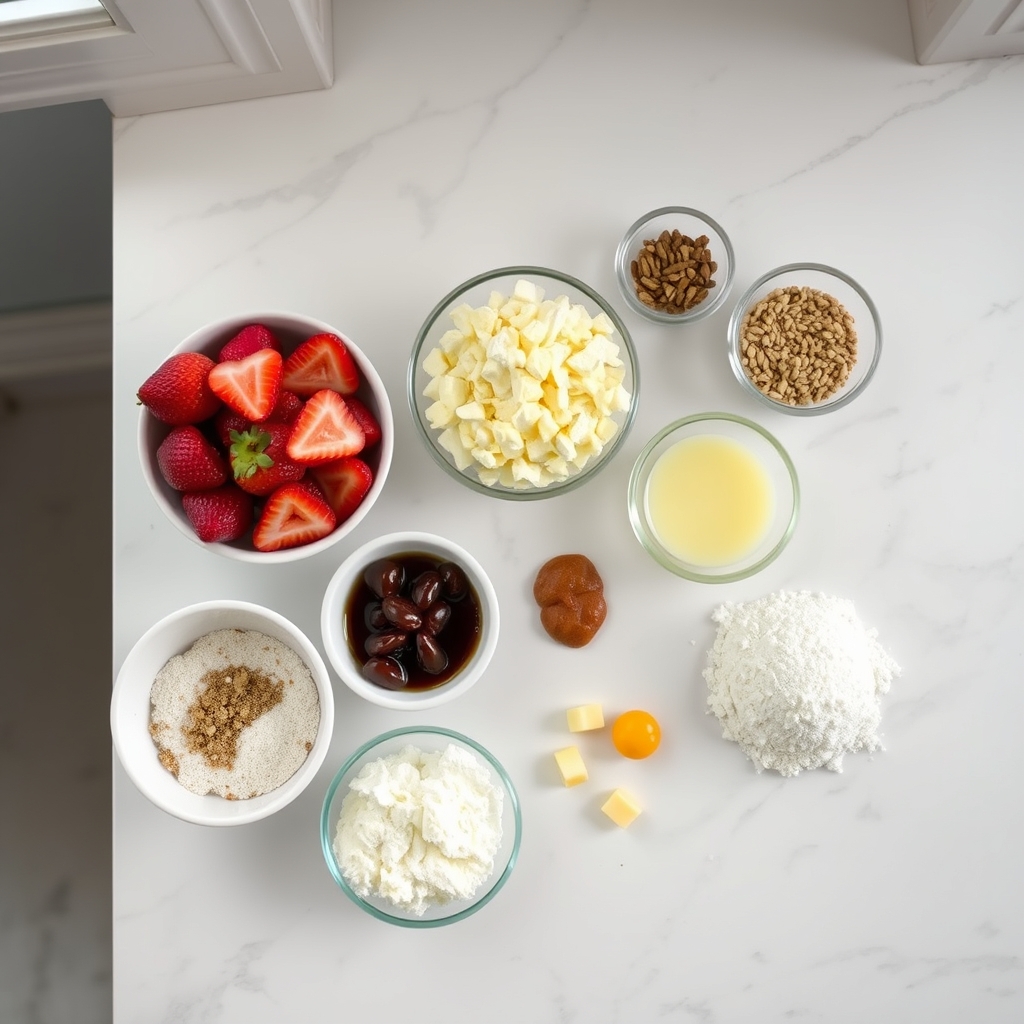
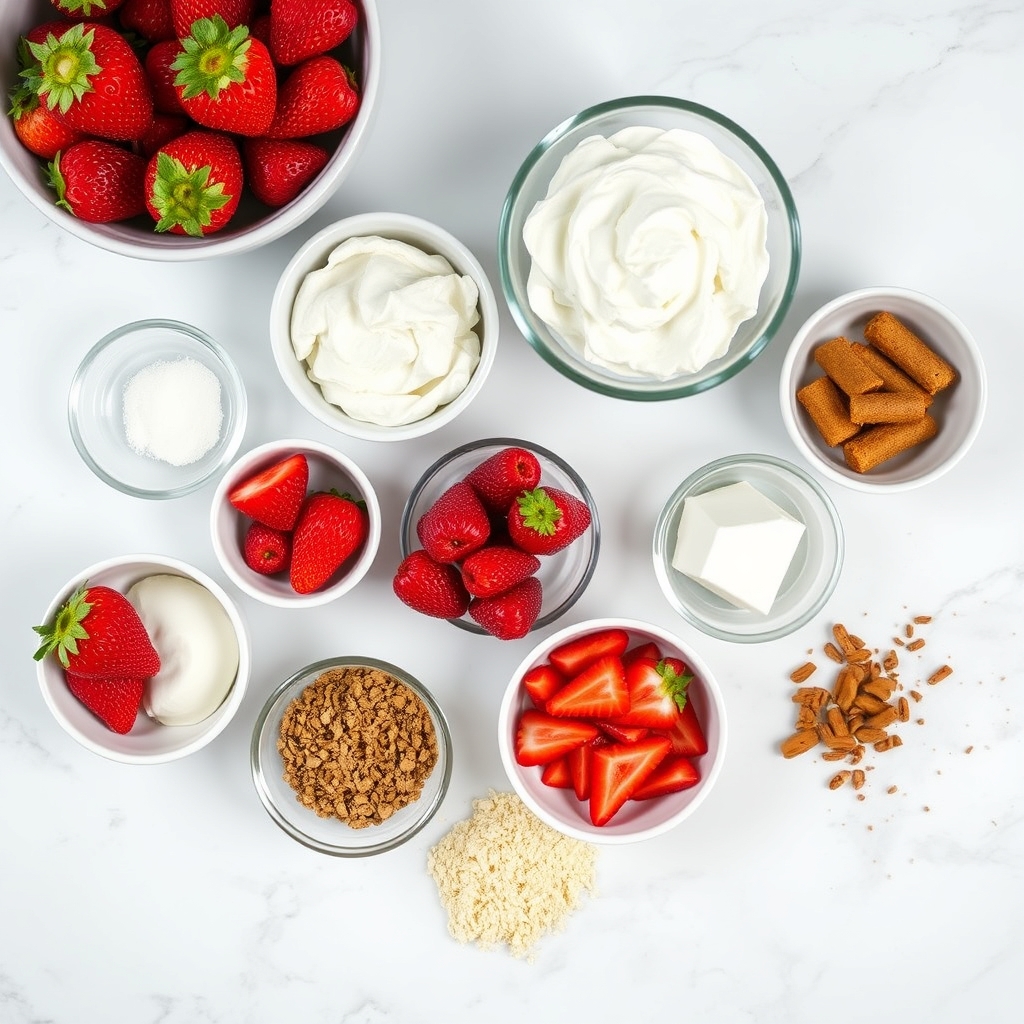
Ingredients
- Almond Flour (1 ½ cups): The backbone of our cupcakes, almond flour provides a moist, nutty base that’s perfect for low-carb baking. It’s a great alternative to traditional flour and adds a subtle richness to the cupcakes.
- Granulated Erythritol (½ cup): This natural sweetener is a fantastic low-calorie substitute for sugar. It sweetens just like sugar but without the carbs, making it ideal for our low-carb recipe.
- Baking Powder (1 ½ teaspoons): A crucial ingredient for giving our cupcakes that lovely lift, ensuring they’re light and fluffy.
- Salt (¼ teaspoon): Just a pinch to enhance all the wonderful flavors in the cupcakes.
- Eggs (3 large): Eggs provide structure and richness, binding everything together beautifully.
- Vanilla Extract (1 teaspoon): A splash of vanilla adds a warm, aromatic note that complements the strawberries perfectly.
- Unsalted Butter (½ cup, melted): Butter adds a lovely buttery flavor and moisture to our cupcakes. Make sure it’s cooled slightly before adding it in.
- Fresh Strawberries (1 cup, diced): The star of the show! Sweet, juicy strawberries bring a burst of freshness and color to each bite.
Instructions
- Preheat your oven to 350°F (175°C). While you wait for the oven to warm up, take a moment to prepare your baking space. I like to light a candle and play some soft music to set a cozy mood.
- Prepare a muffin tin. Line it with cupcake liners or lightly grease each cup to prevent sticking. This is a great time to let little helpers join in. My niece loves arranging the liners like a puzzle.
- Mix the dry ingredients. In a medium bowl, whisk together the almond flour, erythritol, baking powder, and salt. This ensures even distribution, so your cupcakes rise perfectly.
- Beat the wet ingredients. In another bowl, beat the eggs and vanilla extract together until slightly frothy. Gradually whisk in the melted butter. The key here is to ensure the butter is not too hot, or it might cook the eggs.
- Combine wet and dry mixtures. Gently fold the dry ingredients into the wet mixture until just combined. The batter will be a bit thick, but that’s exactly what we want.
- Add the strawberries. Carefully fold in the diced strawberries, spreading little fruity gems throughout the batter. Try not to overmix, as this can crush the strawberries and affect the texture.
At this point, your kitchen should be filled with the sweet aroma of strawberries and vanilla. It’s a scent that always makes me smile, reminding me of joyful days spent with loved ones in the heart of the home. Stay tuned for the second half of this delightful recipe, where we’ll bake our cupcakes to perfection and whip up a dreamy cream topping!
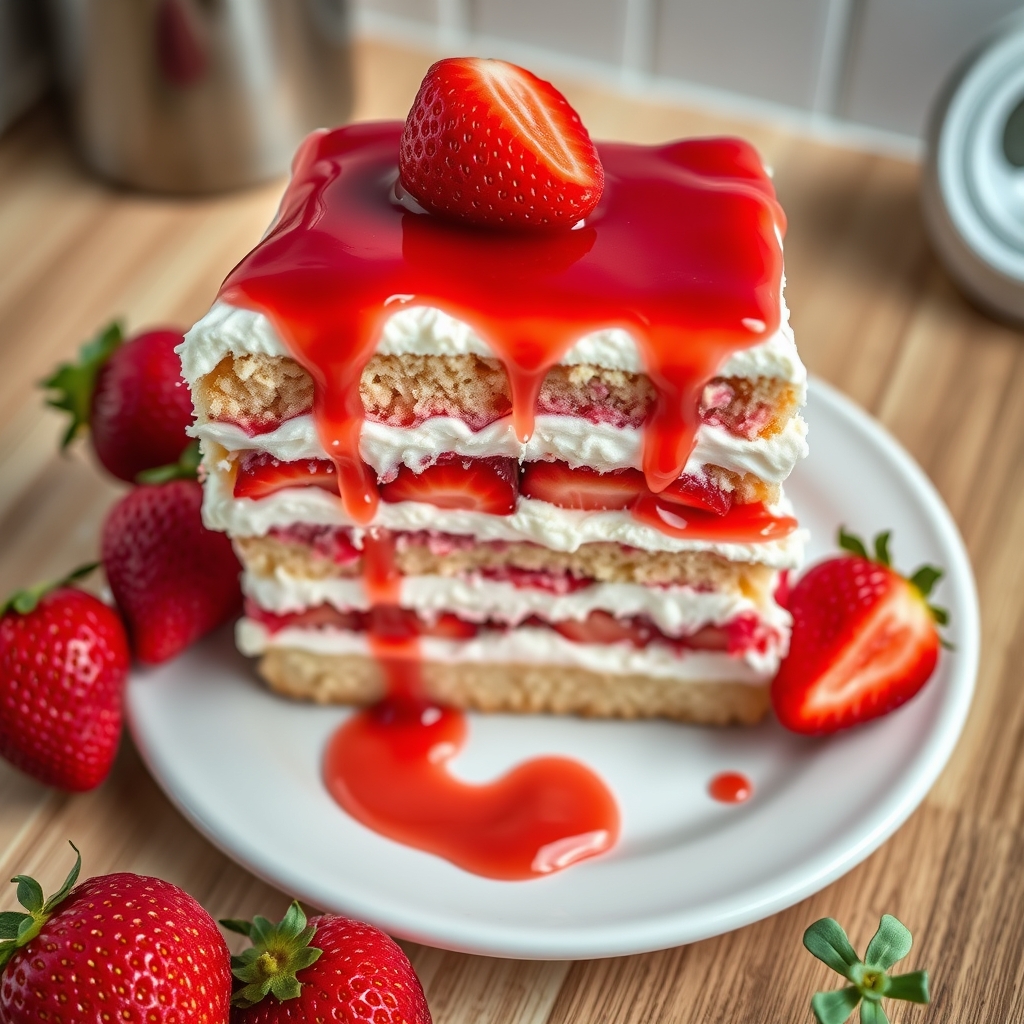
Low Carb Strawberry Cupcakes with Whipped Cream
Hello, dear friends! As we continue our journey through the delicious world of low-carb baking, I am thrilled to share with you one of my favorite treats: low carb strawberry cupcakes topped with luscious whipped cream. These little delights are perfect for satisfying a sweet tooth without any guilt. Let’s dive deeper into making these cupcakes truly extraordinary!
Pro Tips for Perfect Cupcakes
- Use Fresh Strawberries: Fresh, juicy strawberries will provide the best flavor. If you must use frozen, ensure they are completely thawed and drained well.
- Room Temperature Ingredients: Make sure all your ingredients, especially eggs, are at room temperature to ensure even mixing and a smooth batter.
- Don’t Overmix the Batter: Overmixing can lead to dense cupcakes. Mix until just combined for a light and fluffy texture.
Variations and Substitutions
Feel free to get creative with your cupcakes! Here are a few variations you might enjoy:
- Chocolate Twist: Add a tablespoon of unsweetened cocoa powder to the batter for a chocolate-strawberry flavor.
- Nuts for Crunch: Fold in a handful of chopped almonds or walnuts for a delightful crunch.
- Dairy-Free Option: Substitute coconut cream for whipped cream and use almond milk instead of regular milk.
What to Serve With Your Cupcakes
These cupcakes pair beautifully with a freshly brewed cup of herbal tea or a frothy cappuccino. For a more indulgent experience, serve them with a scoop of sugar-free vanilla ice cream or a drizzle of melted dark chocolate.
Storage and Reheating Guidance
Store any leftover cupcakes in an airtight container in the refrigerator for up to 3 days. To enjoy them warm, gently reheat in the microwave for about 10-15 seconds. Be sure to add the whipped cream just before serving to keep it fresh and fluffy.
Frequently Asked Questions
Can I use a sugar substitute?
Absolutely! I recommend using erythritol or monk fruit sweetener as they tend to blend well and maintain the sweetness without adding carbs.
How can I make these cupcakes vegan?
You can replace the eggs with a flaxseed meal (1 tablespoon flaxseed meal + 2.5 tablespoons water = 1 egg) and use coconut cream instead of whipped cream.
Is almond flour a must?
While almond flour gives these cupcakes a lovely texture and is low carb, you can substitute it with coconut flour. Just remember, coconut flour is more absorbent, so use about a third of the amount and add an extra egg for moisture.
Can I freeze these cupcakes?
Yes, you can! Freeze the cupcakes without whipped cream in an airtight container for up to a month. Thaw them in the refrigerator overnight and add fresh whipped cream before serving.
A Warm Note from Naomi
Thank you so much for joining me in baking these delightful low carb strawberry cupcakes. Each time I bake them, I am reminded of the joy that comes from creating something special in the kitchen. Whether you’re sharing them with family or savoring one alone with a good book, I hope these cupcakes bring a little extra sweetness to your day. Remember, baking is as much about the love you put into it as the ingredients you use. Happy baking!

Low Carb Strawberry Cupcakes with Whipped Cream
Description
Delight your taste buds with these low carb strawberry cupcakes topped with luscious whipped cream. Perfect for a guilt-free dessert or a sweet snack!
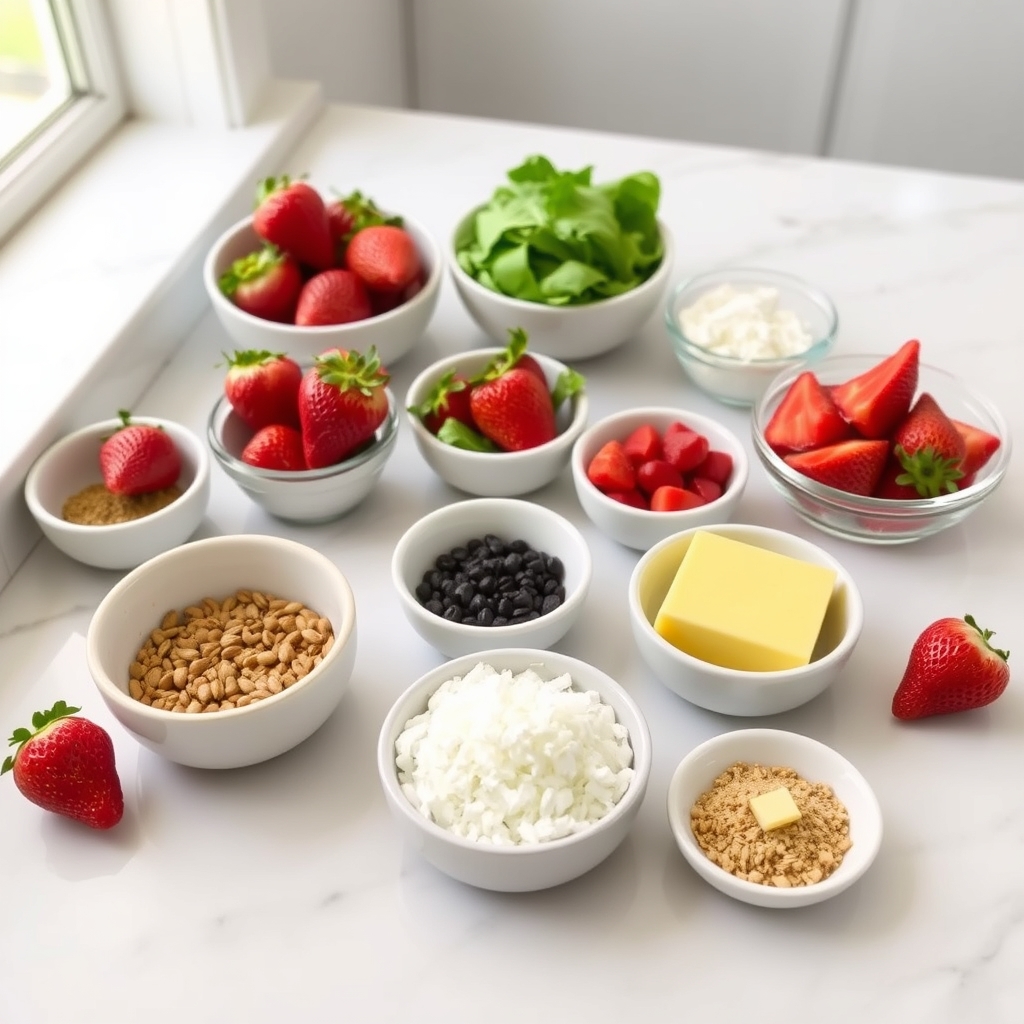
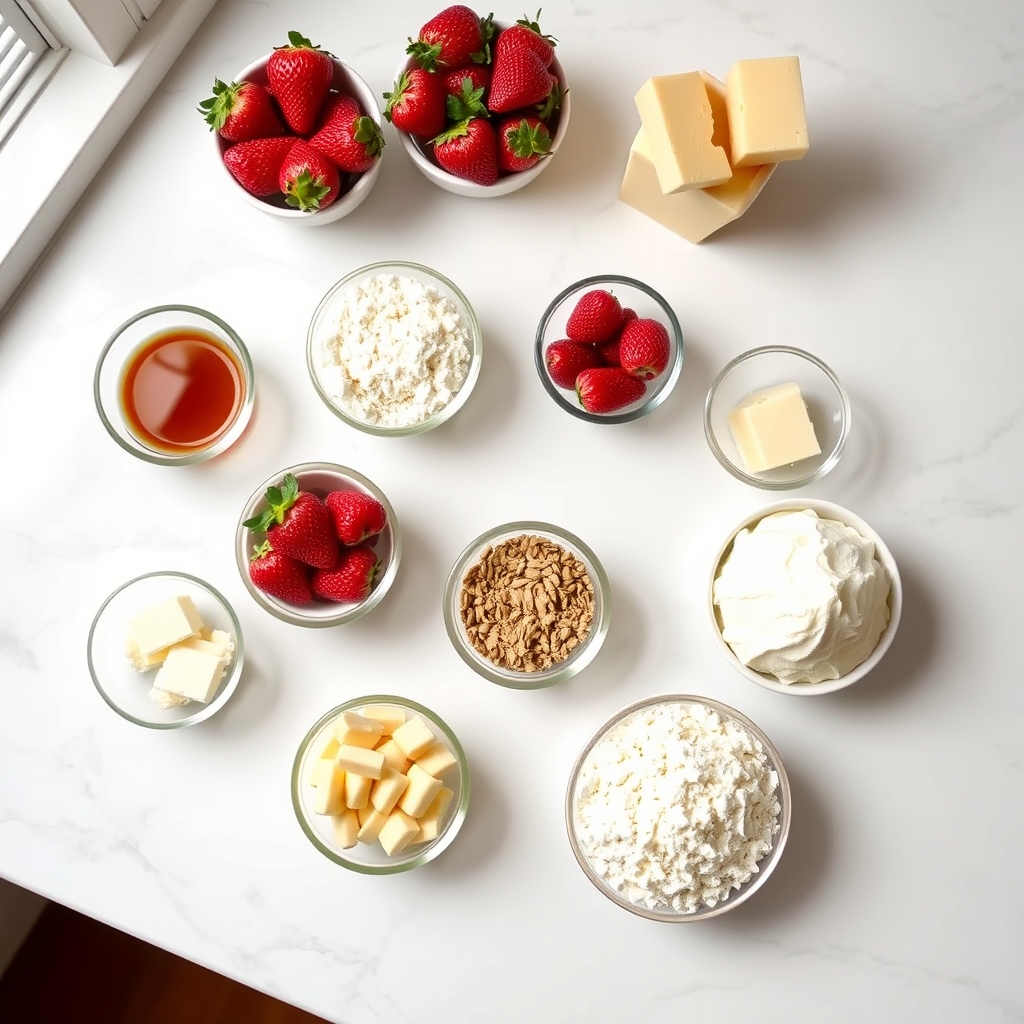
Ingredients
For the Crust:
- For the Cupcakes:
- 1 cup almond flour
- 1/4 cup coconut flour
- 1/2 cup granulated erythritol
- 1 tsp baking powder
- 1/4 tsp baking soda
- 1/4 tsp salt
- 1/2 cup unsalted butter, melted
- 3 large eggs, room temperature
- 1 tsp vanilla extract
- 1/4 cup unsweetened almond milk
- 1/2 cup fresh strawberries, chopped
- For the Whipped Cream:
- 1 cup heavy whipping cream
- 2 tbsp powdered erythritol
- 1/2 tsp vanilla extract
Instructions
1. Prepare the Crust:
- Preheat the oven to 350°F (175°C) and line a muffin tin with cupcake liners.
- In a large bowl, whisk together almond flour, coconut flour, erythritol, baking powder, baking soda, and salt.
- In another bowl, combine melted butter, eggs, vanilla extract, and almond milk. Whisk until smooth.
- Gradually add the wet ingredients to the dry ingredients, stirring until just combined.
- Gently fold in the chopped strawberries.
- Divide the batter evenly among the prepared cupcake liners, filling each about 3/4 full.
- Bake for 18-20 minutes, or until a toothpick inserted into the center comes out clean.
- Let the cupcakes cool in the pan for 5 minutes, then transfer to a wire rack to cool completely.
- For the whipped cream, beat the heavy whipping cream in a large bowl until soft peaks form.
- Add the powdered erythritol and vanilla extract, and continue to beat until stiff peaks form.
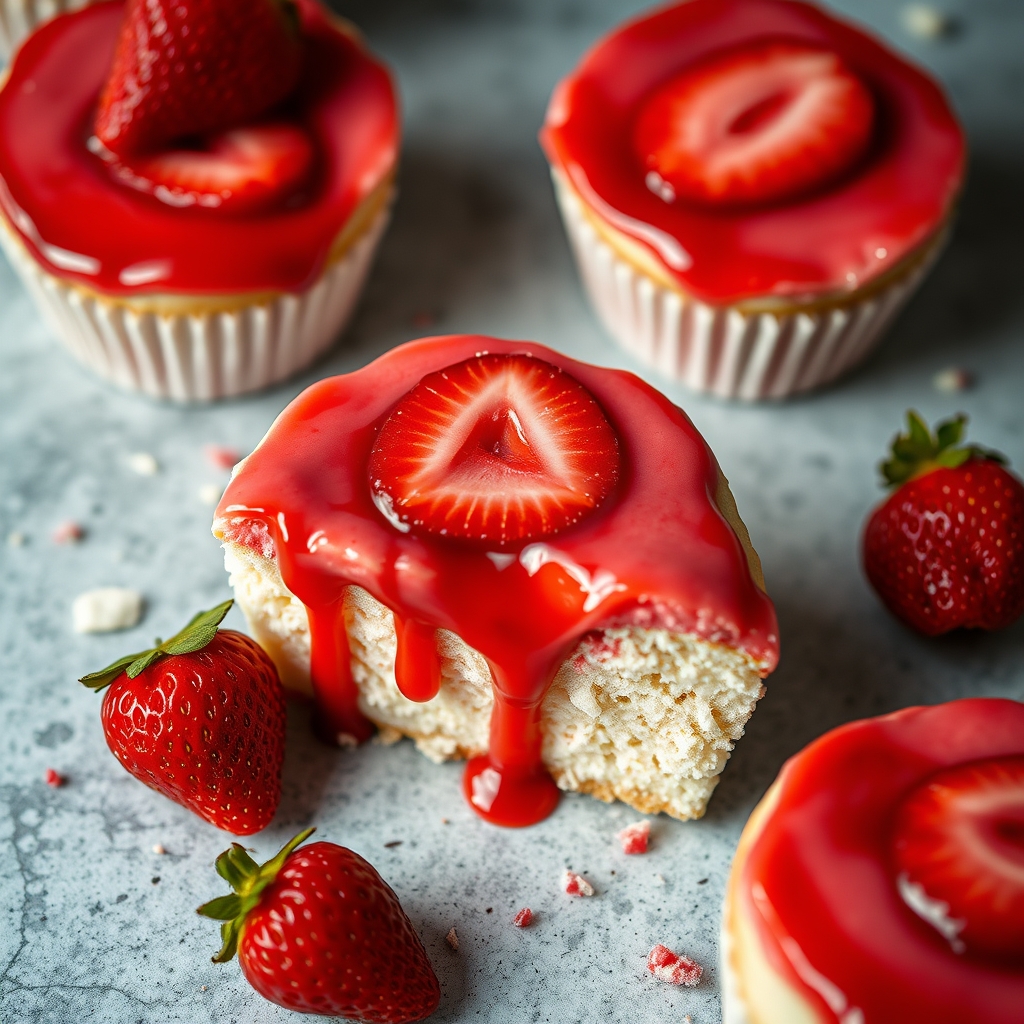
- Once the cupcakes are completely cool, top each with a generous dollop of whipped cream.
- Garnish with a slice of strawberry if desired. Serve immediately.
Notes
Store any leftover cupcakes in an airtight container in the refrigerator for up to 3 days. You can also prepare the whipped cream in advance and store it separately, then top the cupcakes just before serving.