Zesty Lemon Butter Fish Fillet: A Perfect Balance of Tangy and Rich Flavors

lemon butter fish recipe, tangy butter fish fillet, citrus fish recipe, lemon garlic butter fish, buttery fish with lemon, easy fish dinner recipe

Zesty Lemon Butter Fish Fillet: A Culinary Masterpiece

Introduction

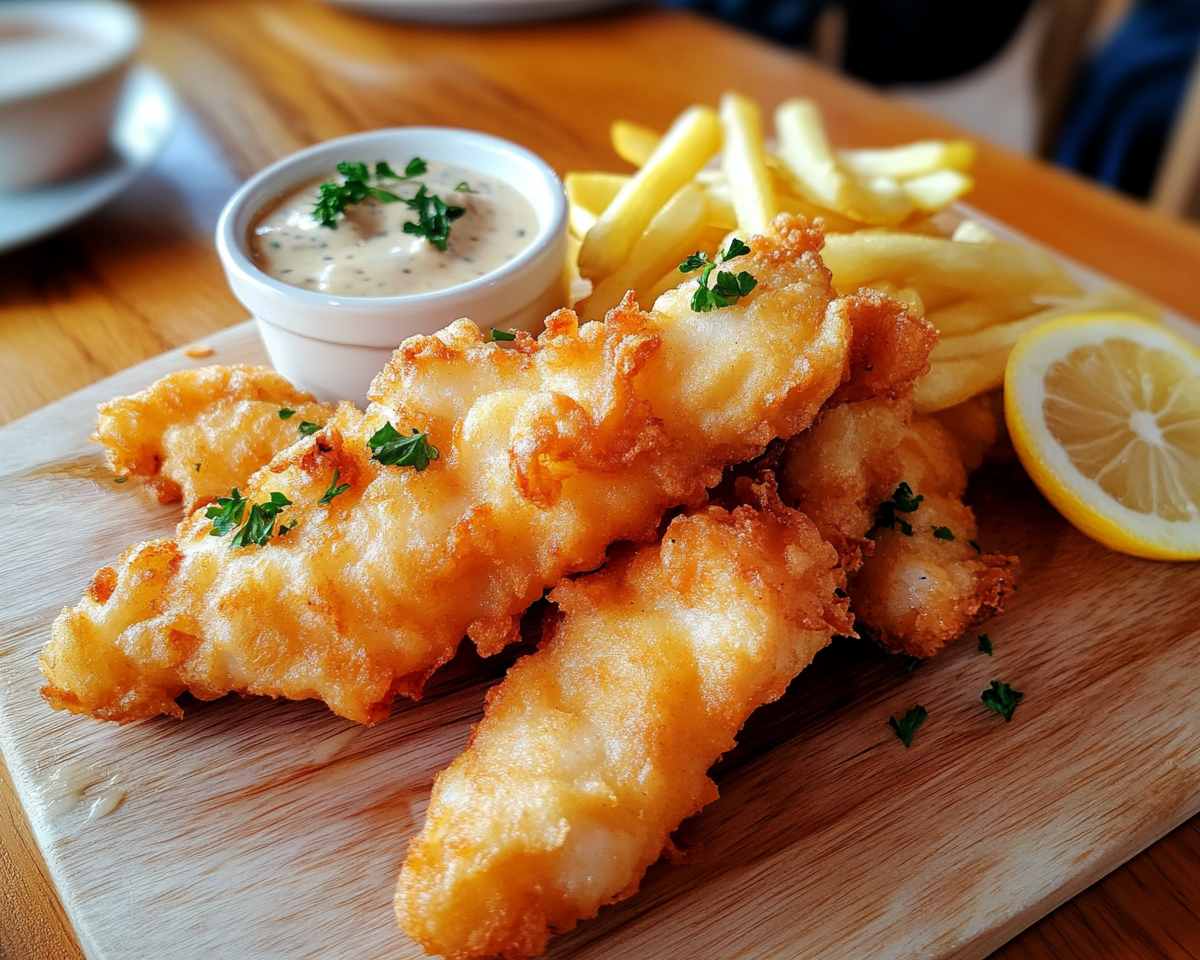
The zesty lemon butter fish fillet is a simple yet elegant dish that combines the tanginess of lemon with the richness of butter, creating a flavorful balance. This versatile recipe works well for weeknight dinners or special occasions and pairs beautifully with a variety of side dishes.

Pair it with recipes like Garlic Butter Roasted Vegetables for a complete meal.


What Makes This Dish Special?

The magic lies in the zesty lemon butter sauce. Fresh lemons bring acidity that cuts through the richness of the butter, while the fish absorbs the sauce for a tender, flavorful bite. Perfect for both novice and experienced cooks, this recipe is a guaranteed crowd-pleaser.

Learn more about the benefits of using fresh citrus in cooking from Health Benefits of Lemon.


Ingredients for Zesty Lemon Butter Fish Fillet

Core Ingredients

  • Fish Fillets: Cod, tilapia, salmon, or halibut.
  • Lemons: Freshly squeezed for maximum flavor.
  • Butter: Unsalted to control saltiness.
  • Garlic: Adds depth to the sauce.
  • Parsley: For garnish.

Optional Additions

  • Capers for briny complexity.
  • Red pepper flakes for a spicy kick.
  • Cream for a richer sauce.

Explore similar seafood options with the Crispy Popcorn Shrimp Recipe.


Step-by-Step Recipe

Preparation

  1. Pat fish fillets dry and season with salt and pepper.
  2. Prepare the sauce: melt butter, sauté garlic, and mix with lemon juice.

Cooking Techniques

  • Pan-Seared: Heat a skillet with oil, cook fish for 3–4 minutes per side, and finish with sauce.
  • Baked: Bake fish at 375°F for 12–15 minutes, then drizzle with warm sauce.
  • Grilled: Marinate fish lightly, grill over medium heat, and serve with sauce.

Tips for Success

  • Use fresh lemons for the best flavor.
  • Avoid overcooking the fish; it should flake easily with a fork.
  • Rest fish after cooking to lock in juices.

Check out more seafood cooking tips with Perfect Pan-Seared Fish Tips.


Variations

Herb-Infused Sauce

  • Use thyme, rosemary, or basil for added aroma.

Spicy Lemon Butter Sauce

  • Add red chili flakes or sriracha for a fiery flavor.

Dairy-Free Option

  • Substitute butter with olive oil for a lighter dish.

Serving Suggestions

  • Side Dishes: Pair with Garlic Butter Mashed Potatoes or quinoa.
  • Beverage Pairing: Serve with a crisp Sauvignon Blanc or sparkling water with a twist of lemon.

FAQs

  1. What’s the best fish for this recipe?
    Cod, tilapia, or salmon are excellent choices for their mild flavor and tender texture.
  2. Can I make the sauce ahead of time?
    Yes, prepare the sauce and reheat gently before serving.
  3. What can I use instead of butter?
    Olive oil or vegan butter are great substitutes.
  4. How do I prevent fish from sticking to the pan?
    Use a non-stick skillet and ensure the pan is hot before adding fish.

Internal Linking Opportunities

  1. Garlic Butter Salmon Recipe with anchor text: Discover another delicious garlic butter recipe with salmon.
  2. Crispy Fish Batter with anchor text: Try a crispy twist with our fish batter recipe.
  3. Simple Herb Butter Sauce with anchor text: Enhance your meals with this versatile herb butter sauce.

External Links and Recommended Anchor Text

  1. Health Benefits of Lemon
    Anchor Text: Discover the health benefits of adding lemons to your diet.
  2. Pan-Seared Fish Techniques
    Anchor Text: Master the art of pan-searing fish.
  3. Butter Substitutes in Cooking
    Anchor Text: Explore alternatives to butter for healthier cooking.

Conclusion

The zesty lemon butter fish fillet is a versatile dish that is both easy to prepare and incredibly flavorful. Whether you’re serving it with a light salad or creamy mashed potatoes, this recipe is sure to impress. For more seafood ideas, check out Crispy Popcorn Shrimp.

Crispy Fish Batter: Secrets to Perfectly Golden Fried Fish

fish batter recipe, homemade crispy batter, golden fried fish, crunchy batter recipe, light and crispy batter, easy fish batter recipe, beer-battered fish

Crispy Fish Batter: The Key to Perfect Fried Fish

Introduction

Crispy fish batter transforms simple fish fillets into a delightful meal. The secret lies in achieving a golden, crunchy texture that seals in moisture and flavor. Whether you’re preparing fish and chips or a simple family dinner, mastering the art of crispy batter elevates your dish.

To pair with your crispy fish, explore Homemade Tartar Sauce Recipe, a perfect companion.


What Makes a Great Crispy Fish Batter?

The best batter is a balance of lightness and crunch. This texture comes from the interplay of ingredients like flour, cornstarch, and baking powder. Adding carbonated liquids like beer or soda water enhances lightness, creating a batter that crisps up beautifully when fried.

To dive deeper into frying techniques, visit Oil Temperature Tips for Frying.


Key Ingredients for Crispy Batter

  • Flour: The base for structure.
  • Cornstarch: For extra crunch.
  • Baking Powder: Adds airiness.
  • Seasonings: Salt, pepper, and optional spices (paprika, garlic powder).
  • Liquid: Water, milk, or beer.

Optional additions:

  • Beer or Soda Water: For a lighter batter.
  • Herbs and Spices: Dill, parsley, cayenne for flavor boosts.

Explore similar textures in Crispy Popcorn Shrimp, another fried delight.


Step-by-Step Recipe for Crispy Fish Batter

Preparation

  1. Pat fish fillets dry and season lightly.
  2. Mix dry ingredients (flour, cornstarch, baking powder, spices).
  3. Slowly add liquid until the batter reaches a smooth, pancake-like consistency.

Frying the Fish

  • Heat oil to 350°F–375°F.
  • Dip fillets into the batter, ensuring an even coat.
  • Fry until golden brown, about 3–4 minutes per side.
  • Drain on a wire rack to maintain crispiness.

Tips for Perfect Results

  • Use fresh oil for clean flavors.
  • Maintain consistent oil temperature to avoid soggy results.
  • Avoid overcrowding the pan to ensure even frying.

Variations and Customizations

  • Gluten-Free Option: Use rice flour or gluten-free flour blends.
  • Spicy Batter: Add cayenne or chili powder.
  • Herbed Batter: Mix fresh parsley or dill into the batter.

For more crispy inspiration, check out Crispy Air Fryer Onion Rings.


Serving and Storing Fried Fish

Serving Suggestions

  • Pair with tartar sauce or aioli.
  • Serve alongside fries or coleslaw for a classic combination.
  • Garnish with lemon wedges and fresh herbs.

Storing and Reheating

  • Refrigerate leftovers in an airtight container.
  • Reheat in an oven or air fryer to restore crispiness.

FAQs About Crispy Fish Batter

  1. Why isn’t my batter sticking to the fish?
    Ensure the fish is dry before battering and the oil is hot enough for frying.
  2. Can I make the batter ahead of time?
    It’s best to mix batter fresh, but you can prepare the dry mix in advance.
  3. What’s the best oil for frying fish?
    Neutral oils like vegetable or canola oil work best.

Internal Linking Opportunities

  1. Link to Southern Fried Catfish Recipe with anchor text: Discover a Southern classic with this fried catfish recipe.
  2. Link to Homemade French Fries with anchor text: Pair your crispy fish with homemade fries.
  3. Link to Creamy Coleslaw Recipe with anchor text: Add a creamy coleslaw to complete your meal.

External Links and Recommended Anchor Text

  1. Best Fish for Frying
    Anchor Text: Find the best fish for frying at home.
  2. Deep Frying Tips
    Anchor Text: Learn expert tips for deep frying.
  3. Oil Temperature Guide
    Anchor Text: Master oil temperature for perfect frying.

Conclusion

Creating the perfect crispy fish batter takes practice and attention to detail, but the results are worth it. With the right ingredients, techniques, and accompaniments, you can transform a simple fish fillet into a culinary masterpiece. For more fried treats, visit Homemade Corn Dogs.

Dumplings for Chicken and Dumplings: A Classic Comfort Food Recipe

chicken dumplings recipe, fluffy dumplings for soup, homemade dumplings for chicken, easy chicken and dumplings, drop dumplings, flat dumplings, traditional chicken and dumplings

Dumplings for Chicken and Dumplings: A Comforting Classic

Introduction

Chicken and dumplings is a dish that holds a special place in many hearts as a symbol of warmth and home-cooked comfort. Dumplings, the heart of this dish, can vary from light and fluffy drop dumplings to tender flat dumplings, offering versatility and flavor. Whether you’re making this for a cozy family dinner or experimenting with your culinary skills, perfecting the art of dumpling-making is key.

For an easy start, explore Homemade Chicken and Dumplins to understand the basics of this dish.


Types of Dumplings

Flat Dumplings vs. Drop Dumplings

Flat dumplings are rolled and cut, providing a tender bite that layers beautifully in the broth. Drop dumplings, on the other hand, are spooned directly into the soup, creating fluffy, cloud-like pockets of flavor.

Explore the difference further with Classic Dumpling Recipes.


Ingredients for Dumplings

Essential Components

  • Flour: All-purpose or gluten-free.
  • Eggs and Milk: For structure and richness.
  • Baking Powder: Ensures a light texture.
  • Seasonings: A mix of salt, pepper, and optional herbs like parsley or thyme.

Optional additions include grated cheese for extra flavor or garlic powder for a savory twist.


Step-by-Step Guide to Perfect Dumplings

Making the Dough

  1. Combine dry ingredients in a bowl.
  2. Gradually mix in milk and eggs until a soft dough forms.
  3. For flat dumplings, roll the dough out and cut into strips. For drop dumplings, ensure the batter is slightly sticky but firm enough to hold shape.

Cooking Dumplings in Broth

  • Ensure the broth is simmering, not boiling.
  • Gently drop dumplings into the soup, ensuring they don’t stick together.
  • Cover and cook for 10-12 minutes for even cooking.

Tips for Success

  • Don’t Overmix: Overworking the dough can lead to dense dumplings.
  • Simmer, Don’t Boil: Boiling can cause dumplings to break apart.
  • Keep the Lid On: To maintain steam and ensure fluffiness.

For more insights, check out Dumpling Techniques.


Customization and Variations

Regional Twists

  • Southern-style flat dumplings.
  • Northern-style fluffy drop dumplings.

Dietary Adaptations

  • Gluten-free dumplings using almond or coconut flour.
  • Vegan options with plant-based milk and egg substitutes.

FAQs

1. What’s the difference between flat and drop dumplings?

Flat dumplings are rolled and cut, offering a tender, noodle-like texture, while drop dumplings are spooned into the broth and are fluffier.

2. Can I freeze dumplings?

Yes, freeze uncooked dumplings on a baking sheet, then transfer them to a freezer-safe container.

3. Why are my dumplings dense?

Overmixing the dough or using too much liquid can result in dense dumplings.


Internal Linking Opportunities

  1. Homemade Creamed Corn with anchor text: Pair your chicken and dumplings with creamy side dishes.
  2. Southern Cornbread Recipe with anchor text: Serve dumplings with this classic cornbread for added Southern charm.
  3. Slow Cooker Chicken Recipes with anchor text: Explore more comforting chicken dishes.

External Links and Recommended Anchor Text

  1. How to Make Dumpling Dough
    Anchor Text: Master the art of dumpling dough.
  2. Health Benefits of Chicken Broth
    Anchor Text: Learn why chicken broth is a healthy choice.
  3. Dumpling Cooking Tips
    Anchor Text: Get expert tips for perfect dumplings.

Conclusion

Dumplings for chicken and dumplings can transform a simple dish into an unforgettable meal. Whether you prefer flat or drop dumplings, the joy of mastering this dish lies in its versatility and comforting nature. For more inspiration, visit Easy Homemade Comfort Foods.

Parmesan Garlic Turkey Bacon Cheeseburger Lasagna: A Comfort Food Delight

turkey bacon lasagna recipe, garlic parmesan lasagna, cheeseburger lasagna with turkey, comfort food lasagna, creamy turkey bacon casserole, cheeseburger-inspired lasagna

Parmesan Garlic Turkey Bacon Cheeseburger Lasagna: A Flavorful Fusion

Introduction

If you’ve been searching for a comfort food dish that’s rich, cheesy, and packed with flavor, this Parmesan Garlic Turkey Bacon Cheeseburger Lasagna is the perfect recipe. Combining the elements of a classic lasagna with the indulgent flavors of a cheeseburger, this dish is a hearty crowd-pleaser. The addition of turkey bacon and a creamy garlic parmesan sauce sets it apart, offering a delicious twist on tradition.

For more casserole inspirations, explore Kentucky Butter Cake, a delightful dessert pairing.


Why This Lasagna Stands Out

This recipe takes the traditional layers of lasagna and enhances them with savory turkey bacon, tangy parmesan cheese, and garlic-infused flavors. It’s perfect for:

  • Family dinners
  • Special occasions
  • Meal prep options

Learn more about the importance of layering techniques in Perfect Lasagna Layers.


Ingredients for Success

Core Ingredients

  • Ground turkey
  • Turkey bacon
  • Parmesan cheese
  • Garlic
  • Mozzarella cheese
  • Lasagna noodles
  • Cream
  • Butter
  • Herbs and spices (thyme, oregano, salt, pepper)

Optional Additions

  • Diced tomatoes for added tang.
  • Spinach or kale for a nutritional boost.
  • Cheddar cheese for a sharper flavor.

For an extra dose of cheesy indulgence, check out Homemade Mac and Cheese Casserole.


Step-by-Step Recipe

Preparation (15 minutes)

  1. Preheat the oven to 375°F (190°C).
  2. Cook the lasagna noodles according to package instructions.
  3. Chop and crisp the turkey bacon.

Making the Sauce (20 minutes)

  • Melt butter in a saucepan.
  • Add garlic and sauté until fragrant.
  • Whisk in cream and parmesan cheese to create a smooth, creamy sauce.

Building the Layers (20 minutes)

  • Layer noodles, meat, sauce, and mozzarella cheese.
  • Repeat until the dish is full, finishing with a generous cheese topping.

Baking (40 minutes)

  • Cover with foil and bake for 30 minutes.
  • Remove foil and bake an additional 10 minutes until the top is golden.

Customizations and Variations

Low-Carb Option

  • Replace lasagna noodles with zucchini slices.

Vegetarian Version

  • Substitute ground turkey and bacon with plant-based alternatives.

Spicy Kick

  • Add diced jalapeños or red pepper flakes to the sauce.

Explore another creative twist on pasta dishes with Cheesy Taco Stuffed Pasta Shells.


Tips for the Perfect Lasagna

  • Use fresh garlic for a more pronounced flavor.
  • Layer evenly to ensure even cooking.
  • Allow the lasagna to rest for 10 minutes before slicing to help it set.

FAQs About Parmesan Garlic Turkey Bacon Cheeseburger Lasagna

1. Can I make this dish ahead of time?

Yes, assemble the lasagna and store it in the refrigerator for up to 24 hours before baking.

2. What’s the best way to store leftovers?

Store in an airtight container in the refrigerator for up to 4 days.

3. Can I freeze this lasagna?

Yes, wrap it tightly in foil and freeze for up to 3 months.

4. How do I prevent my lasagna from being watery?

Drain the ground turkey and avoid over-saucing the layers.

5. Can I use regular bacon instead of turkey bacon?

Absolutely! It will add a richer, smoky flavor.


Internal Linking Opportunities

  1. Link to “Creamy Garlic Parmesan Chicken” with anchor text: Discover another creamy parmesan dish with garlic-infused chicken.
  2. Link to “Dorito Chicken Casserole” with anchor text: Try another family-friendly casserole dish.
  3. Link to “One-Pan Turkey Dinner” with anchor text: Explore a one-pan turkey dinner recipe for busy nights.

External Links and Recommended Anchor Text

  1. Benefits of Turkey in Your Diet
    Anchor Text: Learn why turkey is a nutritious choice.
  2. Lasagna Layering Tips
    Anchor Text: Master the art of lasagna layering.
  3. How to Make Creamy Cheese Sauces
    Anchor Text: Perfect your cheese sauce with expert tips.

Conclusion

This Parmesan Garlic Turkey Bacon Cheeseburger Lasagna is a flavorful, versatile dish that redefines comfort food. With its creamy garlic sauce, layers of savory turkey bacon, and melted cheese, it’s a showstopper for any occasion. Pair it with Garlic Bread Pizza Sticks for the ultimate indulgent meal.

Irresistible Magic Lemon Cobbler: A Sweet and Tangy Dessert Recipe

magic lemon dessert, self-saucing lemon cobbler, tangy lemon cobbler, easy lemon cobbler recipe, zesty cobbler recipe, lemon dessert ideas

Irresistible Magic Lemon Cobbler: A Sweet and Tangy Dessert

Introduction

Magic Lemon Cobbler is a unique dessert that transforms humble ingredients into a delightfully tangy, sweet, and gooey treat. Known for its “magic” self-saucing feature, this cobbler is a favorite for its simplicity and bold flavors. If you’re a fan of lemon desserts, you’ll love the balance of sweetness and tartness in this dish.

For an alternative take on cobblers, you can explore Southern Peach Cobbler, which is equally delightful.


The Magic of Lemon Cobbler

The magic in Magic Lemon Cobbler lies in its layering and baking technique. The batter forms a soft cake-like top while creating a tangy lemon sauce underneath. This transformation is similar to the science of self-saucing desserts.

Learn more about self-saucing desserts with The Science Behind Self-Saucing Desserts to deepen your understanding of these culinary marvels.


Ingredients for Magic Lemon Cobbler

Core Ingredients

  • Lemons: Freshly squeezed juice and zest for tangy flavor.
  • Butter: Adds richness to the batter.
  • Flour and Sugar: Create the base for the cake layer.
  • Milk: For a creamy texture.
  • Baking Powder: Ensures the cobbler rises evenly.
  • Vanilla Extract: Enhances the overall flavor profile.

Optional Additions

  • Powdered sugar for dusting.
  • Whipped cream or vanilla ice cream for serving.
  • Blueberries or raspberries for a fruity twist.

For inspiration on other lemon-based desserts, visit Mom’s Lemon Cream Pie.


How to Make Magic Lemon Cobbler

Step-by-Step Guide

  1. Prepare the Baking Dish: Grease a baking dish with butter and preheat your oven.
  2. Mix the Batter: Combine flour, sugar, milk, and baking powder until smooth.
  3. Add Lemon Flavor: Incorporate fresh lemon juice and zest into the batter.
  4. Layer the Ingredients: Pour the batter into the dish, then drizzle melted butter on top.
  5. Bake to Perfection: Bake until the cobbler is golden brown and the sauce bubbles underneath.

Pro Tips

  • Use fresh lemons for the best flavor.
  • Avoid overmixing the batter to maintain a light texture.
  • Allow the cobbler to cool slightly before serving to let the sauce thicken.

Serving and Pairing Suggestions

  • Serve the cobbler warm with a dollop of whipped cream or a scoop of vanilla ice cream.
  • Pair with a cup of Earl Grey tea for a perfect afternoon treat.
  • Garnish with lemon slices or mint leaves for an elegant presentation.

Customizations and Variations

Fruity Additions

  • Add berries like blueberries or raspberries for extra sweetness and color.
  • Incorporate pineapple chunks for a tropical twist.

Dietary Modifications

  • Use gluten-free flour for a gluten-free version.
  • Substitute dairy-free milk and vegan butter for a plant-based option.

For more fruity dessert ideas, check out Raspberry Lemon Bars, which offer a delightful mix of tang and sweetness.


FAQs About Magic Lemon Cobbler

Can I make this cobbler ahead of time?

Yes, you can prepare and bake the cobbler a day in advance. Reheat it in the oven to restore its texture.

Can I use bottled lemon juice?

While fresh lemon juice is recommended for the best flavor, bottled juice can work in a pinch.

How do I prevent the cobbler from becoming too runny?

Ensure the baking time is sufficient to allow the sauce to thicken. Avoid adding extra liquid.

Can I freeze lemon cobbler?

Yes, you can freeze it in an airtight container. Reheat in the oven before serving.


Internal Linking Suggestions

  1. Link to “Easy Cobbler Recipe” with anchor text: Explore an easy cobbler recipe for more dessert options.
  2. Link to “Southern Comfort Peach Cobbler” with anchor text: Discover the ultimate guide to making peach cobbler.
  3. Link to “Lemon Cream Pie” with anchor text: Try a creamy lemon dessert with our Lemon Cream Pie recipe.

External Links and Recommended Anchor Text

  1. The Science Behind Self-Saucing Desserts
    Anchor Text: Learn about the science of self-saucing desserts.
  2. How to Choose the Best Lemons for Baking
    Anchor Text: Find out how to select the best lemons for baking.
  3. Health Benefits of Lemons
    Anchor Text: Explore the health benefits of lemons.

Conclusion

Magic Lemon Cobbler is a delightful dessert that showcases the versatility and vibrancy of lemons. Its unique self-saucing feature and ease of preparation make it a standout choice for any occasion. Whether served warm with ice cream or cold as a snack, this cobbler is sure to become a favorite in your dessert repertoire.