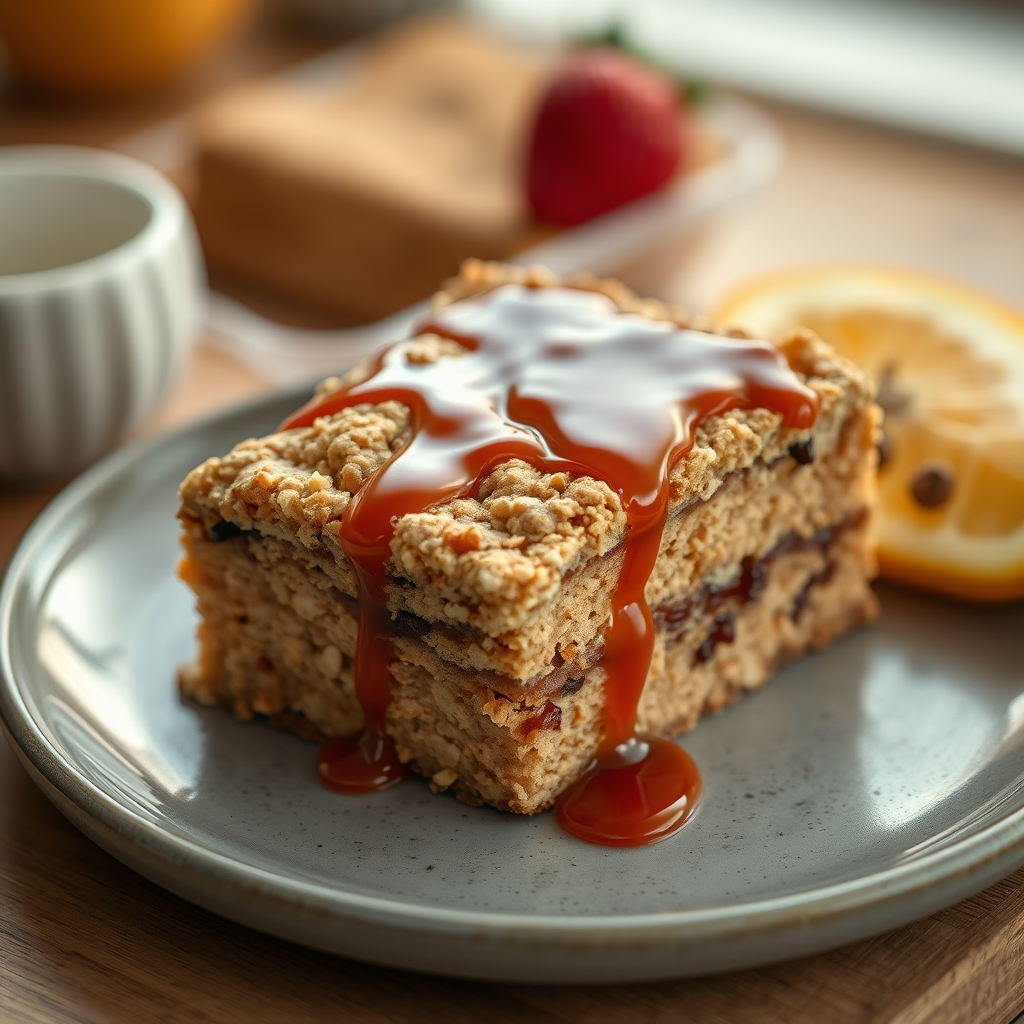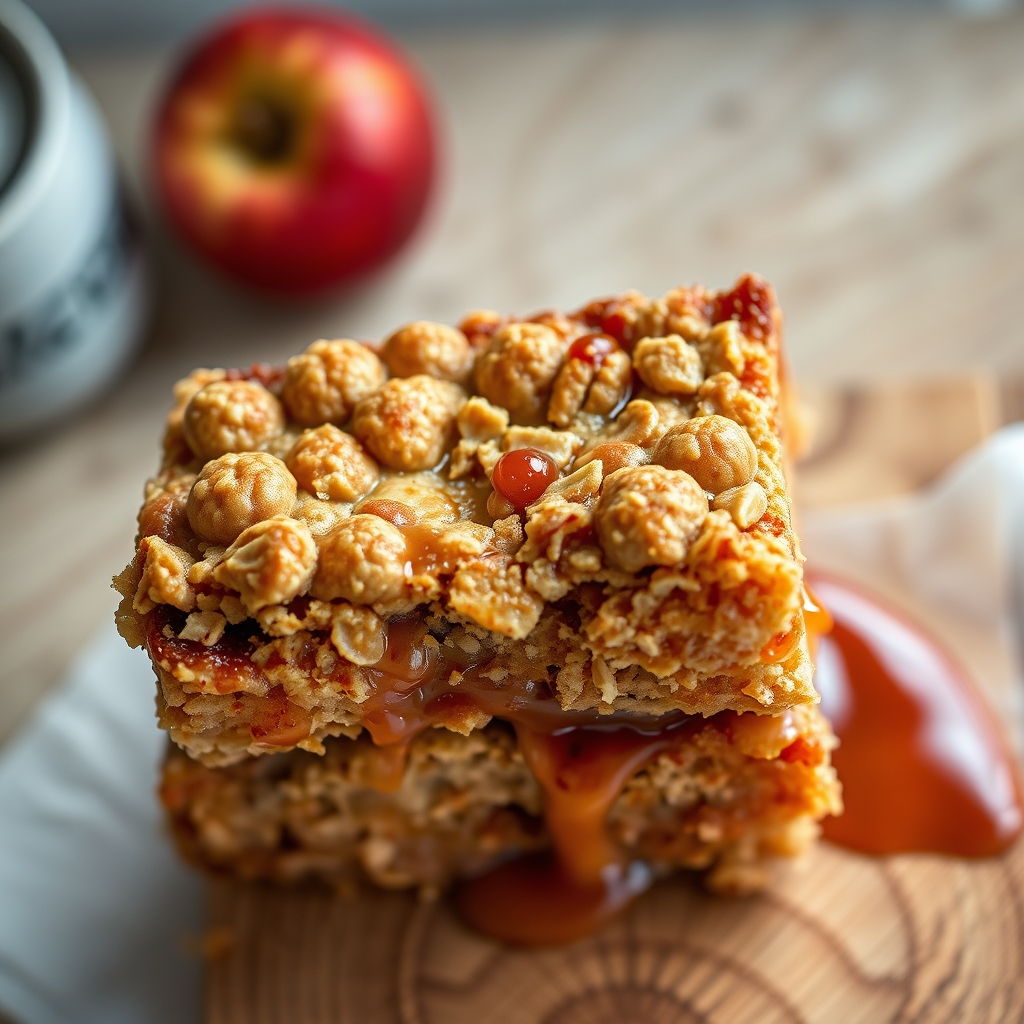
Apple Pie Oatmeal Bars
There’s something undeniably comforting about the aroma of warm apples and cinnamon wafting through the kitchen. These Apple Pie Oatmeal Bars capture that cozy essence in a portable, easy-to-make treat that’s perfect for breakfast, dessert, or a midday snack. Imagine layers of buttery oatmeal crumble hugging a spiced apple filling—each bite is like a handheld slice of apple pie, but with the wholesome goodness of oats. Whether you’re meal prepping for the week or hosting a casual brunch, these bars are sure to become a staple in your recipe collection.
Why You’ll Love This Recipe
If you’re still on the fence about making these Apple Pie Oatmeal Bars, let me give you a few reasons why they’re worth every minute of your time.
- Perfect for any occasion: These bars are versatile enough to serve as a quick breakfast, a lunchbox treat, or a dessert with a scoop of vanilla ice cream.
- Meal-prep friendly: Bake a batch on Sunday, and you’ll have a delicious grab-and-go option for busy mornings all week long.
- Family-approved: Kids and adults alike will adore the familiar flavors of apple pie in a convenient bar form.
- Simple ingredients: You likely already have most of the ingredients in your pantry, making this recipe accessible and budget-friendly.
- Customizable: Easily adapt the recipe to suit dietary preferences or use whatever apples you have on hand.
Ingredients Breakdown
Understanding the role of each ingredient will help you achieve the best results with these Apple Pie Oatmeal Bars. Here’s what you’ll need and why each component matters.
For the Oatmeal Crust and Topping
- Rolled oats: These provide a hearty texture and nutty flavor, forming the base of the bars.
- All-purpose flour: Helps bind the crumble together while keeping it tender.
- Brown sugar: Adds a rich, caramel-like sweetness that complements the apples.
- Butter: Cold butter is key to achieving a flaky, crumbly texture in the crust and topping.
- Cinnamon and nutmeg: Warm spices that enhance the apple pie flavor.
- Salt: Balances the sweetness and enhances all the flavors.
For the Apple Filling
- Apples: Choose firm, tart varieties like Granny Smith or Honeycrisp for the best texture and flavor.
- Lemon juice: Prevents the apples from browning and adds a subtle brightness.
- Cornstarch: Thickens the apple juices so the filling isn’t runny.
- Vanilla extract: Deepens the overall flavor profile with its warm, aromatic notes.
How to Make Apple Pie Oatmeal Bars
Now that you know why these bars are so special and what each ingredient does, let’s walk through the step-by-step process to make them.
- Preheat and prepare: Start by preheating your oven to 350°F and lining an 8×8-inch baking pan with parchment paper for easy removal.
- Make the oat mixture: In a large bowl, combine the oats, flour, brown sugar, cinnamon, nutmeg, and salt. Cut in the cold butter using a pastry cutter or your fingers until the mixture resembles coarse crumbs.
- Press the crust: Reserve about 1 cup of the oat mixture for the topping. Press the rest firmly into the bottom of the prepared pan to form an even crust.
- Prepare the filling: Toss the diced apples with lemon juice, sugar, cornstarch, and vanilla until well coated. Spread this mixture evenly over the crust.
- Add the topping: Sprinkle the reserved oat mixture over the apples, pressing lightly to adhere.
- Bake: Bake for 35-40 minutes, or until the topping is golden brown and the apple filling is bubbly.
- Cool and slice: Allow the bars to cool completely in the pan before lifting them out and cutting into squares.
Pro Tips for the Best Results
Want to take your Apple Pie Oatmeal Bars to the next level? Here are some expert tips to ensure perfection every time.
- Use cold butter: This is crucial for achieving a crumbly, flaky texture in the crust and topping.
- Don’t skip the cornstarch: It’s essential for thickening the apple juices and preventing a soggy filling.
- Let them cool: While it’s tempting to dig in right away, allowing the bars to cool ensures clean slices and set layers.
- Toast the oats: For extra depth of flavor, toast the oats in a dry skillet for a few minutes before using them in the recipe.
Variations and Substitutions
One of the best things about this recipe is how adaptable it is. Here are some ways to make it your own.
- Gluten-free: Swap the all-purpose flour for a gluten-free blend and ensure your oats are certified gluten-free.
- Dairy-free: Use coconut oil or vegan butter in place of regular butter.
- Add-ins: Stir chopped nuts, raisins, or dried cranberries into the apple filling for extra texture.
- Different fruits: Try pears or peaches instead of apples for a seasonal twist.
What to Serve With It
These bars are delicious on their own, but pairing them with the right accompaniments can make them even more special.
- Vanilla ice cream: Serve warm bars with a scoop for an indulgent dessert.
- Whipped cream: A dollop of lightly sweetened whipped cream adds a luxurious touch.
- Caramel drizzle: Drizzle warm caramel sauce over the top for extra decadence.
- Hot coffee or tea: Enjoy a bar with your favorite warm beverage for a cozy afternoon treat.
How to Store and Reheat
To keep your Apple Pie Oatmeal Bars fresh and delicious, follow these storage and reheating tips.
- Room temperature: Store in an airtight container at room temperature for up to 2 days.
- Refrigerator: For longer storage, keep them in the fridge for up to 5 days.
- Freezer: Wrap individual bars tightly in plastic wrap and freeze for up to 3 months.
- Reheating: Warm refrigerated or frozen bars in the microwave for 15-20 seconds or in a 300°F oven for 10 minutes.
Frequently Asked Questions (FAQs)
Here are answers to some common questions about making Apple Pie Oatmeal Bars.
Can I use quick oats instead of rolled oats?
While quick oats will work in a pinch, rolled oats provide a better texture. Quick oats can make the bars slightly denser.
Can I make these bars ahead of time?
Absolutely! These bars are perfect for making ahead. Store them as directed and reheat when ready to serve.
Why is my filling too runny?
This usually happens if the bars are cut before cooling completely or if the cornstarch was omitted. Let them cool fully and ensure you use cornstarch.
Can I reduce the sugar?
Yes, you can adjust the sugar to taste, but keep in mind it affects both sweetness and texture.
What’s the best apple variety to use?
Firm, tart apples like Granny Smith or Honeycrisp work best, but any baking apple will do.
Final Thoughts
There’s something magical about recipes that bring the comfort of dessert into everyday moments. These Apple Pie Oatmeal Bars do just that—offering the nostalgic taste of apple pie in a convenient, wholesome package. Whether you’re enjoying them as a quick breakfast, packing them for a hike, or serving them as a dessert with friends, they’re sure to bring smiles all around. So go ahead, preheat that oven, and let the sweet scent of apples and cinnamon fill your kitchen. Happy baking!
Print
Apple Pie Oatmeal Bars
Description
These Apple Pie Oatmeal Bars combine the warm flavors of apple pie with the wholesome goodness of oatmeal. Perfect for breakfast, snacks, or dessert, they are easy to make and packed with delicious apple-cinnamon flavor.
Ingredients
For the Crust:
- For the crust and topping:
- 1 1/2 cups old-fashioned rolled oats
- 1 cup all-purpose flour
- 1/2 cup packed brown sugar
- 1/2 teaspoon ground cinnamon
- 1/4 teaspoon salt
- 1/2 cup unsalted butter, melted
- For the apple filling:
- 2 medium apples, peeled and diced
- 2 tablespoons granulated sugar
- 1 tablespoon lemon juice
- 1 teaspoon ground cinnamon
- 1/4 teaspoon ground nutmeg
- 1 tablespoon cornstarch
- 1/4 cup water
Instructions
1. Prepare the Crust:
- Preheat the oven to 350°F (175°C). Line an 8×8-inch baking pan with parchment paper, leaving an overhang for easy removal.
- In a large bowl, mix the oats, flour, brown sugar, cinnamon, and salt for the crust and topping. Add the melted butter and stir until the mixture is crumbly.
- Reserve 1/2 cup of the oat mixture for the topping. Press the remaining mixture firmly into the bottom of the prepared pan.
- In a saucepan over medium heat, combine the diced apples, granulated sugar, lemon juice, cinnamon, and nutmeg. Cook for 5 minutes, stirring occasionally.
- In a small bowl, whisk the cornstarch and water until smooth. Add to the apple mixture and cook for another 2-3 minutes until thickened. Remove from heat.
- Spread the apple filling evenly over the crust. Sprinkle the reserved oat mixture on top.
- Bake for 30-35 minutes, or until the topping is golden brown. Let cool completely in the pan before cutting into bars.
Notes
For extra flavor, add a pinch of cloves to the apple filling. Store leftovers in an airtight container at room temperature for up to 3 days or refrigerate for up to a week.