Strawberry Dessert Energy Balls: A Healthy No-Bake Snack Recipe

strawberry energy bites, no-bake strawberry snacks, healthy strawberry balls, dessert energy bites, strawberry protein balls, easy energy ball recipe

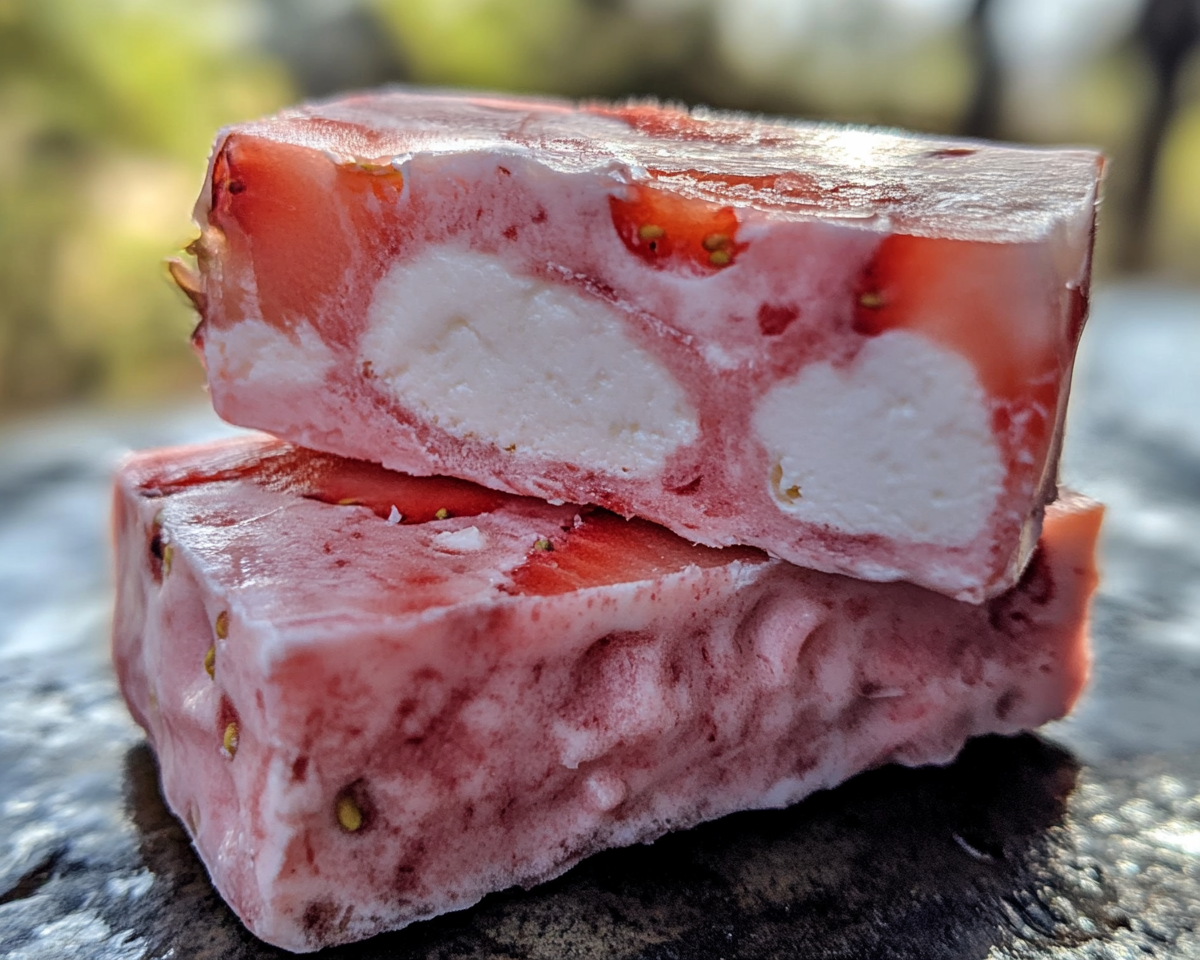
Strawberry Dessert Energy Balls: A Guide to Healthy Snacking

Strawberry Dessert Energy Balls are the perfect blend of taste and nutrition. These no-bake bites are easy to prepare, packed with natural ingredients, and a versatile snack option for any time of the day. From fitness enthusiasts to busy parents, anyone can enjoy their delightful flavor and numerous health benefits.


What Are Strawberry Dessert Energy Balls?

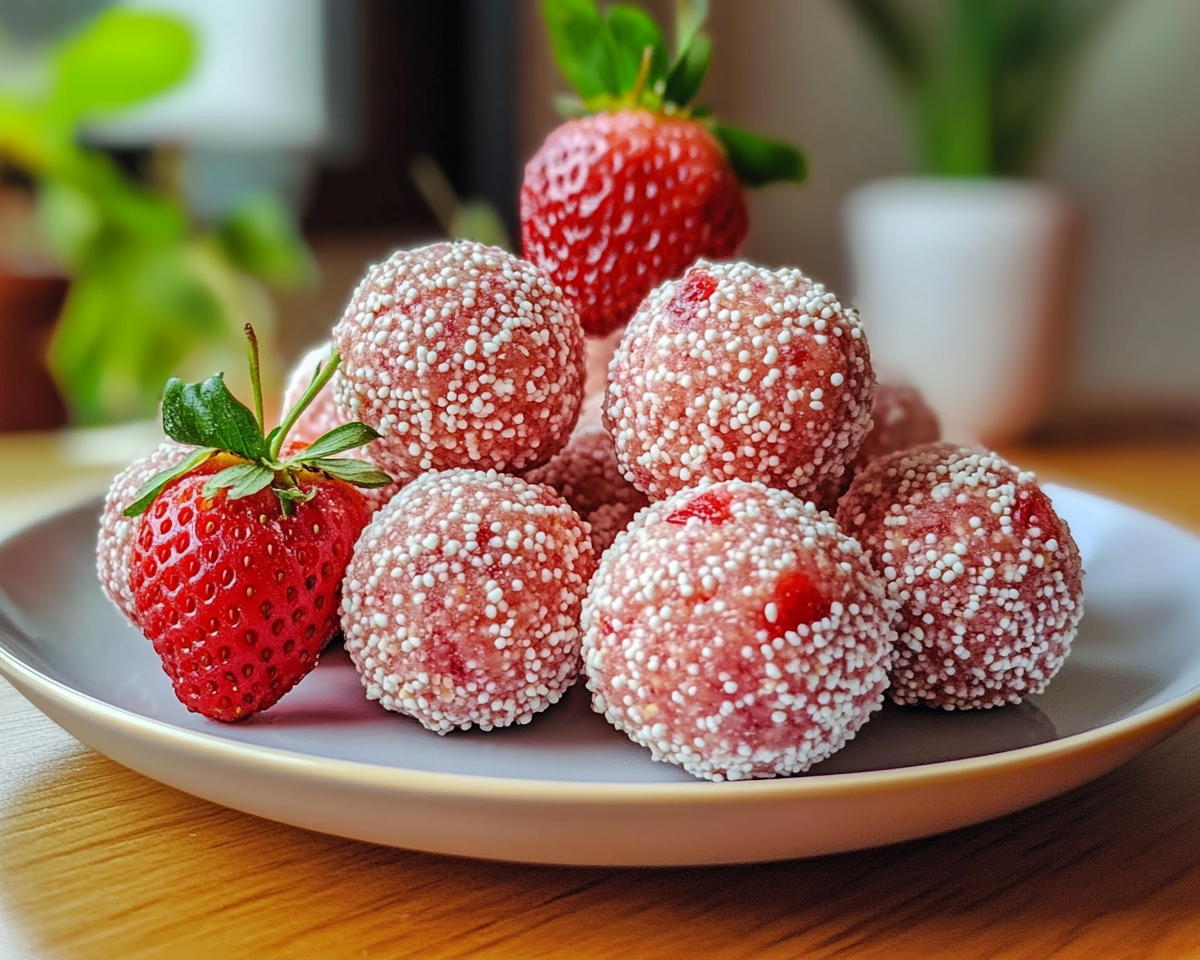
Strawberry Dessert Energy Balls are bite-sized treats made from wholesome ingredients like oats, nuts, and strawberries. These snacks are rich in natural sugars, protein, and fiber, making them an excellent choice for a quick energy boost. Learn more about the benefits of strawberries and why they are a superfood for snacks.

These energy balls can be customized to suit various dietary preferences, such as vegan or gluten-free, offering a healthier alternative to processed energy bars. Check out this guide on using almond butter for insights into boosting the protein content in your recipes.


Why Choose Strawberry Dessert Energy Balls?

Key Benefits:

  • Nutritious Ingredients: Made with natural components like dates, oats, and strawberries, ensuring high fiber and protein content.
  • No-Bake Convenience: Quick and easy to prepare without an oven.
  • Customizable: Tailored to dietary needs, such as vegan or nut-free options.

Perfect Snack for Any Occasion:

  • Pre- or post-workout fuel.
  • Midday energy boost.
  • Healthy dessert alternative.

Ingredients and Tools Needed

Essential Ingredients:

  • Strawberries: Fresh or frozen, packed with antioxidants.
  • Rolled Oats: A great base ingredient for fiber and texture.
  • Almond Butter: Adds creaminess and protein.
  • Dates: Natural sweetener and binder.
  • Honey or Maple Syrup: Optional for added sweetness.

Optional Add-Ins:

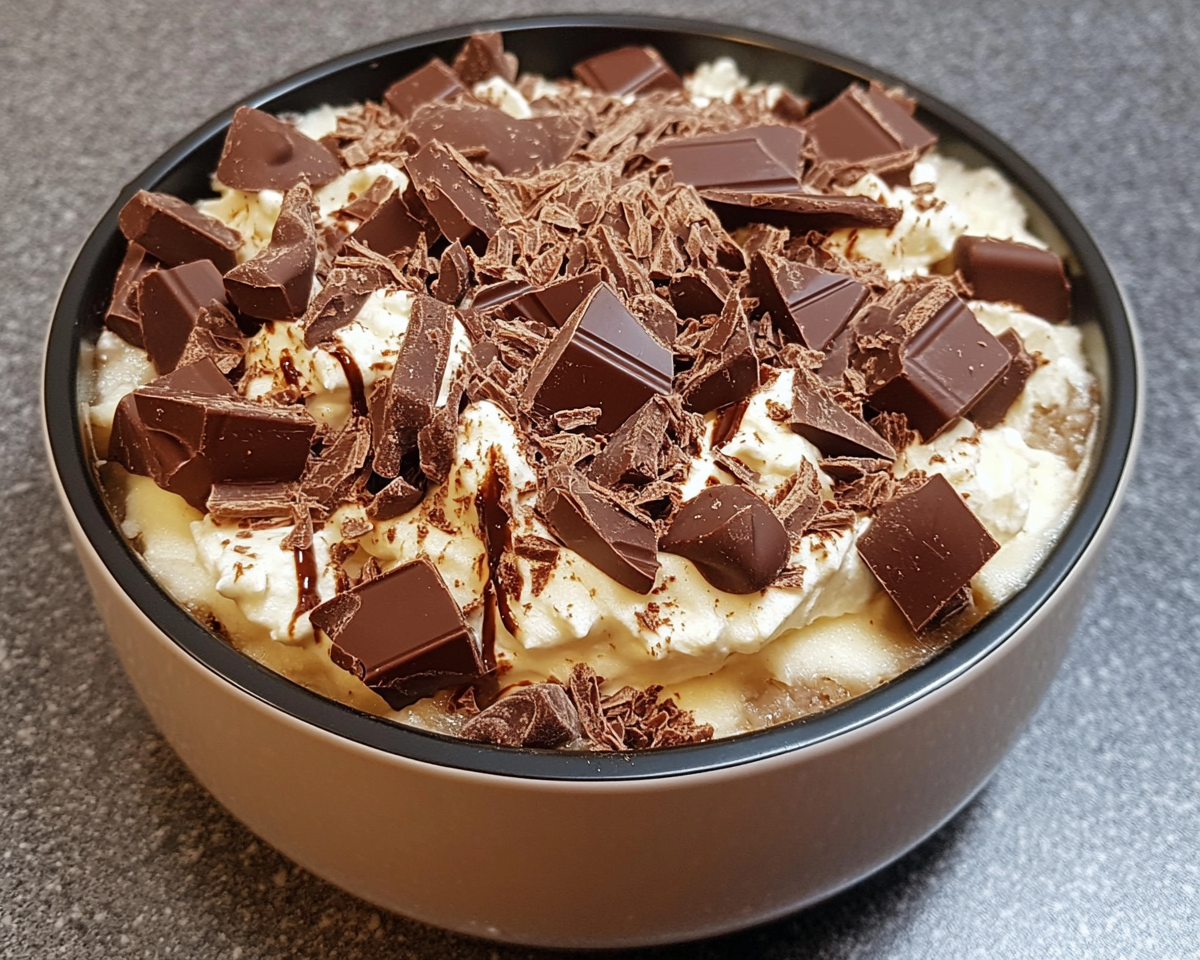
  • Dark chocolate chips.
  • Chia seeds or flaxseeds.
  • Toasted coconut for a crunchy twist.

Tools Required:

  • Blender or food processor.
  • Parchment paper for shaping and storage.

How to Make Strawberry Dessert Energy Balls

Step-by-Step Recipe:

  1. Prepare Ingredients: Pit the dates, wash the strawberries, and measure the oats and almond butter.
  2. Blend Wet Ingredients: In a food processor, combine strawberries, dates, almond butter, and sweetener until smooth.
  3. Mix Dry Ingredients: Add oats, chia seeds, and any optional add-ins to the wet mixture.
  4. Shape into Balls: Use a tablespoon or scoop to form evenly sized balls.
  5. Chill: Place the balls on parchment paper and refrigerate for 2-3 hours.

Pro Tips:

  • Use frozen strawberries for a firmer texture.
  • Adjust the sweetness by adding more or less honey.
  • Store in an airtight container for up to a week or freeze for longer shelf life.

Creative Variations

Flavor Enhancements:

  • Add a splash of vanilla extract or cinnamon for depth.
  • Substitute strawberries with blueberries or raspberries for variety.

Texture Customizations:

  • Roll the balls in crushed nuts or coconut for extra crunch.
  • Blend the oats into a finer texture for smoother balls.

FAQs About Strawberry Dessert Energy Balls

1. Are these treats kid-friendly?

Yes! They’re a healthy and delicious alternative to sugary snacks, perfect for lunchboxes.

2. Can I make them vegan?

Absolutely. Replace honey with maple syrup and use plant-based almond butter.

3. How should I store these energy balls?

Store in an airtight container in the fridge for up to a week or freeze for up to three months.

4. Are they gluten-free?

Yes, if you use certified gluten-free oats.

5. What’s the best time to eat them?

These energy balls are ideal as a pre- or post-workout snack, a midday treat, or a light dessert.


Serving and Storage Tips

  • Serve as a standalone snack or pair with yogurt for a satisfying breakfast.
  • Wrap individually in parchment paper for on-the-go convenience.
  • For long-term storage, freeze on a baking sheet before transferring to a container.

Internal Linking Opportunities


Conclusion

Strawberry Dessert Energy Balls are a must-try snack for anyone seeking a delicious and healthy treat. Packed with natural ingredients, they are easy to make, versatile, and suitable for various diets. Whether you’re looking for a quick energy boost or a guilt-free dessert, these energy balls are the perfect solution.

Strawberry and Cream Energy Treats: A Healthy and Delicious Snack

strawberry energy bites, creamy energy snacks, healthy strawberry treats, strawberry protein snacks, berry energy balls, no-bake strawberry bites

Strawberry and Cream Energy Treats: A Nutritious Snack for Any Time of Day

Strawberry and Cream Energy Treats are the ultimate blend of flavor and nutrition, offering a burst of energy in every bite. Whether you’re seeking a pre-workout snack, a mid-day pick-me-up, or a healthy dessert alternative, these treats are perfect for anyone on the go.

To understand the full potential of these energy bites, we’ll dive deep into their ingredients, benefits, preparation, and storage tips. With links to related recipes and resources, you’ll have everything you need to make these treats a staple in your diet.


What Are Strawberry and Cream Energy Treats?

Strawberry and Cream Energy Treats are bite-sized snacks packed with the goodness of natural ingredients. They combine the sweetness of fresh strawberries with creamy textures, creating a delightful and nutritious energy source. Learn more about the health benefits of strawberries to see why they are a superfood ingredient in this recipe.

Unlike store-bought snacks, these homemade energy bites allow you to control the ingredients, ensuring they’re free from artificial additives and refined sugars. For more tips on healthy snacking, check out this guide to making protein-packed snacks.


Ingredients You’ll Need

Essential Components

  • Fresh or Frozen Strawberries: Rich in Vitamin C and antioxidants.
  • Cream Cheese or Greek Yogurt: Adds a creamy texture and protein.
  • Rolled Oats: A great source of fiber for sustained energy.
  • Honey or Maple Syrup: Natural sweeteners for a touch of indulgence.
  • Chia Seeds: Optional for added omega-3 and fiber.

Optional Add-Ins

  • Shredded coconut for tropical flair.
  • Dark chocolate chips for a decadent twist.
  • Protein powder to make them workout-friendly.

Tools Required

  • Blender or food processor for smooth mixing.
  • Measuring cups and spoons for accuracy.
  • Parchment paper for easy shaping and storage.

Health Benefits of Strawberry and Cream Energy Treats

Nutritional Highlights

  • High Protein: Ideal for muscle repair and recovery.
  • Rich in Fiber: Promotes healthy digestion and satiety.
  • Natural Sugars: Provides quick energy without a sugar crash.

Why Choose These Over Store-Bought Snacks?

  • Fresh ingredients mean no preservatives.
  • Customizable to fit dietary restrictions (e.g., vegan, gluten-free).
  • More cost-effective and environmentally friendly.

How to Make Strawberry and Cream Energy Treats

Step-by-Step Instructions

  1. Blend Wet Ingredients: Add strawberries, cream cheese, and honey to a blender. Process until smooth.
  2. Mix Dry Ingredients: In a bowl, combine oats, chia seeds, and any desired add-ins.
  3. Combine and Shape: Gradually fold the wet mixture into the dry ingredients. Shape into small balls or press into molds.
  4. Chill and Serve: Refrigerate for 2-3 hours until firm.

Tips for Success

  • Use frozen strawberries if fresh ones aren’t available but thaw them first.
  • If the mixture is too sticky, add extra oats one tablespoon at a time.
  • For a no-bake option, ensure the mixture is well-chilled before serving.

Serving and Storage Suggestions

Serving Ideas

  • Pair with tea or coffee for a relaxing snack.
  • Use as a topping for yogurt or oatmeal.
  • Include in lunchboxes for kids or adults.

Storage Tips

  • Store in an airtight container in the fridge for up to a week.
  • Freeze for longer storage—perfect for meal prep enthusiasts.

Creative Variations

Flavor Twists

  • Replace strawberries with blueberries or raspberries for a new taste.
  • Add lemon zest for a tangy kick.
  • Use coconut yogurt for a vegan-friendly option.

Texture Upgrades

  • Roll the shaped treats in crushed nuts or seeds for added crunch.
  • Incorporate puffed rice for a lighter bite.

FAQs About Strawberry and Cream Energy Treats

1. Are these treats suitable for kids?

Yes! They are a healthy alternative to sugary snacks and can be adjusted to suit picky eaters.

2. Can I make them vegan?

Absolutely. Use coconut yogurt or another plant-based cream substitute.

3. How long do they last in the freezer?

Up to 3 months when stored properly in a sealed container.

4. Are there gluten-free options?

Yes, ensure the oats are certified gluten-free, and you’re good to go.

5. What’s the best time to eat these treats?

They’re perfect for pre- or post-workout snacks, mid-morning energy boosts, or even dessert.


Internal Linking Opportunities


Conclusion

Strawberry and Cream Energy Treats are more than just a snack—they’re a lifestyle upgrade. Whether you’re meal-prepping for the week or satisfying a sudden craving, these treats deliver on all fronts: taste, nutrition, and convenience.

Chocolate Cobbler Recipe: A Gooey Southern Dessert Classic

chocolate dessert cobbler, Southern chocolate dessert, gooey chocolate pudding cake, easy chocolate cobbler, homemade chocolate cobbler

Article: Chocolate Cobbler – A Decadent Dessert Guide

Chocolate Cobbler is a luscious dessert that perfectly combines the gooey richness of chocolate with a comforting baked crust. If you’re a fan of indulgent treats, this recipe will quickly become a favorite. We’ll explore its history, share a step-by-step recipe, and discuss variations, serving tips, and more.


Introduction to Chocolate Cobbler

What is Chocolate Cobbler?
Chocolate Cobbler is a dessert that originates from the South, blending a pudding-like chocolate base with a cake-like topping. It’s often referred to as a dessert that makes its own sauce, making it a delightfully unique experience.

This recipe is perfect for satisfying chocolate cravings and is a versatile option for gatherings, weeknight indulgence, or holiday feasts. Serve it warm with ice cream or whipped cream for a dessert that’s unforgettable.

Internal Links Suggestion:


The Rich History of Chocolate Cobbler

Origins and Popularity
Chocolate Cobbler has its roots in Southern hospitality and ingenuity, making it a staple in American homes for decades. It is believed to have evolved from traditional pudding cakes, where bakers aimed to combine rich flavors with a simple preparation method.


Ingredients and Tools You’ll Need

To craft the perfect Chocolate Cobbler, you’ll need these essentials:

  • Unsalted butter for a rich base.
  • Cocoa powder for that deep chocolate flavor.
  • Self-rising flour to ensure a fluffy texture (substitute with baking powder if needed).
  • Granulated sugar, vanilla extract, and milk for a sweet, balanced batter.

Step-by-Step Chocolate Cobbler Recipe

Ingredients:

  • 1 cup self-rising flour
  • 1 ¾ cups sugar (divided)
  • 6 tablespoons unsalted butter
  • 1 ½ tablespoons cocoa powder
  • ½ cup milk
  • 1 teaspoon vanilla extract
  • ¼ cup unsweetened cocoa powder
  • 1 ½ cups boiling water

Directions:

  1. Preheat your oven to 350°F (175°C).
  2. Melt the butter in an 8-inch baking dish while the oven preheats.
  3. Mix the flour, ¾ cup sugar, and cocoa powder in a medium bowl. Stir in milk and vanilla extract until smooth.
  4. Spread this mixture over the melted butter.
  5. Combine the remaining sugar and cocoa powder. Sprinkle over the batter.
  6. Slowly pour the boiling water over the top—do not stir.
  7. Bake for 30-35 minutes until the top is set and a rich sauce forms below.

Variations and Twists

Add-ins for Extra Flair:

  • Fruits: Add cherries or raspberries for a fruity chocolate cobbler.
  • Spices: Enhance with cinnamon or a pinch of cayenne for a warm kick.
  • Beverage Pairing: Replace boiling water with coffee or espresso for a mocha-inspired twist.

Serving Suggestions:

  • Top with vanilla ice cream for a contrast in temperatures and textures.
  • Pair with whipped cream or chocolate shavings for added elegance.

Tips for Success

  • Use high-quality cocoa powder for a richer flavor.
  • Allow the cobbler to cool for 10 minutes before serving to let the sauce thicken.
  • Double the recipe for larger gatherings—use a 9×13-inch pan.

Nutritional Insights

Per serving:

  • Calories: 319
  • Fat: 10g
  • Carbohydrates: 58g
  • Protein: 3g

Healthier options:

  • Substitute some sugar with natural sweeteners like stevia.
  • Use plant-based milk or low-fat dairy for a lighter version.

FAQs About Chocolate Cobbler

  1. Can I use regular flour instead of self-rising flour?
    Yes! Mix 1 cup all-purpose flour with 1 ½ teaspoons baking powder.
  2. What makes Chocolate Cobbler unique?
    It creates its own chocolate sauce while baking, making every bite a delight.
  3. How should I store leftovers?
    Cover and refrigerate for up to 3 days. Reheat gently in the oven or microwave.
  4. Can I make it vegan?
    Yes, replace butter with a vegan alternative, and use plant-based milk.

Conclusion

Chocolate Cobbler is the ultimate comfort food dessert. Its simplicity, versatility, and rich flavors make it a must-try for any dessert enthusiast. Pair it with complementary dishes like Kentucky Butter Cake or enjoy it on its own as a star centerpiece at any gathering.

Shrimp and Lobster Ravioli with Creamy Garlic Butter Sauce: A Gourmet Delight

Seafood ravioli, lobster ravioli recipe, shrimp and lobster pasta, garlic butter sauce for ravioli, homemade ravioli ideas, elegant seafood dinner

Shrimp and Lobster Ravioli with Creamy Garlic Butter Sauce

Introduction

When it comes to indulgent and gourmet meals, Shrimp and Lobster Ravioli with Creamy Garlic Butter Sauce is the epitome of culinary elegance. This dish is perfect for special occasions, romantic dinners, or when you simply want to treat yourself to something extraordinary.

For a similar elevated pasta experience, check out Slow Cooker Magic: Crockpot Baked Ziti. To ensure your ravioli turns out flawless, follow these expert tips from Chef Jar’s Garlic Butter Sauce Guide.


Ingredients: A Symphony of Flavors

For the Filling

  • 1 cup lobster meat, finely chopped
  • 1 cup shrimp, cooked and diced
  • ½ cup mascarpone or ricotta cheese
  • 1 clove garlic, minced
  • 1 tsp lemon zest
  • Fresh parsley, finely chopped

For the Pasta Dough

  • 2 cups all-purpose flour
  • 3 large eggs
  • 1 tbsp olive oil

For the Creamy Garlic Butter Sauce

  • 4 tbsp butter
  • 2 cloves garlic, minced
  • 1 cup heavy cream
  • ½ cup grated parmesan cheese
  • ¼ cup white wine or chicken stock
  • Salt and pepper to taste

For other creamy pasta recipes, try One-Pot Creamy Broccoli and Parmesan Noodles.


Step-by-Step Instructions

1. Preparing the Ravioli Filling

  • Heat a small skillet with butter and sauté minced garlic.
  • Combine lobster, shrimp, mascarpone, lemon zest, and parsley in a bowl.
  • Mix well and set aside.

2. Making Fresh Pasta Dough

  • Combine flour and eggs in a bowl.
  • Add olive oil and knead until smooth.
  • Cover and let the dough rest for 30 minutes.

3. Assembling the Ravioli

  • Roll out the dough into thin sheets using a pasta roller.
  • Place small dollops of filling on one sheet of pasta, leaving space between each dollop.
  • Cover with another sheet, press around the filling to seal, and cut into ravioli shapes.

4. Cooking the Ravioli

  • Bring a pot of salted water to a boil.
  • Cook the ravioli in batches for 3–4 minutes until they float to the surface.

For additional pasta-making inspiration, check out Perfect Ribeye Steak Recipe.


Creating the Creamy Garlic Butter Sauce

Steps to Perfection

  1. Melt butter in a skillet and sauté garlic until fragrant.
  2. Add white wine or chicken stock, simmering until slightly reduced.
  3. Stir in heavy cream and parmesan, whisking until smooth.
  4. Season with salt and pepper to taste.

Serve the cooked ravioli hot with a generous drizzle of sauce, and garnish with fresh parsley and a sprinkle of grated cheese.


Variations to Elevate Your Ravioli Game

1. Spicy Kick

  • Add red pepper flakes to the garlic butter sauce for a spicy twist.

2. Herb-Infused Sauce

  • Infuse the sauce with fresh basil, thyme, or dill for added flavor.

3. Vegan-Friendly Ravioli

  • Use cashew cream and plant-based cheese, and replace seafood with mushrooms or artichokes.

For more creative casseroles, try Dorito Chicken Casserole.


Serving and Storage Tips

  • Pair With: A crisp white wine, garlic bread, or a light arugula salad.
  • Storage: Store uncooked ravioli in the freezer for up to 1 month.
  • Leftovers: Reheat in a skillet over low heat to preserve the sauce’s creaminess.

FAQs About Shrimp and Lobster Ravioli

1. Can I use frozen shrimp and lobster?

Yes, thaw them completely and pat dry before using to avoid excess water in the filling.

2. What’s the secret to sealing ravioli properly?

Use water or egg wash to seal the edges securely.

3. How do I prevent the sauce from curdling?

Avoid overheating the cream and stir continuously when cooking.

4. Can I make this dish gluten-free?

Yes, substitute the all-purpose flour with a gluten-free flour blend suitable for pasta making.


Nutritional Highlights

  • Calories Per Serving: Approximately 450–500.
  • Health Benefits: A rich source of protein and omega-3s from the seafood.

Conclusion

Shrimp and Lobster Ravioli with Creamy Garlic Butter Sauce is a decadent dish that brings restaurant-quality dining to your kitchen. Perfect for impressing guests or treating yourself, this recipe is as versatile as it is delicious.

Zucchini Noodle Lasagna: A Healthy and Delicious Low-Carb Recipe

Low-carb lasagna, zucchini lasagna recipe, gluten-free noodle lasagna, keto zucchini lasagna, vegetable lasagna, healthy lasagna recipe

Zucchini Noodle Lasagna: A Delicious Low-Carb Twist on a Classic Dish

Introduction

Zucchini noodle lasagna is a game-changer for anyone looking to enjoy lasagna without the guilt of high-carb pasta. Perfect for keto, gluten-free, or low-carb diets, this dish is as versatile as it is satisfying.

For other creative, health-focused recipes, you might enjoy Healthy Sweet Potato Breakfast Bowl or Turkey and Spinach Stuffed Peppers. Understanding the science behind using zucchini as a pasta alternative is key to achieving the perfect texture. Learn more from Live Eat Learn’s Zucchini Noodle Tips.


Ingredients: What You’ll Need

Core Ingredients

  • Zucchini: Thinly sliced into noodle-like strips.
  • Cheese: Ricotta, mozzarella, and parmesan.
  • Sauce: Marinara or a meaty tomato sauce.
  • Protein: Ground turkey, beef, or plant-based meat crumbles.

Optional Additions

  • Fresh spinach or kale for added greens.
  • Mushrooms for an earthy flavor.
  • Crushed red pepper for a spicy kick.

For a similar nutrient-packed dish, check out One-Pot Creamy Broccoli and Parmesan Noodles.


Step-by-Step Recipe Instructions

1. Preparing the Zucchini Noodles

  • Use a mandoline slicer to create even, thin strips.
  • Pat dry with paper towels or lightly salt to draw out excess moisture.

2. Making the Sauce

  • Brown ground turkey or beef in a skillet.
  • Add marinara sauce and simmer for 10 minutes.

3. Assembling the Lasagna

  • Start with a layer of zucchini slices, followed by ricotta mixture, sauce, and shredded mozzarella.
  • Repeat the layers until the baking dish is full, finishing with mozzarella.

4. Baking the Dish

  • Preheat the oven to 375°F (190°C).
  • Bake for 30–40 minutes until bubbly and golden.

Creative Variations

1. Vegetarian Zucchini Lasagna

  • Replace meat with a mix of spinach, mushrooms, and diced bell peppers.

2. Spicy Lasagna

  • Add jalapeños to the sauce or sprinkle crushed red pepper between layers.

3. White Sauce Zucchini Lasagna

  • Swap marinara for a creamy Alfredo or béchamel sauce.

4. Dairy-Free Zucchini Lasagna

  • Use vegan cheese or cashew cream as substitutes.

For a unique casserole option, try Dorito Chicken Casserole.


Serving Suggestions and Storage Tips

  • Pair With: Garlic bread, a simple Caesar salad, or roasted vegetables.
  • Storage: Refrigerate in an airtight container for up to 3 days.
  • Freezing: Freeze unbaked lasagna in portions to preserve freshness.

FAQs About Zucchini Noodle Lasagna

How do I prevent zucchini noodles from becoming soggy?

  • Salt the zucchini and let it rest for 10–15 minutes to draw out moisture.
  • Bake or grill the slices before layering them in the lasagna.

Can I make zucchini lasagna ahead of time?

Yes, assemble the lasagna and refrigerate unbaked. Bake it fresh when ready to serve.

What’s the best way to slice zucchini for lasagna?

Use a mandoline slicer or a vegetable peeler for uniform, thin strips.

Can this recipe be made keto-friendly?

Absolutely! Use sugar-free marinara sauce and ensure all cheese options are keto-compliant.


Nutritional Highlights

Health Benefits of Zucchini Noodles

  • Low in calories and carbs, high in vitamins C and A.
  • A great source of antioxidants and hydration.

Calorie Breakdown

  • Approximately 250–300 calories per serving, depending on ingredients.

Conclusion

Zucchini noodle lasagna is a delightful way to enjoy the flavors of classic lasagna while aligning with your dietary preferences. Whether you’re preparing it for family dinner or meal prep, this dish is guaranteed to impress.