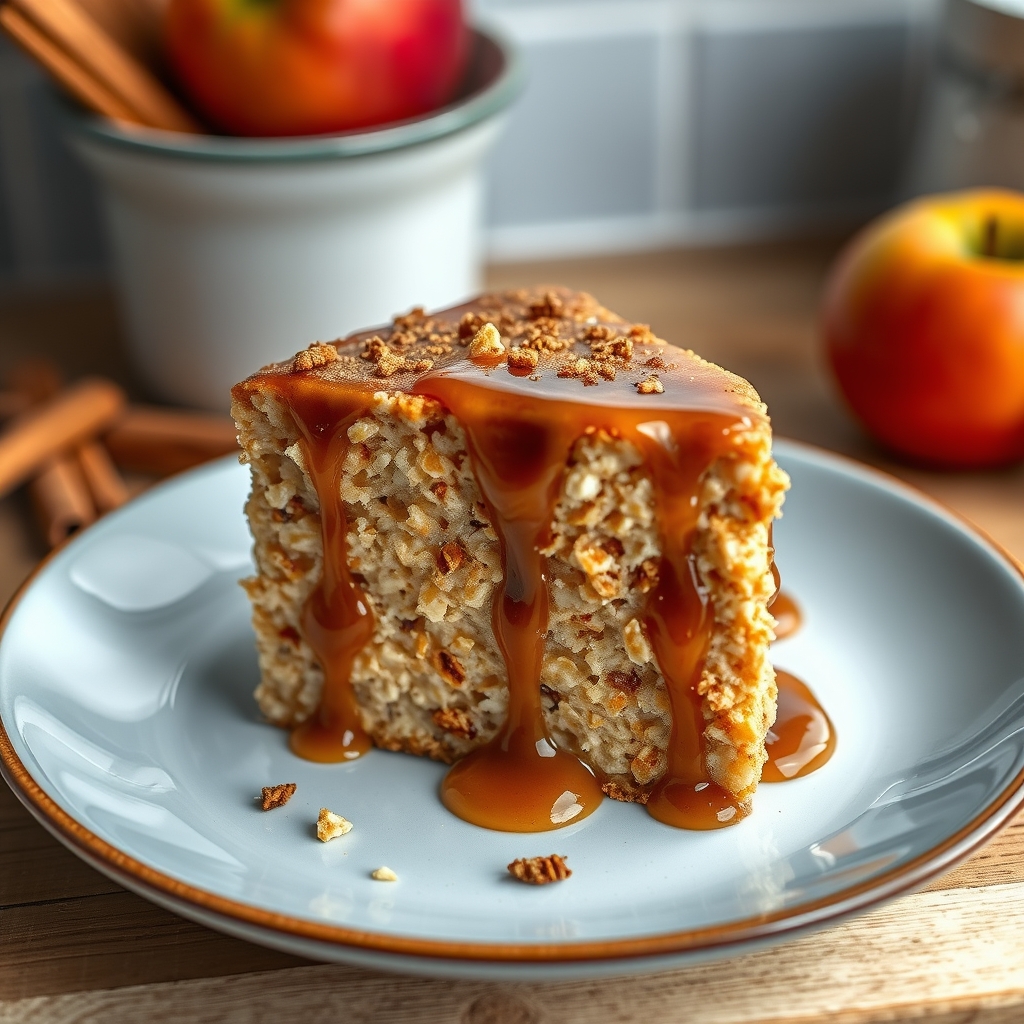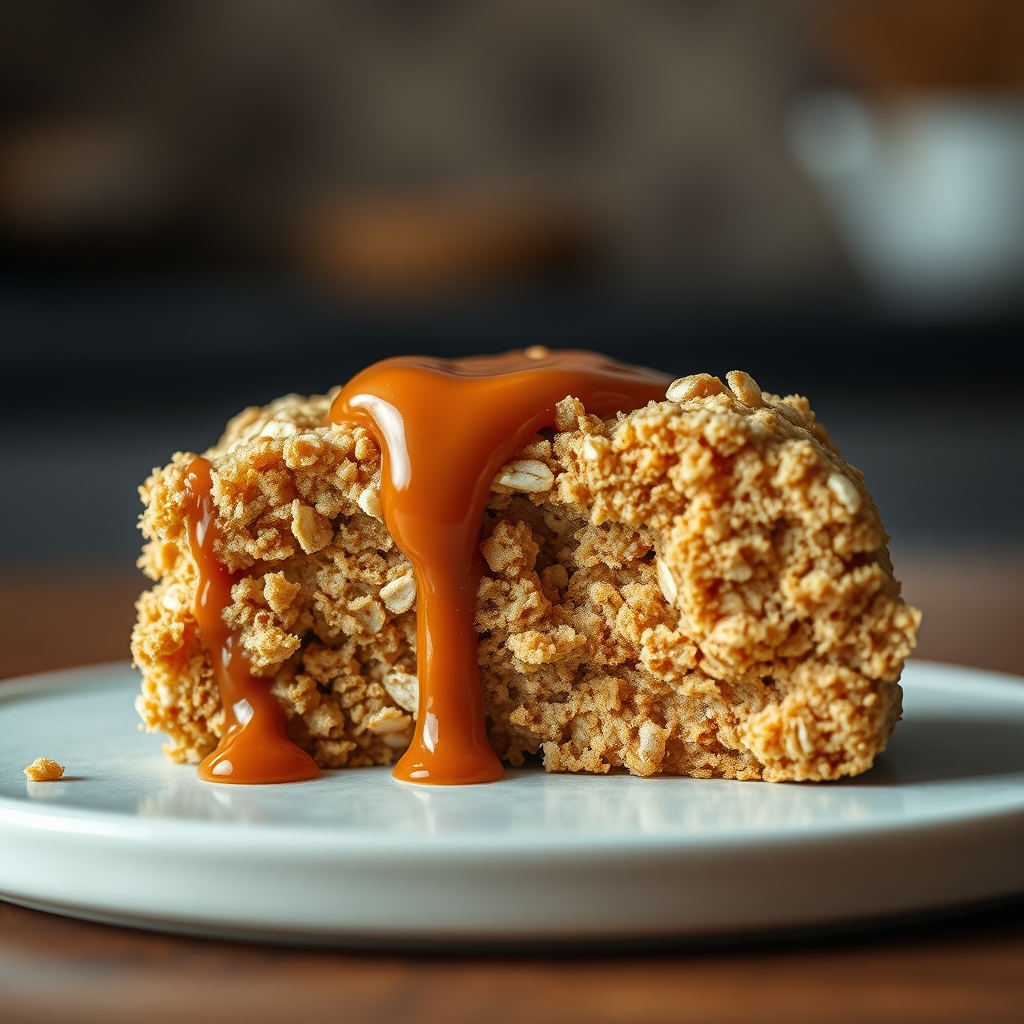
Oatmeal Scotchies (Oatmeal Butterscotch Cookies)
There’s something undeniably comforting about a warm, chewy oatmeal cookie—especially when it’s studded with rich, buttery butterscotch chips. Oatmeal Scotchies, as they’re affectionately called, are a nostalgic treat that balances wholesome oats with indulgent sweetness. Whether you grew up baking them with your grandmother or are discovering them for the first time, this recipe is a must-try for anyone who loves a cookie that’s both hearty and decadent. Let’s dive into the world of Oatmeal Butterscotch Cookies and uncover why they deserve a permanent spot in your baking repertoire.
Why You’ll Love This Recipe
Oatmeal Scotchies are more than just cookies—they’re a delightful experience. Here’s why you’ll fall in love with this recipe:
- Perfect Texture: The combination of rolled oats and butterscotch chips creates a cookie that’s chewy, slightly crisp on the edges, and irresistibly soft in the center.
- Balanced Sweetness: Butterscotch chips add a caramel-like depth without overwhelming the natural nuttiness of the oats, making these cookies satisfying but not overly sugary.
- Easy to Make: With simple ingredients and straightforward steps, even beginner bakers can achieve bakery-worthy results.
- Crowd-Pleasing Flavor: These cookies are universally loved, making them ideal for potlucks, holiday trays, or after-school snacks.
- Versatile: They’re equally delicious with a glass of cold milk, a cup of coffee, or even crumbled over ice cream for a decadent dessert.
Ingredients Breakdown
Understanding the role of each ingredient ensures your Oatmeal Scotchies turn out perfectly every time:
- Rolled Oats: The star of the show, rolled oats provide structure and chewiness. Avoid quick oats, as they can make the cookies too dense.
- Butterscotch Chips: These melt into pockets of creamy sweetness, complementing the oats beautifully. High-quality chips yield the best flavor.
- Butter: Unsalted butter allows you to control the saltiness, and its richness enhances the cookie’s tender crumb.
- Brown Sugar: Adds moisture and a hint of molasses flavor, contributing to the cookie’s soft texture.
- Eggs: Bind the ingredients together while adding moisture and lift.
- Vanilla Extract: A splash of vanilla rounds out the flavors, making the butterscotch taste even more luxurious.
- Flour, Baking Soda, and Salt: The foundation of the dough, ensuring the cookies rise slightly and hold their shape.
How to Make Oatmeal Scotchies (Oatmeal Butterscotch Cookies)
Follow these steps for foolproof Oatmeal Butterscotch Cookies:
- Prep the Dough: In a large bowl, cream together softened butter, brown sugar, and granulated sugar until light and fluffy. Beat in the eggs one at a time, followed by the vanilla extract.
- Dry Ingredients: In a separate bowl, whisk together flour, baking soda, and salt. Gradually add this mixture to the wet ingredients, mixing just until combined.
- Fold in Oats and Chips: Stir in the rolled oats and butterscotch chips by hand to avoid overmixing. The dough should be thick and slightly sticky.
- Chill (Optional): For thicker cookies, chill the dough for 30 minutes. This prevents excessive spreading during baking.
- Bake: Preheat the oven to 350°F. Drop rounded tablespoons of dough onto parchment-lined baking sheets, spacing them 2 inches apart. Bake for 10–12 minutes, or until the edges are golden but the centers are still soft.
- Cool: Let the cookies rest on the baking sheet for 5 minutes before transferring them to a wire rack to cool completely.
Pro Tips for the Best Results
- Room Temperature Butter: Softened butter creams more evenly with sugar, creating a lighter texture.
- Don’t Overbake: The cookies will continue to set as they cool. Pull them out when the edges are just golden for a chewy center.
- Toast the Oats: For extra depth, toast the oats in a dry skillet for 5 minutes before adding them to the dough.
- Use a Cookie Scoop: For uniform cookies that bake evenly, a medium cookie scoop ensures consistent sizing.
- Add Sea Salt: A light sprinkle of flaky sea salt on top before baking enhances the butterscotch flavor.
Variations and Substitutions
Customize your Oatmeal Scotchies with these creative twists:
- Chocolate Chips: Swap butterscotch chips for semi-sweet or dark chocolate chips for a classic oatmeal chocolate chip cookie.
- Nutty Crunch: Add ½ cup chopped pecans or walnuts for extra texture.
- Gluten-Free: Use a 1:1 gluten-free flour blend and certified gluten-free oats.
- Dairy-Free: Substitute vegan butter and dairy-free butterscotch chips.
- Spiced Version: Stir in 1 teaspoon of cinnamon or pumpkin pie spice for a warm, autumnal flavor.
What to Serve With It
Oatmeal Scotchies are delightful on their own, but they pair wonderfully with:
- A cold glass of milk or a hot cup of coffee for dunking.
- Vanilla ice cream sandwiched between two cookies for an indulgent treat.
- A charcuterie board with sharp cheddar cheese for a sweet-savory contrast.
- Fresh fruit like sliced apples or pears to balance the richness.
How to Store and Reheat
Keep your Oatmeal Butterscotch Cookies fresh with these storage tips:
- Room Temperature: Store in an airtight container for up to 5 days.
- Freezing Dough: Portion unbaked dough into balls and freeze on a baking sheet before transferring to a freezer bag. Bake straight from frozen, adding 1–2 extra minutes.
- Freezing Baked Cookies: Layer cooled cookies between parchment paper in a freezer-safe container for up to 3 months. Thaw at room temperature or warm in a 300°F oven for 5 minutes.
- Reheating: Briefly microwave cookies for 10 seconds to restore softness or toast in a toaster oven for a crispier edge.
Frequently Asked Questions (FAQs)
Can I use quick oats instead of rolled oats?
Quick oats will work, but the texture will be denser. Rolled oats provide the ideal chewiness.
Why did my cookies spread too much?
This can happen if the butter was too soft or the dough wasn’t chilled. Ensure your butter is softened but not melted, and consider chilling the dough before baking.
Can I make these cookies without butterscotch chips?
Absolutely! Substitute chocolate chips, white chocolate chips, or even dried fruit like raisins or cranberries.
How do I prevent my butterscotch chips from melting into the dough?
High-quality chips hold their shape better. You can also freeze them for 10 minutes before folding them into the dough.
Are these cookies suitable for gifting?
Yes! They ship well and stay fresh for days. Pack them in a decorative tin or cellophane bag for a heartfelt homemade gift.
Final Thoughts
Oatmeal Scotchies are a timeless treat that marries the wholesome goodness of oats with the irresistible allure of butterscotch. Whether you’re baking them for a holiday gathering, a lunchbox surprise, or just because, these cookies are sure to bring smiles. The recipe is forgiving, adaptable, and always delicious—qualities that make it a forever favorite. So preheat your oven, grab your mixing bowl, and get ready to fill your kitchen with the warm, buttery aroma of homemade Oatmeal Butterscotch Cookies. Happy baking!
Print
Oatmeal Scotchies (Oatmeal Butterscotch Cookies)
Description
These Oatmeal Scotchies are soft, chewy cookies packed with oats and loaded with sweet butterscotch chips. A perfect blend of hearty and indulgent flavors that make them a crowd-pleaser for any occasion.
Ingredients
For the Crust:
- For the dough:
- 1 cup (2 sticks) unsalted butter, softened
- 1 cup packed light brown sugar
- 1/2 cup granulated sugar
- 2 large eggs
- 1 teaspoon vanilla extract
- 1 1/2 cups all-purpose flour
- 1 teaspoon baking soda
- 1/2 teaspoon ground cinnamon
- 1/2 teaspoon salt
- 3 cups old-fashioned rolled oats
- For the mix-ins:
- 1 3/4 cups butterscotch chips
Instructions
1. Prepare the Crust:
- 1. Preheat oven to 375°F (190°C). Line baking sheets with parchment paper or silicone mats.
- 2. In a large bowl, cream together the softened butter, brown sugar, and granulated sugar until light and fluffy (about 3-4 minutes).
- 3. Beat in the eggs one at a time, then stir in the vanilla extract.
- 4. In a separate bowl, whisk together the flour, baking soda, cinnamon, and salt. Gradually add this dry mixture to the wet ingredients, mixing just until combined.
- 5. Stir in the oats and butterscotch chips until evenly distributed.
- 6. Drop rounded tablespoons of dough onto the prepared baking sheets, spacing them about 2 inches apart.
- 7. Bake for 8-10 minutes, or until the edges are lightly golden but centers are still soft. Do not overbake.
- 8. Let cookies cool on the baking sheets for 5 minutes before transferring to a wire rack to cool completely.
Notes
For extra chewy cookies, slightly underbake them. Store in an airtight container at room temperature for up to 5 days. Dough can be frozen for up to 3 months—just scoop and bake from frozen, adding 1-2 extra minutes to baking time.