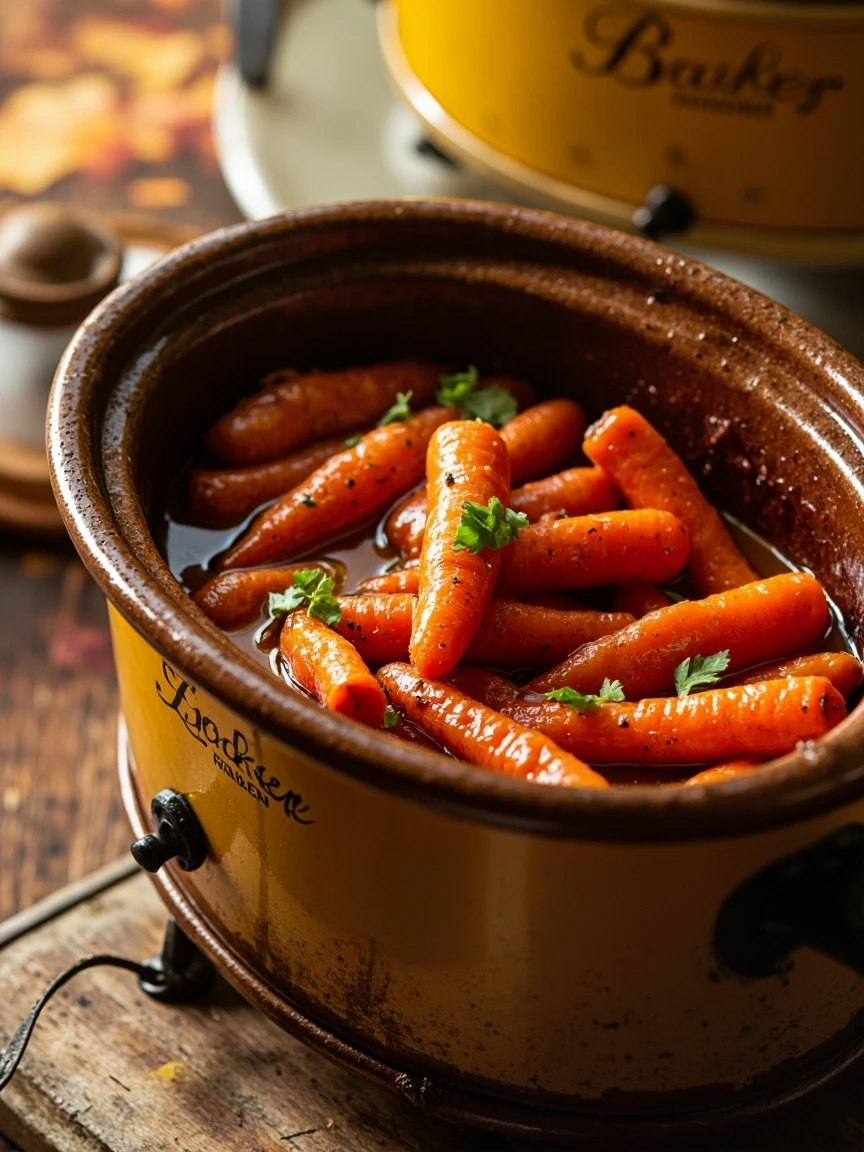
Crockpot Glazed Baby Carrots with Brown Sugar and Butter
There’s something magical about a dish that effortlessly transitions from a weeknight side to a holiday showstopper—and these Crockpot Glazed Baby Carrots with Brown Sugar and Butter do just that. Whether you’re juggling a busy schedule or prepping for a festive gathering, this recipe is your golden ticket to a sweet, buttery, and utterly delicious side dish. The slow cooker does all the heavy lifting, leaving you with tender carrots coated in a glossy, caramel-like glaze that’ll have everyone reaching for seconds.
I first stumbled upon this recipe during a chaotic Thanksgiving prep year when my oven was overflowing, and my stovetop resembled a battlefield. Desperate for a hands-off solution, I tossed baby carrots, brown sugar, and butter into my trusty Crockpot—and the result was nothing short of revelatory. Now, it’s a staple in my home, whether I’m serving it alongside a weeknight roast chicken or as part of our holiday spread. The best part? It’s nearly impossible to mess up. Even if you’re not a confident cook, this dish will make you look like a kitchen rockstar.
Why You’ll Love These Glazed Carrots
This recipe is a winner for so many reasons. Here’s why it’ll become your go-to side dish:
- Effortless elegance: The slow cooker transforms simple ingredients into a dish that tastes gourmet.
- Perfect texture: The carrots stay tender-crisp, never mushy, thanks to gentle cooking.
- Crowd-pleasing flavor: Sweet, buttery, and subtly spiced—it’s a hit with kids and adults alike.
- Make-ahead friendly: Prep it in the morning and let it cook while you tackle the rest of your day.
How to Make Crockpot Glazed Baby Carrots
Ingredients You’ll Need
- 2 lbs baby carrots (or peeled and sliced whole carrots)
- ½ cup packed brown sugar
- ¼ cup unsalted butter, melted
- ½ tsp salt
- ¼ tsp ground cinnamon (optional but delicious)
- ¼ cup water or orange juice for extra brightness
- Fresh parsley or thyme for garnish (optional)
Step-by-Step Instructions
- Combine ingredients: Add the carrots, brown sugar, melted butter, salt, cinnamon (if using), and water or orange juice to the Crockpot. Toss gently to coat.
- Cook: Cover and cook on LOW for 4–5 hours or HIGH for 2–3 hours, stirring once halfway through.
- Glaze: If the liquid is too thin, remove the lid and cook on HIGH for the last 15–20 minutes to thicken the glaze.
- Serve: Transfer to a serving dish, garnish if desired, and enjoy warm.
Recipe Tips & Variations
Want to tweak this recipe? Here are some fun ideas:
- Add a splash of bourbon for a grown-up twist—just reduce the water by the same amount.
- Swap the brown sugar for maple syrup or honey for a different depth of sweetness.
- Toss in fresh herbs like rosemary or thyme during cooking for an aromatic touch.
- Make it savory by omitting the cinnamon and adding a pinch of garlic powder or smoked paprika.
For more easy slow cooker sides, check out our Crockpot Mashed Potatoes—another holiday lifesaver!
FAQs About Crockpot Glazed Carrots
Can I use frozen baby carrots?
Yes, but thaw them first and reduce the cooking time by about an hour to prevent mushiness.
How do I store leftovers?
Keep them in an airtight container in the fridge for up to 4 days. Reheat gently in the microwave or on the stovetop with a splash of water.
Can I make this recipe vegan?
Absolutely! Swap the butter for coconut oil or vegan butter, and use maple syrup instead of brown sugar if preferred.
What pairs well with these glazed carrots?
They’re perfect with herb-roasted chicken, ham, or even a holiday prime rib. For a vegetarian option, try them with vegetable lasagna.
Can I cook these on the stovetop instead?
Sure! Simmer covered in a saucepan over medium-low heat for 20–25 minutes, stirring occasionally.
Why add cinnamon?
It’s a subtle warmth that enhances the sweetness—but feel free to skip it if you prefer classic glazed carrots.
There you have it—a dish that’s as versatile as it is delicious. Whether you’re a busy parent, a holiday host, or just someone who loves a good shortcut (no shame here!), these Crockpot Glazed Baby Carrots with Brown Sugar and Butter are sure to earn a permanent spot in your recipe rotation. The next time you need a side that’s equal parts easy and impressive, let your slow cooker work its magic. Happy cooking!
Print
Crockpot Glazed Baby Carrots with Brown Sugar and Butter
Description
These tender baby carrots are slow-cooked to perfection with a sweet and buttery glaze, making them the perfect side dish for any meal. The crockpot does all the work, leaving you with minimal effort and maximum flavor.
Ingredients
For the Crust:
- For the carrots:
- 2 pounds baby carrots
- 1/2 cup water
- For the glaze:
- 1/2 cup packed brown sugar
- 1/4 cup unsalted butter, melted
- 1 teaspoon ground cinnamon
- 1/2 teaspoon salt
- 1/4 teaspoon ground nutmeg
- For garnish:
- 2 tablespoons chopped fresh parsley
Instructions
1. Prepare the Crust:
- Place the baby carrots and water in the crockpot.
- In a small bowl, mix together the brown sugar, melted butter, cinnamon, salt, and nutmeg until well combined.
- Pour the glaze mixture over the carrots in the crockpot and stir to coat evenly.
- Cover and cook on LOW for 4-5 hours or on HIGH for 2-3 hours, stirring occasionally, until the carrots are tender.
- Once cooked, transfer the carrots to a serving dish and spoon any remaining glaze from the crockpot over the top.
- Garnish with chopped fresh parsley before serving.
Notes
For a thicker glaze, you can transfer the liquid from the crockpot to a small saucepan after cooking and simmer for a few minutes until reduced. Then pour it back over the carrots before serving. This dish can be kept warm in the crockpot on the ‘WARM’ setting for up to 1 hour before serving.