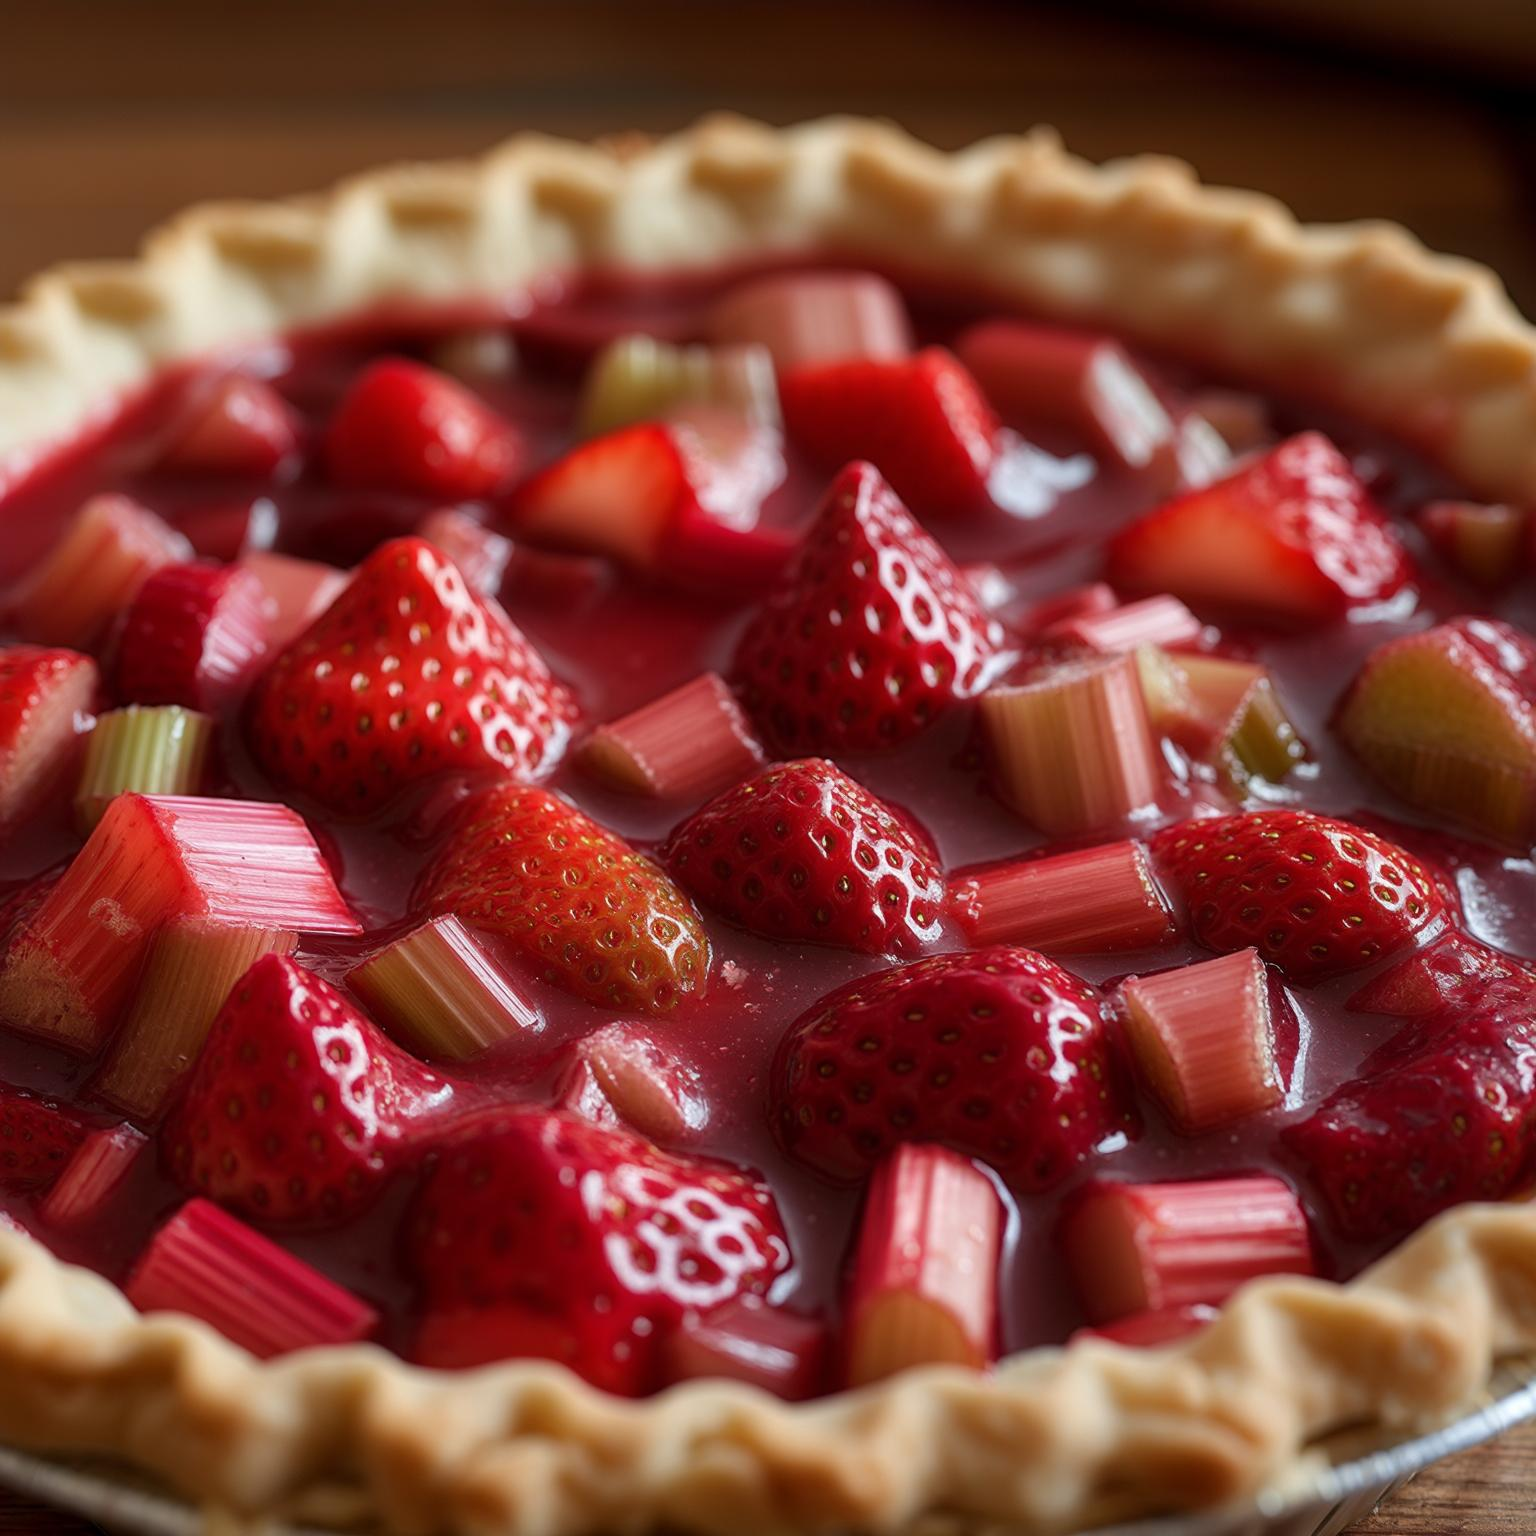
Baking a pie from scratch is more than just a weekend project—it’s a seasonal tradition that brings comfort, nostalgia, and vibrant flavor to your table. Every slice of this flaky, fruit-filled dessert tells the story of summer’s bounty, blending the bright tartness of fresh rhubarb with the juicy sweetness of ripe strawberries.
Table of Contents
Why Strawberry Rhubarb Pie is the Star of Spring and Summer
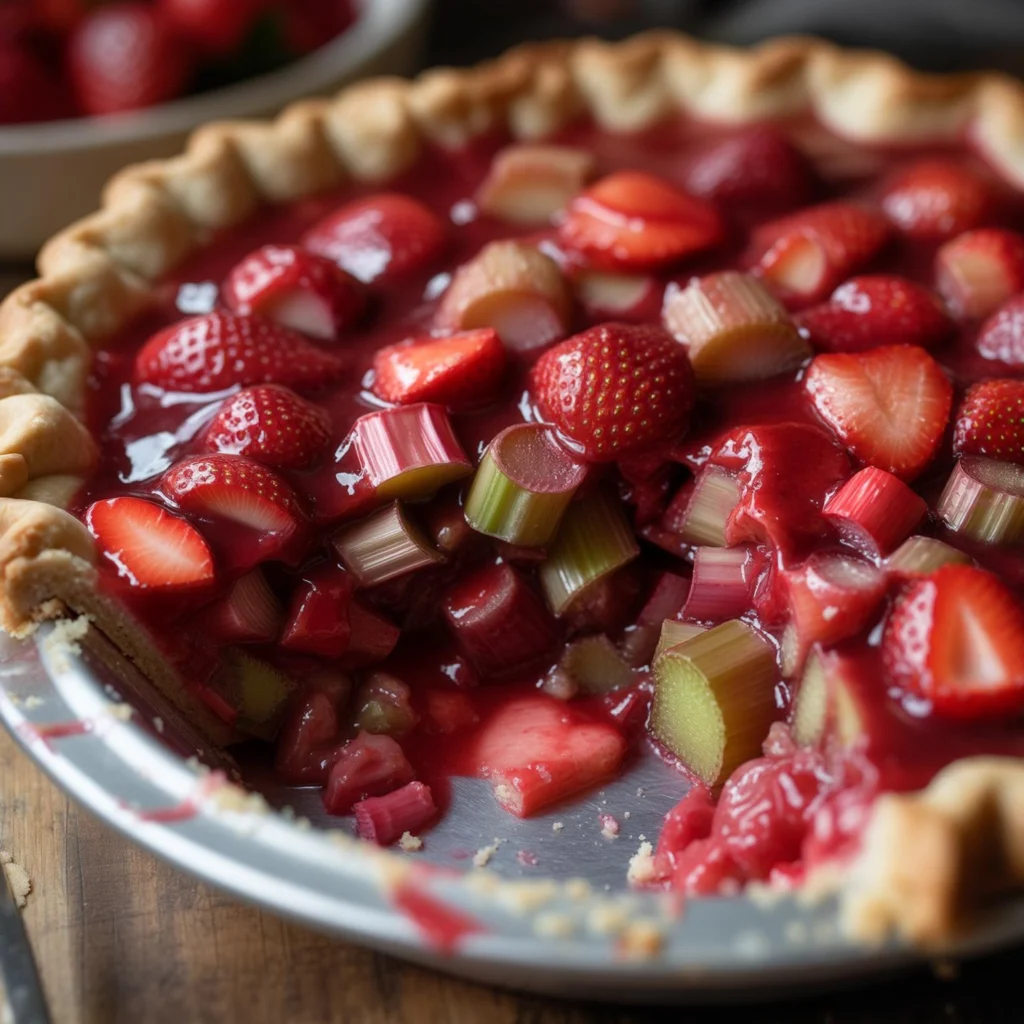
When strawberry season overlaps with rhubarb’s peak, a pie becomes the crown jewel of any dessert spread. Rhubarb’s tartness can be bold on its own, but when paired with sun-ripened strawberries, the combination is harmonious. It’s this push and pull of sweet and sour that makes each bite feel layered and bright.
What separates this dessert from others is how beautifully it holds together. The fruit doesn’t ooze excessively, and the crust remains tender yet strong—a detail made possible by the right ratio of cornstarch and the crucial step of draining the excess filling juice.
The Flavor and Texture of the Best Strawberry Rhubarb Pie
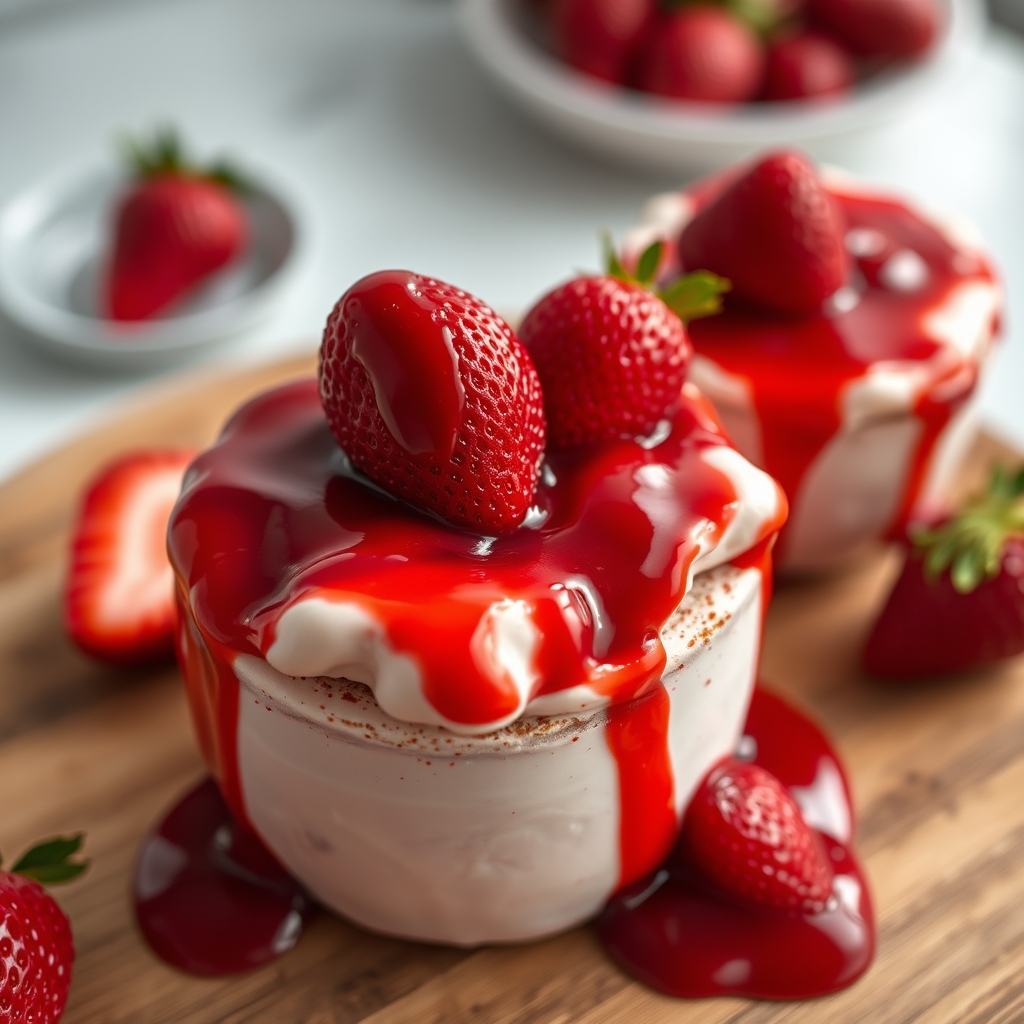
The hallmark of a great pie is its balance. You’ll taste sweetness from the strawberries, a clean, almost citrusy tang from the rhubarb, and buttery richness from the homemade crust. A dash of orange juice adds depth, while vanilla gives it that irresistible aroma.
Unlike overly sweet supermarket versions, this pie leans into its natural fruit-forward flavor. The crust is golden and crisp—never soggy—thanks to techniques you’ll learn below.
Curious about the history of rhubarb? Learn more about rhubarb’s culinary roots and why it’s long been called the “pie plant.”
Print
Strawberry Rhubarb Pie in 6 Simple Steps (Baker-Tested!)
Description
This recipe turned me into a strawberry rhubarb pie fanatic! The pie holds together nicely and the homemade pie crust is phenomenal.
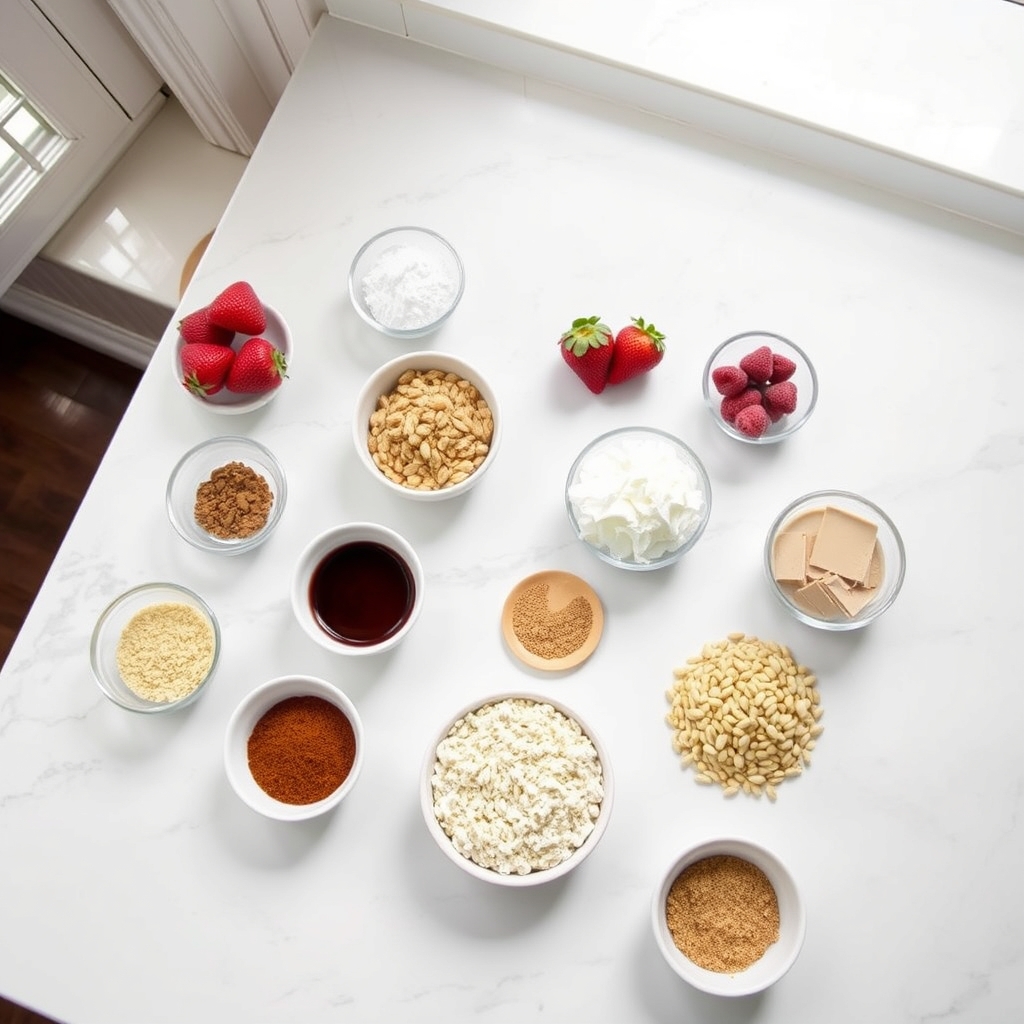
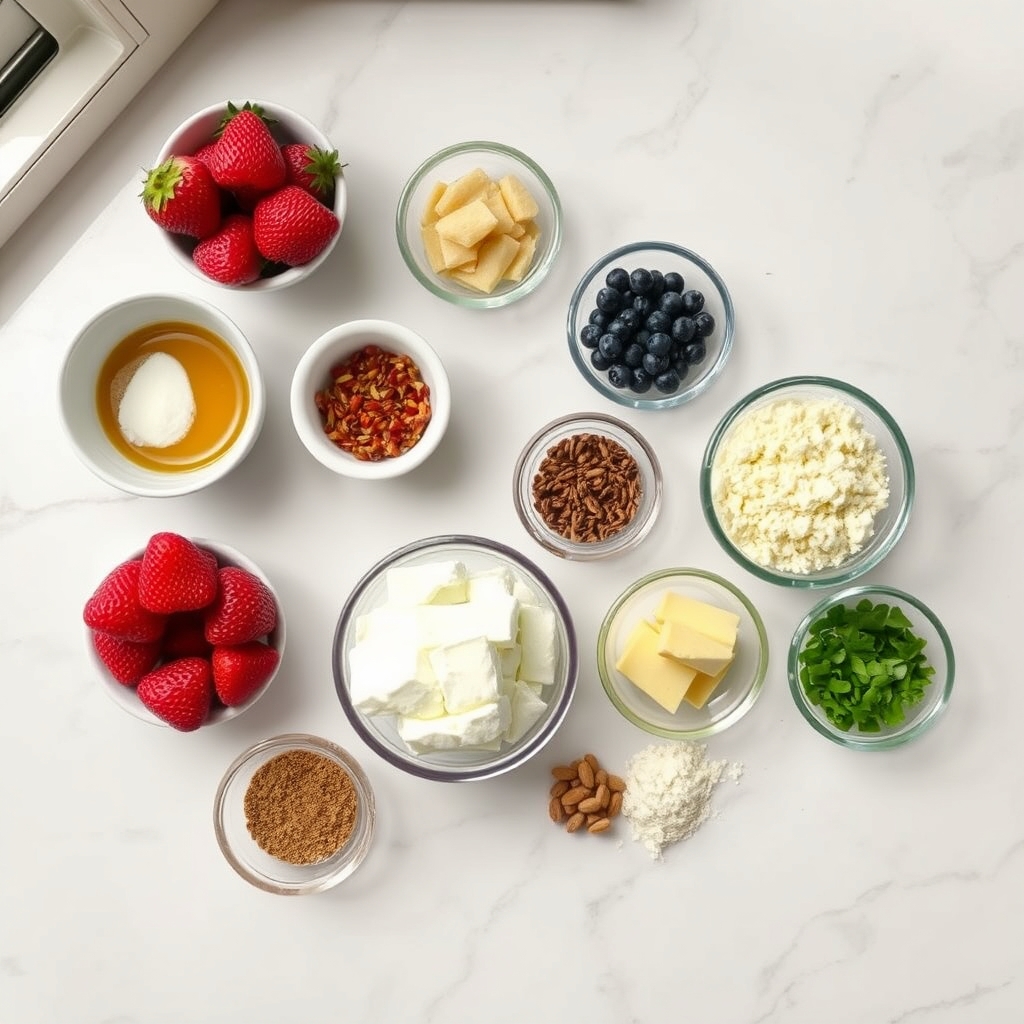
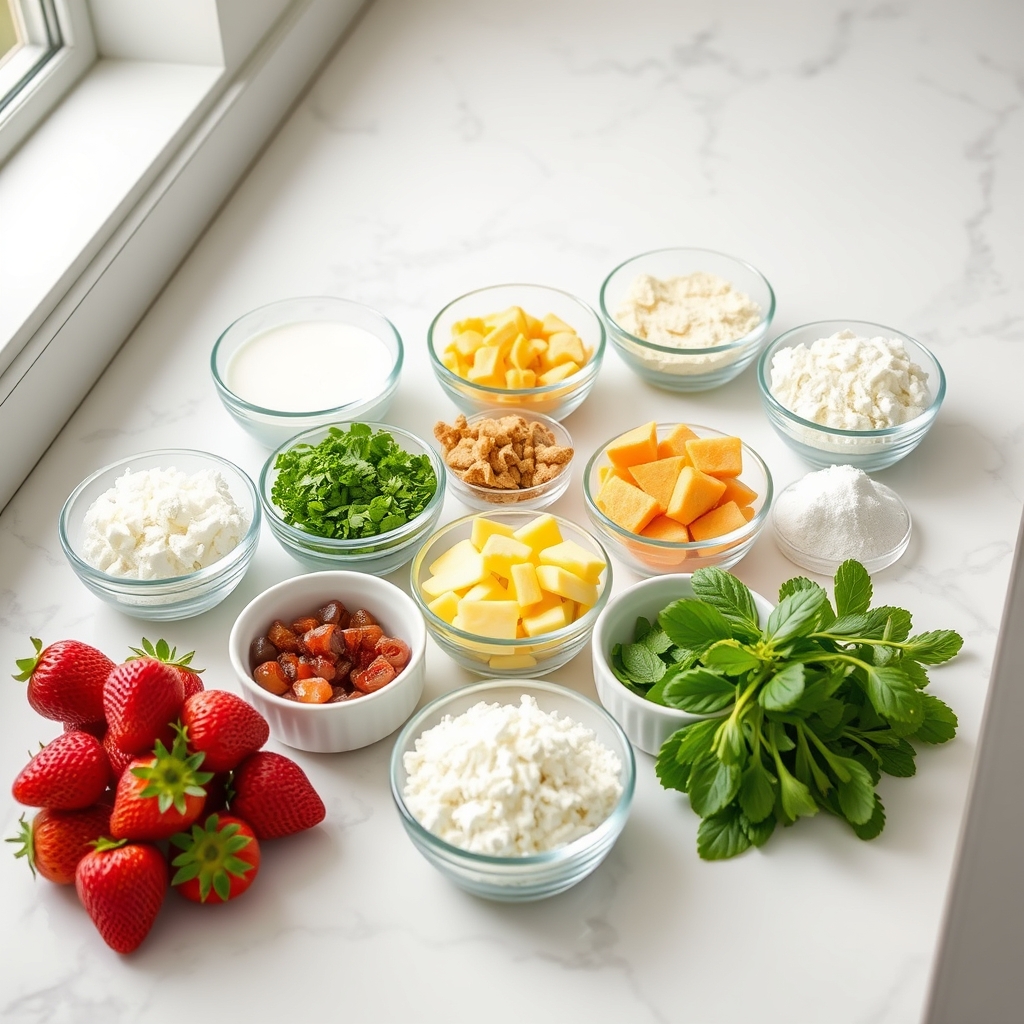
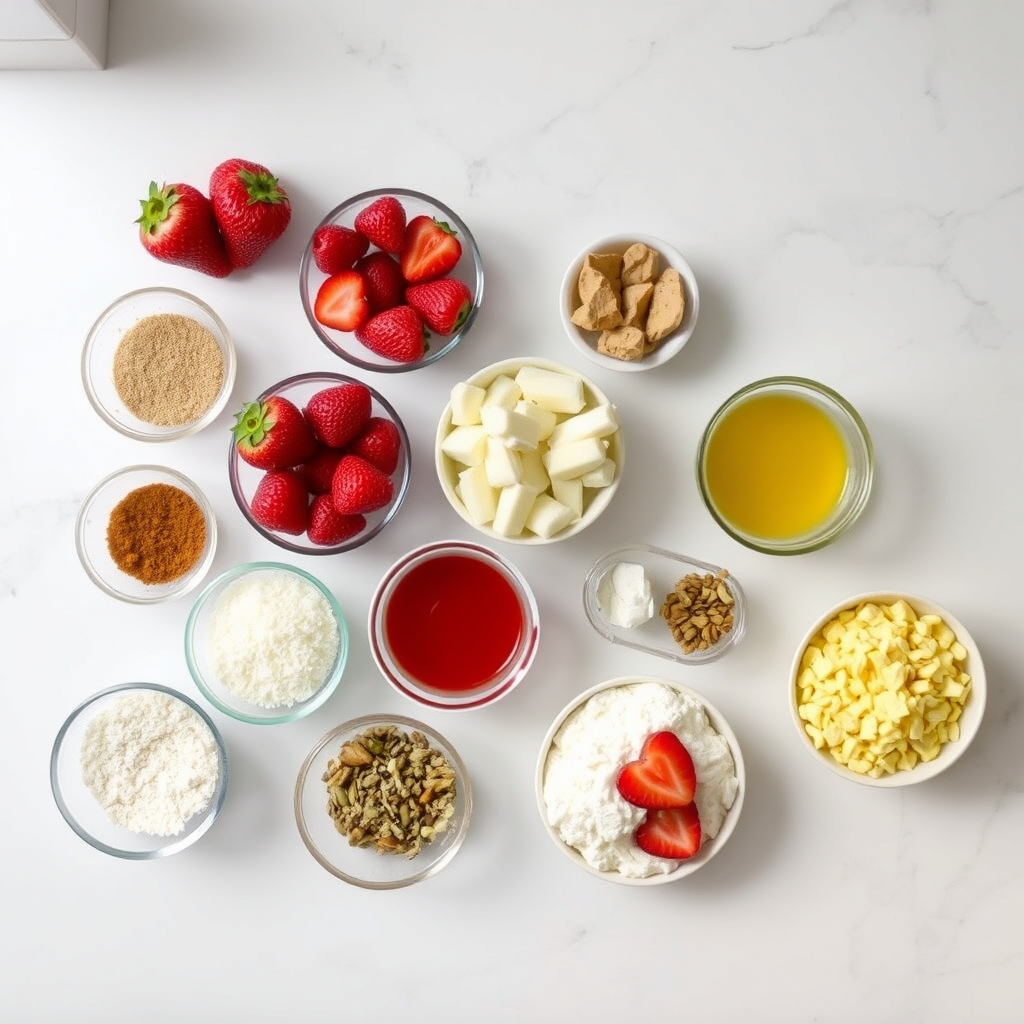
Ingredients
homemade pie crust (my recipe makes 2 crusts; 1 for bottom 1 for top)
3 cups (about 300g) sliced rhubarb (1/2 inch pieces)
2 and 1/2 cups (about 380g) chopped strawberries
1/3 cup (67g) packed light brown sugar
1/3 cup (67g) granulated sugar
1/4 cup (32g) cornstarch
1/4 teaspoon salt
1 Tablespoon (15ml) orange juice
1/2 teaspoon pure vanilla extract
2 Tablespoons (28g) unsalted butter, cut into small pieces
1 large egg, lightly beaten with 1 Tablespoon (15ml) milk
optional: coarse sugar for garnish
Cook Mode Prevent your screen from going dark
Instructions
The crust: Prepare my pie crust recipe through step 5.
Make the filling: Stir the rhubarb, strawberries, brown sugar, granulated sugar, cornstarch, salt, orange juice, and vanilla extract together in a large bowl. Set filling aside as the oven preheats.
Preheat oven to 400°F (204°C).
Roll out the chilled pie dough: On a floured work surface, roll out one of the discs of chilled dough (keep the other one in the refrigerator). Turn the dough about a quarter turn after every few rolls until you have a circle 12 inches in diameter. Carefully place the dough into a 9-inch pie dish. Tuck it in with your fingers, making sure it is smooth. Spoon the filling into the crust, leaving all of the excess liquid in the bowl (you don’t want that in the filling—discard it). Dot the pieces of butter on top of the filling.
Arrange the lattice: Remove the other disc of chilled pie dough from the refrigerator. Roll the dough into a circle that is 12 inches diameter. Using a pastry wheel, sharp knife, or pizza cutter, cut strips 1/2- to 1-inch wide. Carefully thread the strips over and under one another, pulling back strips as necessary to weave. Press the edges of the strips into the bottom pie crust edges to seal. Use a small knife to trim off excess dough. Crimp the pie crust edges with a fork, if desired. (Alternatively, you can simply cover the filling with the 12-inch pie dough circle. Cut slits in the top to form steam vents. Trim and crimp the edges. Or a crumble or streusel topping would be great.)
Lightly brush the top of the pie crust with the egg/milk mixture. Sprinkle the top with a little coarse sugar, if desired.
Place the pie onto a large baking sheet and bake for 20 minutes. Keeping the pie in the oven, turn the temperature down to 350°F (177°C) and bake for an additional 30-35 minutes. After the first 20 minutes of bake time, I place a pie crust shield on top of the pie to prevent the edges from browning too quickly.
Allow the pie to cool for 3 full hours at room temperature before serving. This time allows the filling to thicken up. Cover leftovers tightly and store in the refrigerator for up to 5 days.
Notes
Make Ahead & Freezing Instructions: This a great pie to make 1 day in advance since it is so juicy – the filling will have time to set overnight. The pie crust dough can also be prepared ahead of time and stored in the refrigerator for up to 5 days or in the freezer for up to 3 months. Baked pie freezes well for up to 3 months. Thaw overnight in the refrigerator and allow to come to room temperature before serving. Prepared filling can be frozen up to 3 months, thaw overnight in the refrigerator before using.
Special Tools (affiliate links): Glass Mixing Bowl | Rolling Pin | 9-inch Pie Dish | Pizza Cutter or Pastry Wheel | Pastry Brush | Baking Sheet | Pie Crust Shield | Coarse Sprinkling Sugar
Ingredients and Tools for Making the Perfect Strawberry Rhubarb Pie
To create the ultimate Strawberry Rhubarb Pie, start with the right ingredients and tools. Each one contributes to the pie’s flavor, texture, and structure.
Ingredients:
- Homemade pie crust (2 discs—bottom and top)
- 3 cups sliced rhubarb (about 300g)
- 2 ½ cups chopped strawberries (about 380g)
- 1/3 cup packed light brown sugar
- 1/3 cup granulated sugar
- 1/4 cup